最近一直在做移动端的改版项目,做之前老大就跟我说了好几次,说这次改版一定要用雪碧图减少一个页面的图片的请求次数,能加快页面的加载速度就一定要加快,我说可以。因为之前的项目开发时间过短,也没有时间去慢慢实现雪碧图,所以就一直没有做这样的一个功能,但这次时间较为充分,于是就开始着手做雪碧图。做之前呢,首先想到的就是用PS将所有的小图放在一张大图上,可那么多的小图,一张一张往上放,岂不累趴,而且你还没有办法去确切的计算整张雪碧图的宽高,这不搞死人吗?于是就上网查资料,然后就有了本文很简单的生成雪碧图的方法。
这种方法是基于gulp的,因为之前就会玩gulp,所以安装gulp及相关的插件就很简单了(具体玩转gulp请去我的博客中关于学习安装并配置前端自动化工具Gulp的文章)。可能有人用的是webpack这种高大上的技术,但我还不会用这玩意,就暂且用gulp吧,能实现我想要的就是最好的。以下就是详细的实现代码:
配置gulpfile.js
//引入gulp模块
var gulp=require('gulp');
//引入雪碧图合成插件
var spritesmith=require('gulp.spritesmith');
gulp.task('default',function(){
    gulp.src('images/*.png')
        .pipe(spritesmith({
            imgName:'images/sprite.png',    //保存合并后的名称
            cssName:'css/sprite.css',       //保存合并后css样式的地址
            padding:2,                      //合并时两个图片的间距
            algorithm:'binary-tree',        //注释1
            //cssTemplate:'css/handlebarsStr.css'    //注释2
            cssTemplate:function(data){     //如果是函数的话,这可以这样写
                var arr=[];
                data.sprites.forEach(function (sprite){
                    arr.push(".icon-"+sprite.name+
                        "{"+
                            "background-image: url('"+sprite.escaped_image+"');"+
                            "background-repeat: no-repeat;"+
                            "background-position: "+sprite.px.offset_x+" "+sprite.px.offset_y+";"+
                            "background-size: "+sprite.px.width+" "+sprite.px.height+";"+
                            " "+sprite.px.width+";"+
                            "height: "+sprite.px.height+";"+
                        "}
");
                });
                return arr.join("");
            }
        }))
        .pipe(gulp.dest('dest/'));   //输出目录
});
关于代码中的注释部分作出以下详解:
注释1:
Algorithm 有四个可选值分别为:top-down、left-right、diagonal、alt-diagonal、binary-tree
对应如下:

注释2:
cssTemplate是生成css的模板文件,可以是字符串也可以是函数。是字符串是对于相对于的模板地址,对于模板文件样式格式是:
配置handlebarsStr.css
{{#sprites}}
.icon-{{name}}{
    background-image: url({{escaped_image}});
    background-repeat: no-repeat;
    background-position: {{px.offset_x}} {{px.offset_y}};
    background-size: {{px.width}} {{px.height}};
     {{px.width}};
    height: {{px.height}};
}
{{/sprites}}
个人认为,还是这种方法比较简单实现。
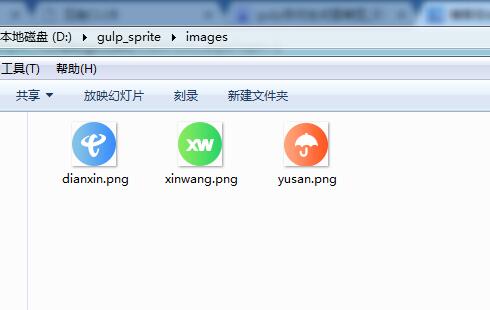
需要要合成的图片:

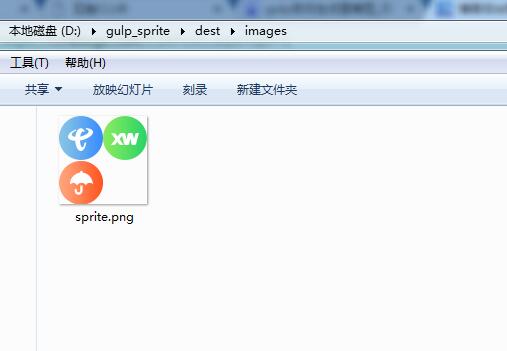
合成成功:

