01.我们在App/Filters目录中创建一个Throttle.php文件,其中写的是1分钟内只能访问10次,如果超出了1秒才能访问一次,代码如下:
<?php namespace AppFilters;

use CodeIgniterFiltersFilterInterface;
use CodeIgniterHTTPRequestInterface;
use CodeIgniterHTTPResponseInterface;
use ConfigServices;

class Throttle implements FilterInterface
{
    //这是一个为应用程序使用 Trottler 类来实现速率限制的实例
    public function before(RequestInterface $request)
    {
        $throttler = Services::throttler();

        // 在整个站点上将IP地址限制为每秒不超过1个请求
        if ($throttler->check($request->getIPAddress(), 10, MINUTE) === false) {
            return Services::response()->setStatusCode(429);
        }
    }

    //暂时无事可做
    public function after(RequestInterface $request, ResponseInterface $response)
    {
    }
}

02.我们在App/Config/Filters文件中,写入以下代码:
    public $aliases = [
        'csrf'     => CodeIgniterFiltersCSRF::class,
        'toolbar'  => CodeIgniterFiltersDebugToolbar::class,
        'honeypot' => CodeIgniterFiltersHoneypot::class,
        'throttle' => AppFiltersThrottle::class,
    ];
    public $methods = [
        'post' => ['throttle', 'CSRF'],
        'get'  => ['throttle'],
    ];

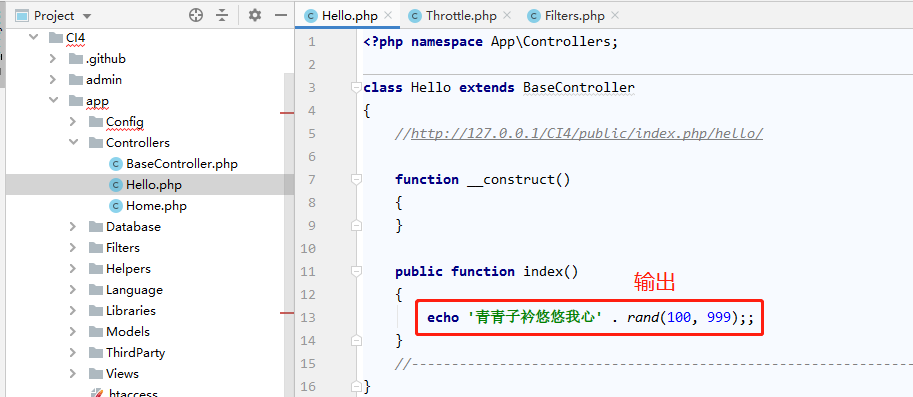
03. 我们在controller控制器中写入一段输出的代码
<?php namespace AppControllers;

class Hello extends BaseController
{
    //http://127.0.0.1/CI4/public/index.php/hello/

    function __construct()
    {
    }

    public function index()
    {
        echo '青青子衿悠悠我心' . rand(100, 999);
    }
    //--------------------------------------------------------------------
}

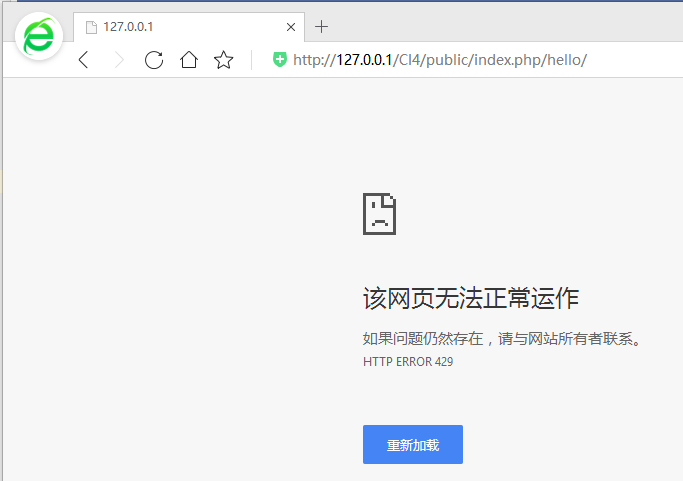
04.打开浏览器,我们浏览器访问http://127.0.0.1/CI4/public/index.php/hello/,效果如下

05.我们1分钟超过10次访问http://127.0.0.1/CI4/public/index.php/hello/之后,会发现浏览器无法显示。需要等2秒再访问,这样就很完美的起到了限制IP频繁访问的作用了。

原创不易,如果您认为这篇文章有价值,认同作者的付出,可以微信二维码打赏任意金额给作者(微信号:382477247)哦,谢谢。
