《Windows Azure Platform 系列文章目录》
Azure Application Gateway可以使用SAN证书,创建多站点域名。
SANs是Subject Alternate Names的简称,SANs证书是一种SSL证书,它支持添加多个域名,允许将多个域名写入同一个证书中,这样就可以保护多个域名,从而降低了运维人员的管理成本,提高了证书管理效率
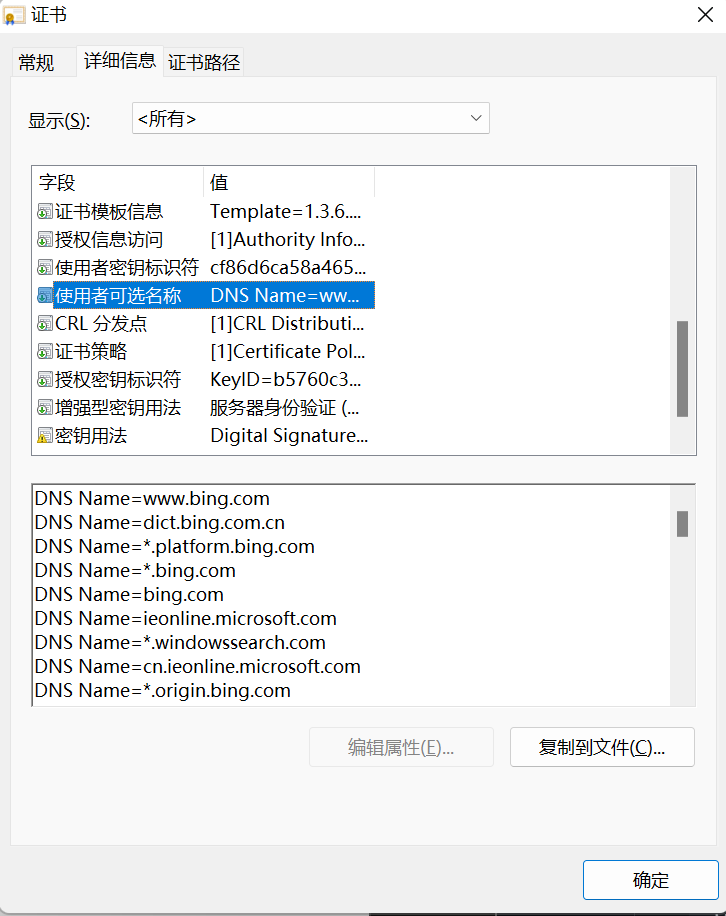
比如www.bing.com的证书,如下图:

我们首先需要准备一下pfx证书,具体步骤如下:
1.首先安装openssl。步骤略
2.创建私钥:
openssl genrsa -des3 -out example.com.key 2048
3.生成CSR
openssl req -new -key example.com.key -out example.com.csr
Enter pass phrase for example.com.key:
You are about to be asked to enter information that will be incorporated
into your certificate request.
What you are about to enter is what is called a Distinguished Name or a DN.
There are quite a few fields but you can leave some blank
For some fields there will be a default value,
If you enter '.', the field will be left blank.
-----
Country Name (2 letter code) [XX]:XX
State or Province Name (full name) []:State
Locality Name (eg, city) [Default City]:City
Organization Name (eg, company) [Default Company Ltd]:Company
Organizational Unit Name (eg, section) []:BU
Common Name (eg, your name or your server's hostname) []:*.example.com
Email Address []:admin@example.com

Please enter the following 'extra' attributes
to be sent with your certificate request
A challenge password []:
An optional company name []:
3.从秘钥中删除密码
cp example.com.key example.com.key.org
openssl rsa -in example.com.key.org -out example.com.key
4.为SAN证书创建config file
touch v3.ext
在文件里,保存如下信息:
subjectKeyIdentifier   = hash
authorityKeyIdentifier = keyid:always,issuer:always
basicConstraints       = CA:TRUE
keyUsage               = digitalSignature, nonRepudiation, keyEncipherment, dataEncipherment, keyAgreement, keyCertSign
subjectAltName         = DNS:example.com, DNS:*.example.com
issuerAltName          = issuer:copy
注意subjectAltName里,设置你需要的DNS Name
我这里设置如下:
subjectKeyIdentifier   = hash
authorityKeyIdentifier = keyid:always,issuer:always
basicConstraints       = CA:TRUE
keyUsage               = digitalSignature, nonRepudiation, keyEncipherment, dataEncipherment, keyAgreement, keyCertSign
subjectAltName         = DNS:leicorp.biz, DNS:*.leicorp.biz, DNS:leidemo.biz, DNS:*.leidemo.biz
issuerAltName          = issuer:copy
5.创建自签名证书:
openssl x509 -req -in example.com.csr -signkey example.com.key -out example.com.crt -days 3650 -sha256 -extfile v3.ext
6.把crt证书转换为pfx证书
openssl pkcs12 -export -out certificate.pfx -inkey example.com.key -in example.com.crt
如果要导出pem证书,请按照下面操作:
openssl pkcs12 -export -out certificate.pem -inkey example.com.key -in example.com.crt
7.把certificate.pfx证书下载到本地
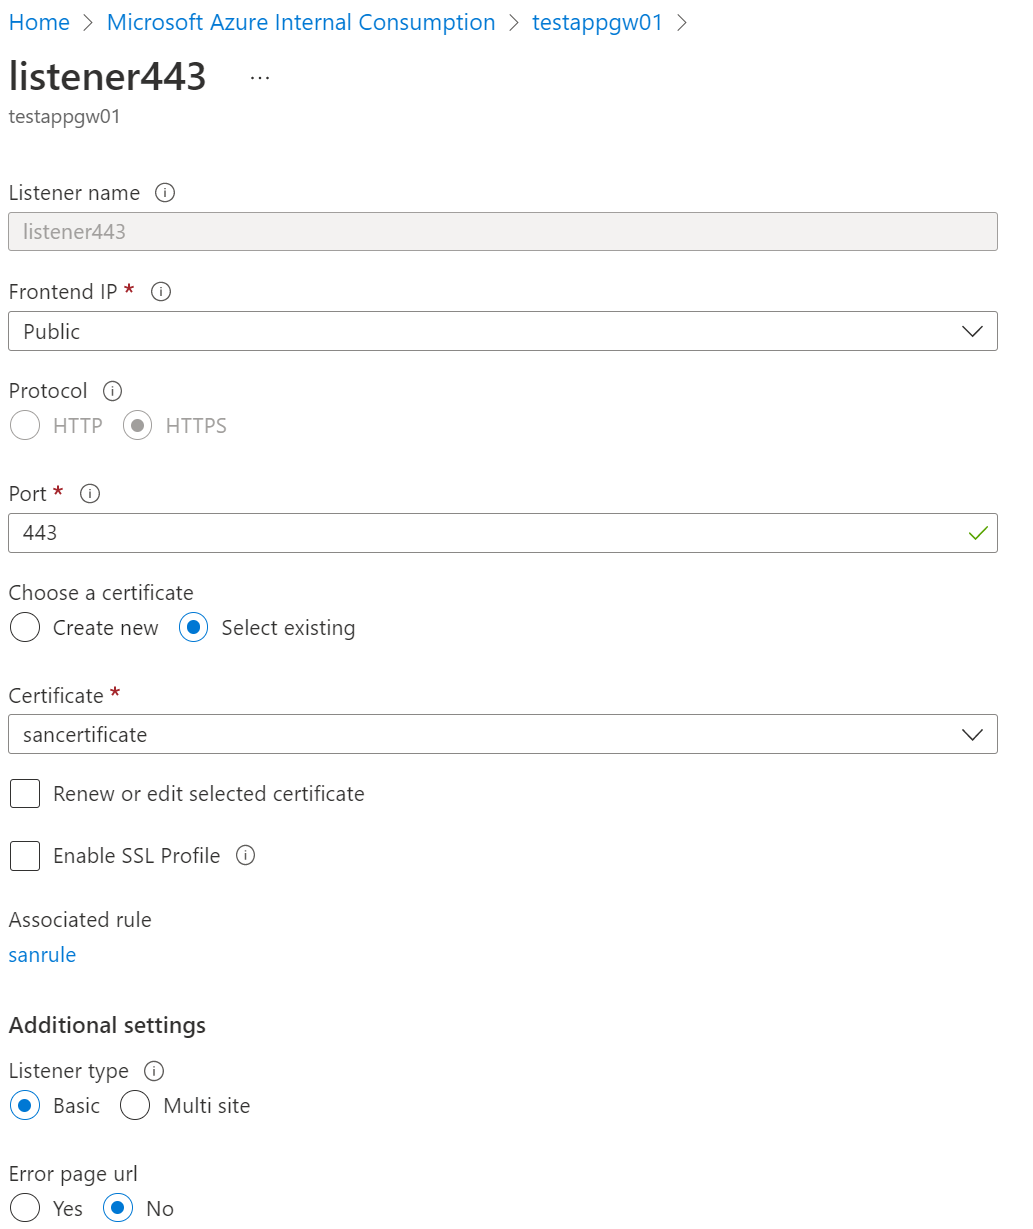
8.创建Azure Application Gateway v2,创建basic listener,上传pfx证书。
这里一个SAN证书包含多个域名,只需要创建一个listener即可。

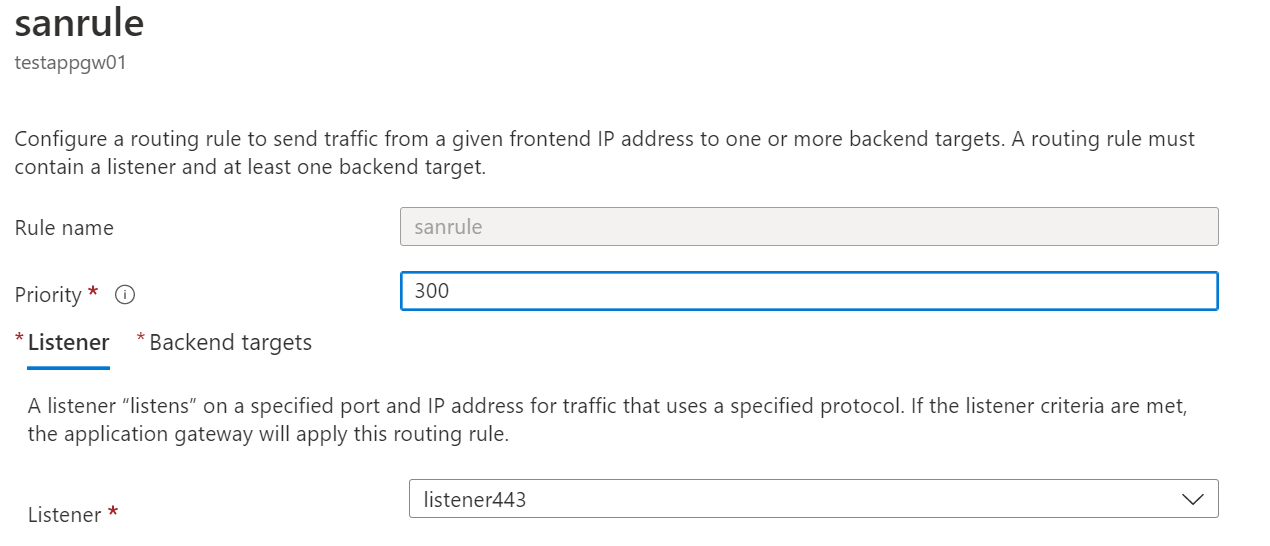
9.设置Application Gateway Rule。

10.修改DNS指向,或者修改windows的host文件
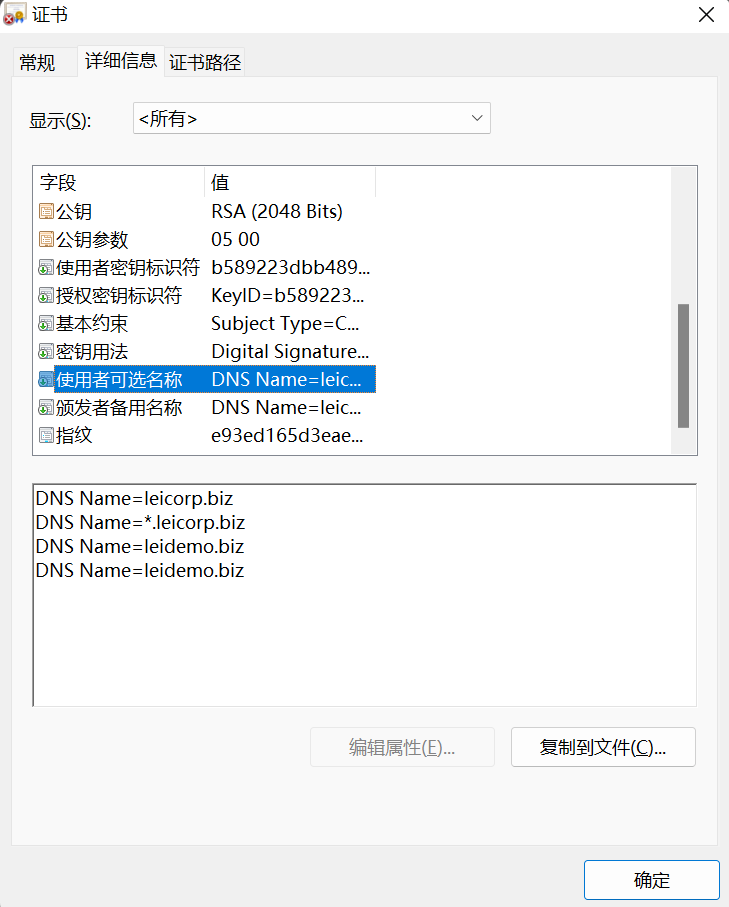
11.登录域名,查看证书效果:
