总体来说,按照网上的教程差不多,但是有个别地方不太一样,下面分别说说。
1.打开单片机的FPU
在 system_stm32f30x.c 文件下找到函数 SystemInit ,注意头几行的条件判断(橙色)有没有,没有的话加上。
void SystemInit(void)
{
  /* FPU settings ------------------------------------------------------------*/
  #if (__FPU_PRESENT == 1) && (__FPU_USED == 1)
    SCB->CPACR |= ((3UL << 10*2)|(3UL << 11*2));  /* set CP10 and CP11 Full Access */
  #endif

  /* Reset the RCC clock configuration to the default reset state ------------*/
  /* Set HSION bit */
  RCC->CR |= (uint32_t)0x00000001;

  /* Reset CFGR register */
  RCC->CFGR &= 0xF87FC00C;

  /* Reset HSEON, CSSON and PLLON bits */
  RCC->CR &= (uint32_t)0xFEF6FFFF;
...
...
}
2.在 stm32f30x.h 文件中 找到 宏定义 __FPU_PRESENT 并置1
3.在 option for target -- C/C++ --Preoprocessor Symbols 加入__TARGET_FPU_VFP 和 __FPU_PRESENT ; 在 option for target --target -- code generation -- Float Point Hardware 选择 SIngle Precision
4.确保 core_cm4.h 中这里的条件编译 成功宏定义 __FPU_USED 为1
#if defined ( __CC_ARM )
  #if defined __TARGET_FPU_VFP
    #if (__FPU_PRESENT == 1)
      #define __FPU_USED       1
    #else
      #warning "Compiler generates FPU instructions for a device without an FPU (check __FPU_PRESENT)"
      #define __FPU_USED       0
    #endif
  #else
    #define __FPU_USED         0
  #endif
5.在 startup_stm32f303xc.s 文件中,添加橙色汇编代码以支持FPU,这部分代码,网络上有不同版本,正点原子也和我的不同,我是尝试了好多版本才试出来我这个是可以用的,具体原因不太清楚,以后再查吧。
; Reset handler
Reset_Handler    PROC
                 EXPORT  Reset_Handler             [WEAK]
        IMPORT  SystemInit
        IMPORT  __main

                 LDR     R0, =0xE000ED88    ; 使能浮点运算 CP10,CP11
                 LDR     R1,[R0]
                 ORR     R1,R1,#(0xF << 20)
                 STR     R1,[R0]
                 DSB

                 LDR.W R0,=0xE000EF34
                 LDR R1,[R0]
                 AND R1,R1,#(0X3FFFFFFF)
                 STR R1,[R0]
                 ISB

                 LDR     R0, =SystemInit
                 BLX     R0
                 LDR     R0, =__main
                 BX      R0
                 ENDP
ok!这样单片机这边的FPU就可以使用了,接下去在UCOSIII中开启FPU支持。
1.打开 os_cpu_c.c,找到函数 OSTaskStkInit,加入如下橙色代码
CPU_STK  *OSTaskStkInit (OS_TASK_PTR    p_task,
                         void          *p_arg,
                         CPU_STK       *p_stk_base,
                         CPU_STK       *p_stk_limit,
                         CPU_STK_SIZE   stk_size,
                         OS_OPT         opt)
{
    CPU_STK    *p_stk;


    (void)opt;                                                  /* Prevent compiler warning                               */

    p_stk = &p_stk_base[stk_size];                              /* Load stack pointer                                     */

    p_stk = (CPU_STK *)((CPU_STK)(p_stk) & 0xFFFFFFF8);         /* Align the stack to 8-bytes.                            */

#if (__FPU_PRESENT==1)&&(__FPU_USED==1)         /* Registers stacked as if auto-saved on exception        */
    *(--p_stk) = (CPU_STK)0x00000000u; //No Name Register
    *(--p_stk) = (CPU_STK)0x00001000u; //FPSCR
    *(--p_stk) = (CPU_STK)0x00000015u; //s15
    *(--p_stk) = (CPU_STK)0x00000014u; //s14
    *(--p_stk) = (CPU_STK)0x00000013u; //s13
    *(--p_stk) = (CPU_STK)0x00000012u; //s12
    *(--p_stk) = (CPU_STK)0x00000011u; //s11
    *(--p_stk) = (CPU_STK)0x00000010u; //s10
    *(--p_stk) = (CPU_STK)0x00000009u; //s9
    *(--p_stk) = (CPU_STK)0x00000008u; //s8
    *(--p_stk) = (CPU_STK)0x00000007u; //s7
    *(--p_stk) = (CPU_STK)0x00000006u; //s6
    *(--p_stk) = (CPU_STK)0x00000005u; //s5
    *(--p_stk) = (CPU_STK)0x00000004u; //s4
    *(--p_stk) = (CPU_STK)0x00000003u; //s3
    *(--p_stk) = (CPU_STK)0x00000002u; //s2
    *(--p_stk) = (CPU_STK)0x00000001u; //s1
    *(--p_stk) = (CPU_STK)0x00000000u; //s0
#endif

    *(--p_stk) = (CPU_STK)0x01000000u;                            /* xPSR                                                   */
    *(--p_stk) = (CPU_STK)p_task;                                 /* Entry Point                                            */
    *(--p_stk) = (CPU_STK)OS_TaskReturn;                          /* R14 (LR)                                               */
    *(--p_stk) = (CPU_STK)0x12121212u;                            /* R12                                                    */
    *(--p_stk) = (CPU_STK)0x03030303u;                            /* R3                                                     */
    *(--p_stk) = (CPU_STK)0x02020202u;                            /* R2                                                     */
    *(--p_stk) = (CPU_STK)p_stk_limit;                            /* R1                                                     */
    *(--p_stk) = (CPU_STK)p_arg;                                  /* R0 : argument                                          */

#if (__FPU_PRESENT==1)&&(__FPU_USED==1)
    *(--p_stk) = (CPU_STK)0x00000031u; //s31
    *(--p_stk) = (CPU_STK)0x00000030u; //s30
    *(--p_stk) = (CPU_STK)0x00000029u; //s29
    *(--p_stk) = (CPU_STK)0x00000028u; //s28
    *(--p_stk) = (CPU_STK)0x00000027u; //s27
    *(--p_stk) = (CPU_STK)0x00000026u; //s26
    *(--p_stk) = (CPU_STK)0x00000025u; //s25
    *(--p_stk) = (CPU_STK)0x00000024u; //s24
    *(--p_stk) = (CPU_STK)0x00000023u; //s23
    *(--p_stk) = (CPU_STK)0x00000022u; //s22
    *(--p_stk) = (CPU_STK)0x00000021u; //s21
    *(--p_stk) = (CPU_STK)0x00000020u; //s20
    *(--p_stk) = (CPU_STK)0x00000019u; //s19
    *(--p_stk) = (CPU_STK)0x00000018u; //s18
    *(--p_stk) = (CPU_STK)0x00000017u; //s17
    *(--p_stk) = (CPU_STK)0x00000016u; //s16
#endif
                                                                /* Remaining registers saved on process stack             */
    *(--p_stk) = (CPU_STK)0x11111111u;                            /* R11                                                    */
    *(--p_stk) = (CPU_STK)0x10101010u;                            /* R10                                                    */
    *(--p_stk) = (CPU_STK)0x09090909u;                            /* R9                                                     */
    *(--p_stk) = (CPU_STK)0x08080808u;                            /* R8                                                     */
    *(--p_stk) = (CPU_STK)0x07070707u;                            /* R7                                                     */
    *(--p_stk) = (CPU_STK)0x06060606u;                            /* R6                                                     */
    *(--p_stk) = (CPU_STK)0x05050505u;                            /* R5                                                     */
    *(--p_stk) = (CPU_STK)0x04040404u;                            /* R4                                                     */

    return (p_stk);
}
2.打开 os_cpu_a.asm ,将橙色部分取消注释。这部分代码网上也有不同版本,我也是试了好几种才试出来这个可以用,具体以后再查吧。
PendSV_Handler
    CPSID   I                                                   ; Prevent interruption during context switch
    MRS     R0, PSP                                             ; PSP is process stack pointer
    CBZ     R0, PendSVHandler_nosave                     ; Skip register save the first time

    ;Is the task using the FPU context? If so, push high vfp registers.
    SUBS    R0, R0, #0x40
    VSTM    R0, {S16-S31}

    SUBS    R0, R0, #0x20                                       ; Save remaining regs r4-11 on process stack
    STM     R0, {R4-R11}

    LDR     R1, =OSTCBCurPtr                                    ; OSTCBCurPtr->OSTCBStkPtr = SP;
    LDR     R1, [R1]
    STR     R0, [R1]                                            ; R0 is SP of process being switched out

                                                                ; At this point, entire context of process has been saved
PendSVHandler_nosave
    PUSH    {R14}                                               ; Save LR exc_return value
    LDR     R0, =OSTaskSwHook                                   ; OSTaskSwHook();
    BLX     R0
    POP     {R14}

    LDR     R0, =OSPrioCur                                      ; OSPrioCur   = OSPrioHighRdy;
    LDR     R1, =OSPrioHighRdy
    LDRB    R2, [R1]
    STRB    R2, [R0]

    LDR     R0, =OSTCBCurPtr                                    ; OSTCBCurPtr = OSTCBHighRdyPtr;
    LDR     R1, =OSTCBHighRdyPtr
    LDR     R2, [R1]
    STR     R2, [R0]

    LDR     R0, [R2]                                            ; R0 is new process SP; SP = OSTCBHighRdyPtr->StkPtr;
    LDM     R0, {R4-R11}                                        ; Restore r4-11 from new process stack
    ADDS    R0, R0, #0x20

   ;Is the task using the FPU context? If so, push high vfp registers.
    VLDM    R0, {S16-S31}
    ADDS    R0, R0, #0x40

    MSR     PSP, R0                                             ; Load PSP with new process SP
    ORR     LR, LR, #0x04                                       ; Ensure exception return uses process stack
    CPSIE   I
    BX      LR                                                  ; Exception return will restore remaining context
    END
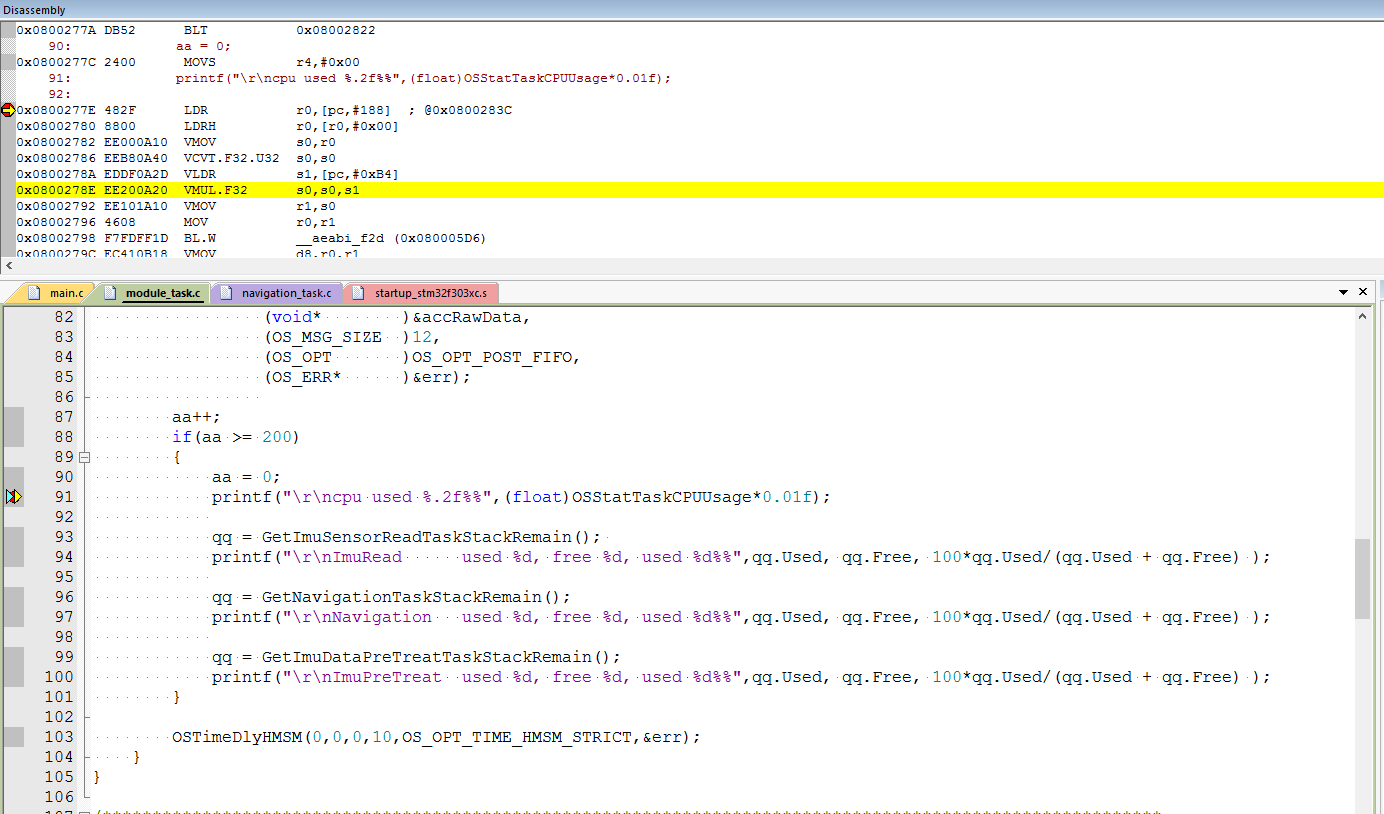
现在,调试一下,看汇编窗口,乘法是带V开头的汇编指令,这样,就完成了!!!