Spring Cloud官网: https://spring.io/projects/spring-cloud
本篇主要讲Spring Cloud Netflix中的Eureka,参考内容如下
文章内容会尽量参考官方文档。
1 注册中心(Eureka Server)
完整代码地址:https://github.com/sxpujs/spring-cloud-examples/tree/master/netflix/netflix-eureka-server
1 maven依赖增加 netflix-eureka-server
<dependency>
  <groupId>org.springframework.cloud</groupId>
  <artifactId>spring-cloud-starter-netflix-eureka-server</artifactId>
</dependency>
2 配置文件 application.yml
server:
  port: 8761

eureka:
  instance:
    hostname: localhost
  client:
    registerWithEureka: false
    fetchRegistry: false
    serviceUrl:
      defaultZone: http://${eureka.instance.hostname}:${server.port}/eureka/
3 Application启动类,增加@EnableEurekaServer注解
@SpringBootApplication
@EnableEurekaServer
public class NetflixEurekaServerApplication {

  public static void main(String[] args) {
    SpringApplication.run(NetflixEurekaServerApplication.class, args);
  }
}
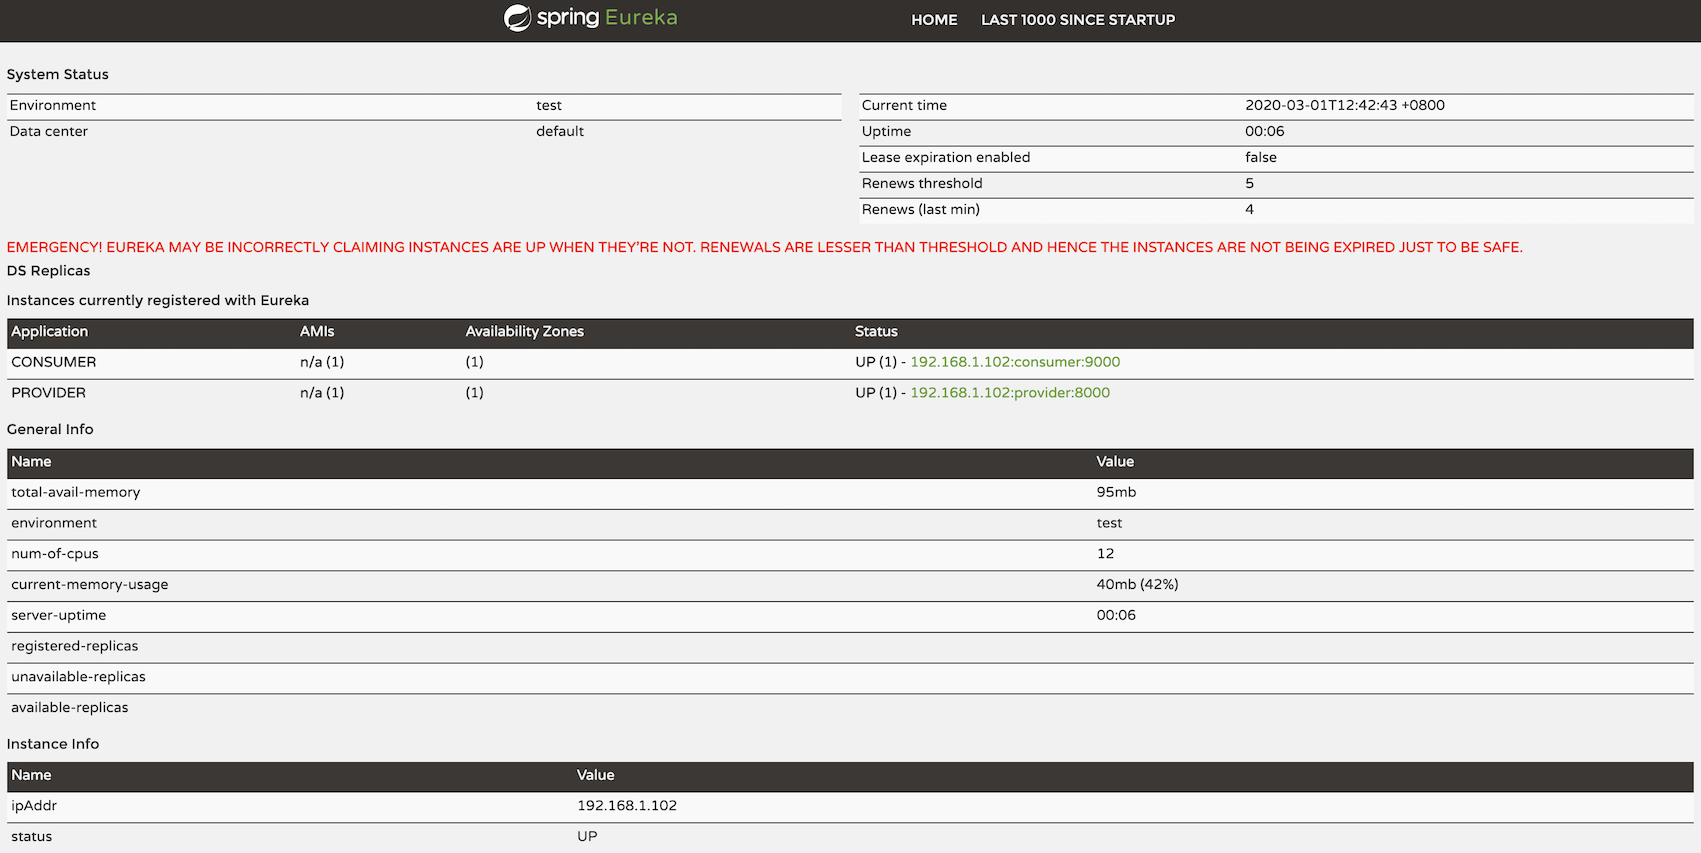
4 启动服务,在浏览器打开如下地址:http://localhost:8761/,页面如下:
2 创建服务提供者
完整代码参考:https://github.com/sxpujs/spring-cloud-examples/tree/master/netflix/netflix-eureka-client-provider
1 maven依赖增加 netflix-eureka-client
<dependency>
  <groupId>org.springframework.cloud</groupId>
  <artifactId>spring-cloud-starter-netflix-eureka-client</artifactId>
</dependency>
<dependency>
  <groupId>org.springframework.boot</groupId>
  <artifactId>spring-boot-starter-web</artifactId>
</dependency>
2 配置application.yml
eureka:
  client:
    serviceUrl:
      defaultZone: http://localhost:8761/eureka/
spring:
  application:
    name: provider  ## 应用程序名称,后面会在消费者中用到
server:
  port: 8000
3 Application启动类与hello接口
@SpringBootApplication
@RestController
@Slf4j
public class NetflixEurekaClientProviderApplication {

  @RequestMapping("/")
  public String home() {
    return "Hello world";
  }

  @Autowired
  private DiscoveryClient discoveryClient;

  @RequestMapping(value = "/hello")
  public String hello(){
    List<String> services = discoveryClient.getServices();
    for(String s : services){
      log.info(s);
    }
    return "hello spring cloud!";
  }

  public static void main(String[] args) {
    SpringApplication.run(NetflixEurekaClientProviderApplication.class, args);
  }
}
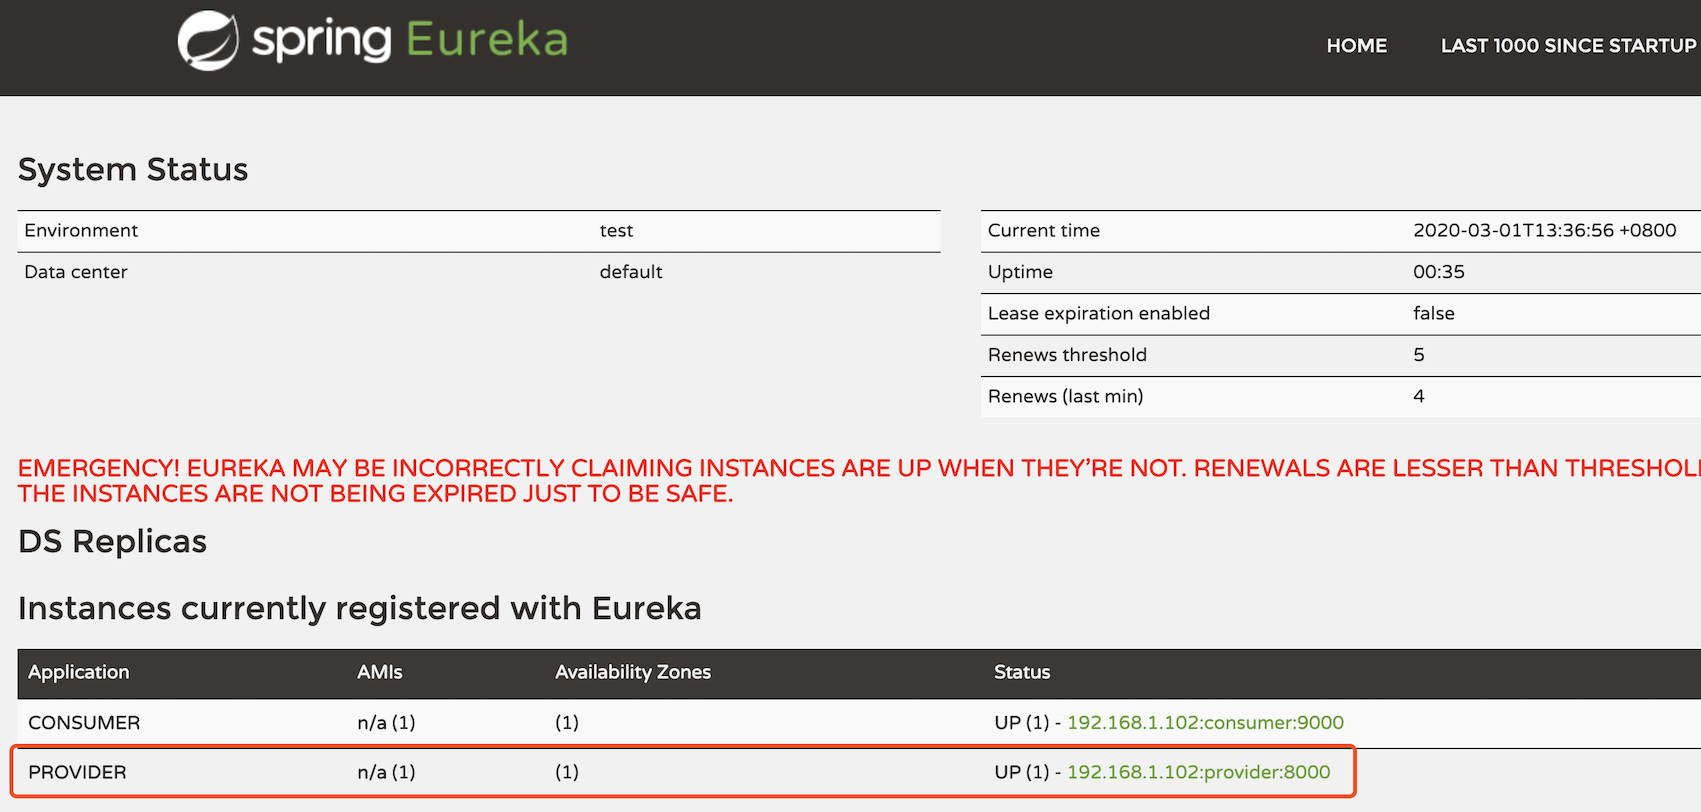
4 启动项目,正常情况下就注册到了 Eureka 注册中心,打开 Eureka 控制台,会看到已经出现了这个服务。
curl localhost:8000/hello
结果: hello spring cloud!
3 创建服务消费者
完整代码参考:https://github.com/sxpujs/spring-cloud-examples/tree/master/netflix/netflix-eureka-client-consumer
1 maven依赖增加 netflix-eureka-client, spring-cloud-starter-openfeign等
<dependency>
  <groupId>org.springframework.cloud</groupId>
  <artifactId>spring-cloud-starter-netflix-eureka-client</artifactId>
</dependency>
<dependency>
  <groupId>org.springframework.boot</groupId>
  <artifactId>spring-boot-starter-web</artifactId>
</dependency>
<dependency>
  <groupId>org.springframework.cloud</groupId>
  <artifactId>spring-cloud-starter-openfeign</artifactId>
</dependency>
<dependency>
  <groupId>org.springframework.boot</groupId>
  <artifactId>spring-boot-starter-actuator</artifactId>
</dependency>
2 配置application.yml
eureka:
  client:
    serviceUrl:
      defaultZone: http://localhost:8761/eureka/
spring:
  application:
    name: consumer  ## 应用程序名称

server:
  port: 9000
3 Application启动类
@SpringBootApplication
@RestController
@EnableEurekaClient
@EnableFeignClients
public class NetflixEurekaClientConsumerApplication {

  /**
   * 注入 RestTemplate
   * 并用 @LoadBalanced 注解,用负载均衡策略请求服务提供者
   * 这是 Spring Ribbon 的提供的能力
   * @return
   */
  @LoadBalanced
  @Bean
  public RestTemplate restTemplate() {
    return new RestTemplate();
  }

  @RequestMapping("/")
  public String home() {
    return "Hello world";
  }

  public static void main(String[] args) {
    SpringApplication.run(NetflixEurekaClientConsumerApplication.class, args);
  }

}
4 创建一个服务接口类,这是 Feign 的使用方式,详细的用法可以查一下 Spring Cloud Feign 相关文档
/**
 * IHelloService
 * 配置服务提供者:provider 是服务提供者的 application.name
 */
@FeignClient("provider")
public interface IHelloService {

    @RequestMapping(value = "/hello")
    String hello();
}
5 创建一个 Controller 用于调用服务
@RestController
public class ConsumerController {

    @Autowired
    private RestTemplate restTemplate;

    @Autowired
    private IHelloService helloService;

    private static final String applicationName = "provider";

    @RequestMapping(value = "commonRequest")
    public Object commonRequest(){
        String url = "http://"+ applicationName +"/hello";
        return restTemplate.getForObject(url,String.class);
    }

    @RequestMapping(value = "feignRequest")
    public Object feignRequest(){
        return helloService.hello();
    }
}
其中 feignRequest 方法是使用了 Feign 的方式调用服务接口;
commonRequest 方法是用 RestTemplate 提供的方法调用服务接口;
6 启动服务,测试接口。
curl localhost:9000/commonRequest
结果: hello spring cloud!

curl localhost:9000/feignRequest
结果: hello spring cloud!