一、安装ZABBIX
1、环境和软件版本
注:此次是采用的rpm包方式安装,所以服务器必须要能连接互联网通过yum方式解决依赖关系
①系统:
[root@zabbix ~]# cat /etc/redhat-release
CentOS Linux release 7.3.1611 (Core)
②软件:
zabbix-3.4.0
2、zabbix安装
2.1 系统环境配置
关闭防火墙和SElinux
[root@zabbix ~]# systemctl stop firewalld.service
[root@zabbix ~]# systemctl disable firewalld.service
[root@zabbix ~]# vim /etc/selinux/config
SELINUX=enforcing改为SELINUX=disabled
[root@zabbix ~]# reboot
2.2 配置zabbix的yum源
[root@zabbix ~]# wget http://repo.zabbix.com/zabbix/3.4/rhel/7/x86_64/zabbix-release-3.4-2.el7.noarch.rpm
[root@zabbix ~]# rpm -ivh zabbix-release-3.4-2.el7.noarch.rpm
警告:zabbix-release-3.4-2.el7.noarch.rpm: 头V4 RSA/SHA512 Signature, 密钥 ID a14fe591: NOKEY
准备中...                          ################################# [100%]
正在升级/安装...
   1:zabbix-release-3.4-2.el7         ################################# [100%]
2.3 下载相关软件
下载地址:http://repo.zabbix.com/zabbix/3.4/rhel/7/x86_64/
各种包的作用:
服务端
zabbix-server-mysql-3.4.0-1.el7.x86_64.rpm       //zabbix连接mysql的程序包
zabbix-web-3.4.0-1.el7.noarch.rpm            //web界面程序包
zabbix-web-mysql-3.4.0-1.el7.noarch.rpm        //web程序连接mysql的程序包
zabbix-get-3.4.0-1.el7.x86_64.rpm               //获取agent端信息的程序包
被监控端
zabbix-agent-3.4.0-1.el7.x86_64.rpm              //zabbix的agent程序
zabbix-sender-3.4.0-1.el7.x86_64.rpm            //agent端主动发送信息的程序
2.4 安装和配置Mariadb
安装
[root@zabbix ~]# yum install mariadb-server -y
[root@zabbix ~]# systemctl start mariadb
[root@zabbix ~]# ss -tnl | grep 3306
LISTEN     0      50           *:3306                     *:*
#安全初始化数据库
[root@zabbix ~]# mysql_secure_installation
Enter current password for root (enter for none):
Set root password? [Y/n] y
New password:
Re-enter new password:
Remove anonymous users? [Y/n] y
Disallow root login remotely? [Y/n] n
Remove test database and access to it? [Y/n] n
Reload privilege tables now? [Y/n] y
#编辑my.cnf加入以下两项参数
innodb_file_per_table=1
skip_name_resolve=1
[root@zabbix ~]# systemctl restart mariadb
[root@zabbix ~]# systemctl enable mariadb
2.5 创建和授权zabbix需要的数据库
MariaDB [(none)]> CREATE DATABASE zabbix CHARACTER SET utf8 COLLATE utf8_bin;
Query OK, 1 row affected (0.00 sec)

MariaDB [(none)]> GRANT ALL ON zabbix.* TO 'zabbix'@'%' IDENTIFIED BY 'zabbix123';
Query OK, 0 rows affected (0.00 sec)

MariaDB [(none)]> flush privileges;
Query OK, 0 rows affected (0.00 sec)
2.6 测试数据库是否能登录
[root@zabbix ~]# mysql -u zabbix -p
Enter password:
MariaDB [(none)]> show databases;
+--------------------+
| Database           |
+--------------------+
| information_schema |
| test               |
| zabbix             |
+--------------------+
3 rows in set (0.00 sec)
2.7 安装zabbix服务端
因为服务端自身也要被监控(如若不然谁来监控锦衣卫?)所以也需要安装agent端的程序,后面的被监控点就只需要安装agnet即可,另外还提一点就是 web展示的服务不一定非要和zabbixserver端装在一起,也可以分离。
[root@zabbix ~]# cd zabbix3.4.0/
[root@zabbix zabbix3.4.0]# ll
总用量 5384
-rw-r--r-- 1 root root  361136 8月  22 2017 zabbix-agent-3.4.0-1.el7.x86_64.rpm
-rw-r--r-- 1 root root  247312 8月  22 2017 zabbix-get-3.4.0-1.el7.x86_64.rpm
-rw-r--r-- 1 root root  258700 8月  22 2017 zabbix-sender-3.4.0-1.el7.x86_64.rpm
-rw-r--r-- 1 root root 2046168 8月  22 2017 zabbix-server-mysql-3.4.0-1.el7.x86_64.rpm
-rw-r--r-- 1 root root 2577060 8月  22 2017 zabbix-web-3.4.0-1.el7.noarch.rpm
-rw-r--r-- 1 root root    5972 8月  22 2017 zabbix-web-mysql-3.4.0-1.el7.noarch.rpm
[root@zabbix zabbix3.4.0]# yum localinstall *.rpm -y   //会自动解决依赖关系
2.8 导入sql文件
编译安装的ZABBIX的sql文件会在web程序的文件夹中,但是我们这里是rpm方式安装,所以sql文件并非和tar包一样并且不再是3个.sql文件,而是一个create.sql.gz的压缩文件
[root@zabbix ~]# cd /usr/share/doc/zabbix-server-mysql-3.4.0/
[root@zabbix zabbix-server-mysql-3.4.0]# ll
总用量 2028
-rw-r--r-- 1 root root      98 8月  21 2017 AUTHORS
-rw-r--r-- 1 root root  777403 8月  21 2017 ChangeLog
-rw-r--r-- 1 root root   17990 8月  21 2017 COPYING
-rw-r--r-- 1 root root 1263114 8月  21 2017 create.sql.gz
[root@zabbix zabbix-server-mysql-3.4.0]# gunzip -c create.sql.gz > create.sql
[root@zabbix zabbix-server-mysql-3.4.0]# mysql -uzabbix -pzabbix123 -Dzabbix < create.sql
导入完成后检查数据库,成功导入的话一共是140张表
| users_groups               |
| usrgrp                     |
| valuemaps                  |
| widget                     |
| widget_field               |
+----------------------------+
140 rows in set (0.00 sec)

MariaDB [zabbix]>
2.9 配置zabbix-server端
[root@zabbix ~]# vim /etc/zabbix/zabbix_server.conf
改如下几项,有注释的就去掉注释
DBHost=localhost
DBName=zabbix
DBUser=zabbix
DBPassword=zabbix123
2.10 配置zabbix-agent端(是服务器端的agent)
[root@zabbix ~]# vim /etc/zabbix/zabbix_agentd.conf
Server=127.0.0.1,192.168.116.137             //被动让server端采集数据的,服务器地址可以有多个,使用逗号隔开
ServerActive=127.0.0.1,192.168.116.137           //主动向zabbix-server发送数据,注意这是server端,所以127.0.0.1不能删除否则会报错
Hostname=Zabbix server                  //agent名称,如果是采用主动发送数据这个名称必须全局唯一
2.11 配置zabbix和httpd开机启动
[root@zabbix ~]# systemctl enable zabbix-server.service
[root@zabbix ~]# systemctl enable zabbix-agent.service
[root@zabbix ~]# systemctl enable httpd.service
2.12 启动zabbix和httpd
[root@zabbix ~]# systemctl start zabbix-server
[root@zabbix ~]# systemctl start zabbix-agent
[root@zabbix ~]# systemctl start httpd
[root@zabbix ~]# ss -tnl
State       Recv-Q Send-Q                                 Local Address:Port                                                Peer Address:Port
LISTEN      0      50                                                 *:3306                                                           *:*LISTEN      0      128                                                *:10050                                                          *:*
LISTEN      0      128                                                *:10051                                                          *:*LISTEN      0      128                                               :::80                                                            :::*LISTEN      0      128                                               :::10050                                                         :::*
LISTEN      0      128                                               :::10051                                                         :::*
2.13 配置zabbix-web
[root@zabbix ~]# vim /etc/php.ini
;date.timezone =    改为  date.timezone = Asia/Shanghai
2.14 web配置
浏览器访问 http://192.168.116.137/zabbix

下一步后会进行条件检查,符合后才能下一步
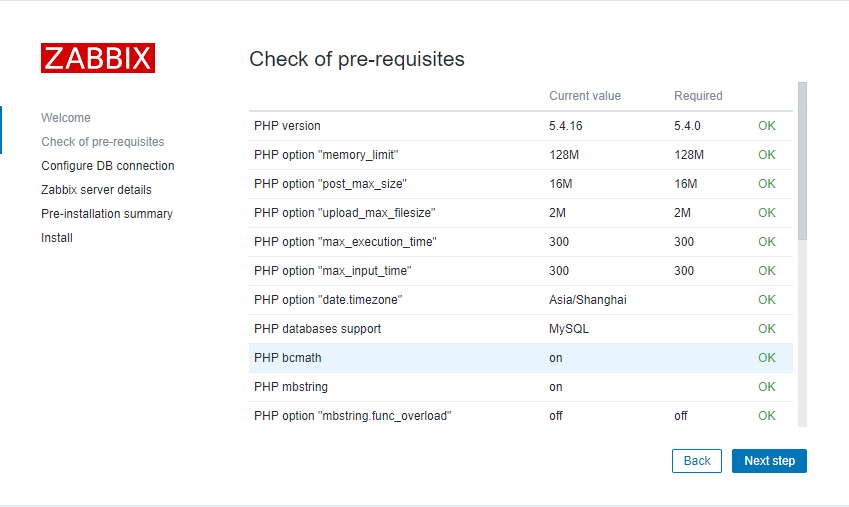
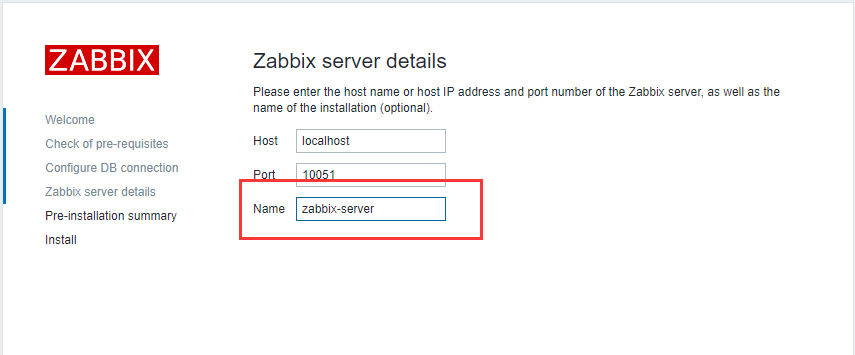
这个地方的参数和上面改zabbix-server配置文件的参数一样

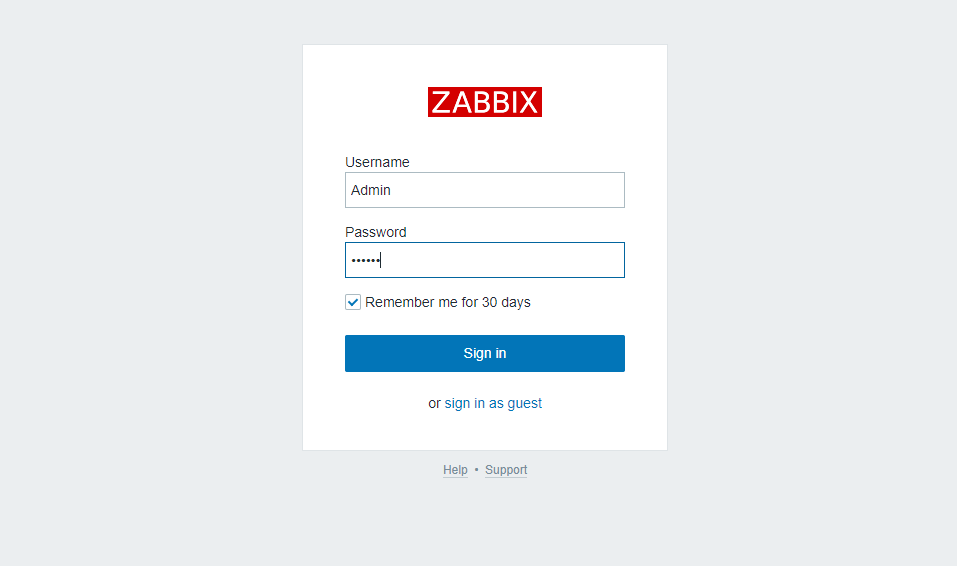
用户名 Admin (一定要大写A)
密码 zabbix
改为中文显示
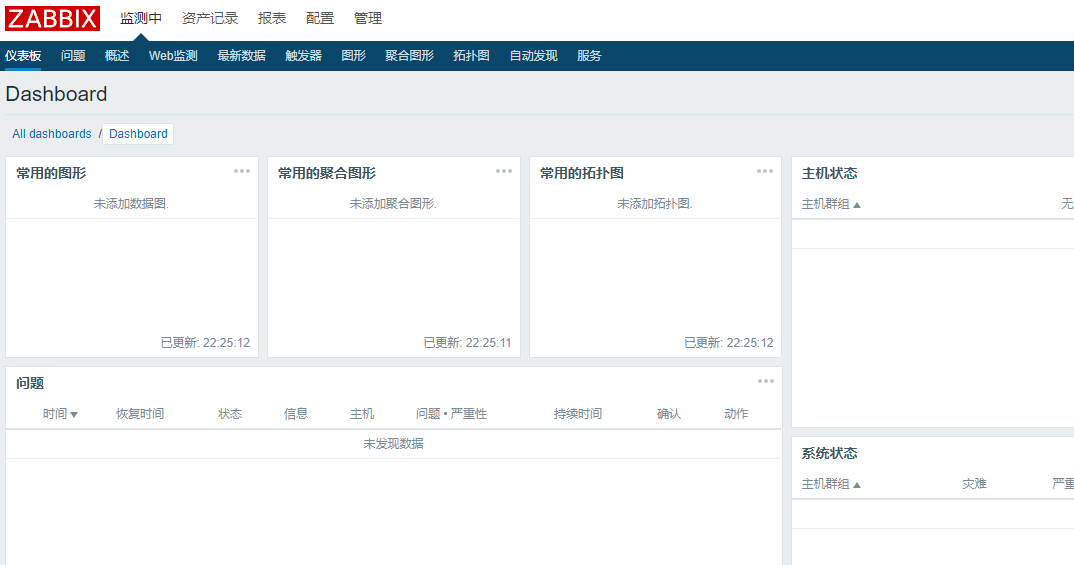
至此zabbix的安装已经完成,下一篇文件将介绍zabbix的使用