centos6下ActiveMQ+Zookeeper消息中间件集群部署记录
由于最近一个项目并发请求压力比较大,所以考虑改进架构,引入消息中间件集群作为一个缓冲消息队列,具体需求:
1)将大量的WebService请求报文发送到mq集群之中,并保持消息先后顺序
2)保证每个消息的可靠性
3)维护MQ服务器的可扩展性
综合考虑,决定使用Apache的activemq,activemq是Apache出品,最流行的,能力强劲的开源消息总线。本项目使用的是activemq5.11,activemq5.11要求jdk6+,本次使用jdk7,并引入activemq服务器。
准备三台服务器:
activemq01 172.16.51.181
activemq01 172.16.51.182
activemq01 172.16.51.183
软件版本:activemq-5.11.1、zookeeper-3.4.11
好了,废话不多说,下面记录下部署过程:
由于最近一个项目并发请求压力比较大,所以考虑改进架构,引入消息中间件集群作为一个缓冲消息队列,具体需求:
1)将大量的WebService请求报文发送到mq集群之中,并保持消息先后顺序
2)保证每个消息的可靠性
3)维护MQ服务器的可扩展性

综合考虑,决定使用Apache的activemq,activemq是Apache出品,最流行的,能力强劲的开源消息总线。本项目使用的是activemq5.11,activemq5.11要求jdk6+,本次使用jdk7,并引入activemq服务器。
准备三台服务器:
G6-mq01   172.16.51.181
G6-mq02   172.16.51.182
G6-mq03   172.16.51.183
软件版本:activemq-5.11.1、zookeeper-3.4.11

好了,废话不多说,下面记录下部署过程:


activemq01机器(172.16.51.181)的部署:
个人运维习惯,会专门创建一个app账号,用户部署应用程序。本案例应用程序都部署在/data目录下,将/data权限设置成app(chown -R app.app /data)
[root@G6-mq01 ~]# useradd app
[root@G6-mq01 ~]# su - app
[app@G6-mq01 ~]$ mkdir /data/software

一、部署zookeeper
[app@G6-mq01 software]$ wget http://mirror.bit.edu.cn/apache/zookeeper/zookeeper-3.4.11/zookeeper-3.4.11.tar.gz
[app@G6-mq01 software]$ tar -zvxf zookeeper-3.4.11.tar.gz
[app@G6-mq01 software]$ mv zookeeper-3.4.11 /data/zookeeper
[app@G6-mq01 software]$ cd /data/zookeeper/conf/
[app@G6-mq01 conf]$ cp zoo_sample.cfg.bak zoo.cfg
[app@G6-mq01 conf]$ vim zoo.cfg
[app@G6-mq01 conf]$ cat zoo.cfg
# The number of milliseconds of each tick
tickTime=2000
# The number of ticks that the initial
# synchronization phase can take
initLimit=10
# The number of ticks that can pass between
# sending a request and getting an acknowledgement
syncLimit=5
# the directory where the snapshot is stored.
# do not use /tmp for storage, /tmp here is just
# example sakes.
dataDir=/data/app/zkdir/data                 //创建此目录夹,存放data
dataLogDir=/data/app/zkdir/log               //创建此目录夹,存放dat
# the port at which the clients will connect
clientPort=2181                              //zookeeper服务端口
# the maximum number of client connections.
# increase this if you need to handle more clients
#maxClientCnxns=60
#
# Be sure to read the maintenance section of the
# administrator guide before turning on autopurge.
#
# http://zookeeper.apache.org/doc/current/zookeeperAdmin.html#sc_maintenance
#
# The number of snapshots to retain in dataDir
#autopurge.snapRetainCount=3
# Purge task interval in hours
# Set to "0" to disable auto purge feature
#autopurge.purgeInterval=1
server.1=172.16.51.181:2888:3888
server.2=172.16.51.182:2888:3888
server.3=172.16.51.183:2888:3888

[app@G6-mq01 conf]$ mkdir -p /data/app/zkdir/data
[app@G6-mq01 conf]$ mkdir -p /data/app/zkdir/log

创建myid文件,并写入与ip地址相称的服务器编号.
[app@G6-mq01 conf]$ cd /data/app/zkdir/data/
[app@G6-mq01 data]$ vim myid              //注意,三台服务器的myid编号不能重复
1

其他两台服务器配置和上面相同,不过myid文件需要写入不一样的id号。两外两台机器的myid可以分别写2、3
启动zookeeper服务:
[app@G6-mq01 data]$ /data/zookeeper/bin/zkServer.sh start
[app@G6-mq01 data]$ lsof -i:2181       //检查zookeeper端口起来了没

查看三台服务器的zookeeper选举情况:
[app@G6-mq01 ~]$ /data/zookeeper/bin/zkServer.sh status
ZooKeeper JMX enabled by default
Using config: /data/zookeeper/bin/../conf/zoo.cfg
Mode: follower

[app@G6-mq02 ~]$ /data/zookeeper/bin/zkServer.sh status
ZooKeeper JMX enabled by default
Using config: /data/zookeeper/bin/../conf/zoo.cfg
Mode: leader

[app@G6-mq03 ~]$ /data/zookeeper/bin/zkServer.sh status
ZooKeeper JMX enabled by default
Using config: /data/zookeeper/bin/../conf/zoo.cfg
Mode: follower


二、部署activemq
[app@G6-mq01 software]$ wget http://archive.apache.org/dist/activemq/5.11.1/apache-activemq-5.11.1-bin.tar.gz
[app@G6-mq01 software]$ tar -zvxf apache-activemq-5.11.1-bin.tar.gz
[app@G6-mq01 software]$ mv apache-activemq-5.11.1 /data/activemq
[app@G6-mq01 software]$ cd /data/activemq/conf/
[app@G6-mq01 conf]$ cp activemq.xml activemq.xml.bak
[app@G6-mq01 conf]$ vim activemq.xml
........
# 需要修改brokerName为某个字段值(注:不可使用默认的localhost),这个是mq集群名称。
# 一个集群内的所有的mq的brokerName为同一个值。也就是说两台服务器的这个配置也要是一样的。
# 加上useJmx="true"的属性,用作server的负载均衡使用。
<broker xmlns="http://activemq.apache.org/schema/core" brokerName="mq-cluster01" dataDirectory="${activemq.data}" useJmx="true">
........

#将kahaDB 给注释掉,新增replicatedLevelDB,其中replicas表示为一个集群里面有几个mq节点
#bind的端口号改为集群端口,如果为0,则会随意分配一个端口给mq节点,不方便查询,所以最好是分配一个固定的端口。要是有第二个集群,此端口最好别一样。
#zkAddress为zookeeper所在服务器的ip及客户端端口,hostname为mq所在服务器的地址,如果有zkpassword,则填写,否则不要填写。
#zkPath的路径每个集群不一样,同一个集群配成一样的,例如第二个集群zkPath="/activemq2/leveldb-stores"。
<!--
        <persistenceAdapter>
            <kahaDB directory="${activemq.data}/kahadb"/>
        </persistenceAdapter>
-->

       <persistenceAdapter>
          <replicatedLevelDB
              directory="${activemq.data}/leveldb"
              replicas="3"            #表示这个activemq集群内有三个mq节点
              bind="tcp://0.0.0.0:62621"         #这个最好别用tcp://0.0.0.0:0配置,如果端口为0,则会随意分配一个端口。这里用固定的62621端口。
              zkAddress="172.16.51.181:2181,172.16.51.182:2181,172.16.51.183:2181"
              zkPassword=""
              hostname="172.16.51.181"           #这个配置成各个mq节点的ip地址
              sync="local_disk"
              zkPath="/activemq/leveldb-stores"/>
       </persistenceAdapter>

........
# 下面为ActiveMQ的内存分配信息。这一段默认可以不改。
# memoryUsage:表示所有队列对象占用的内存大小为70mb;
          <systemUsage>
            <systemUsage>
                <memoryUsage>
                    <memoryUsage percentOfJvmHeap="70" />
                </memoryUsage>
                <storeUsage>
                    <storeUsage limit="100 gb"/>
                </storeUsage>
                <tempUsage>
                    <tempUsage limit="50 gb"/>
                </tempUsage>
            </systemUsage>
        </systemUsage>
........

#下面配置的61616端口即是activemq的服务端口
#将name为amqp、stomp、mqtt、ws几个给注释掉,只留下name为openwire的方式(其中ip可以改为mq所在服务器的ip)
            <transportConnector name="openwire" uri="tcp://0.0.0.0:61616?maximumConnections=1000&wireFormat.maxFrameSize=104857600"/>
        <!--
            <transportConnector name="amqp" uri="amqp://0.0.0.0:5672?maximumConnections=1000&wireFormat.maxFrameSize=104857600"/>
            <transportConnector name="stomp" uri="stomp://0.0.0.0:61613?maximumConnections=1000&wireFormat.maxFrameSize=104857600"/>
            <transportConnector name="mqtt" uri="mqtt://0.0.0.0:1883?maximumConnections=1000&wireFormat.maxFrameSize=104857600"/>
            <transportConnector name="ws" uri="ws://0.0.0.0:61614?maximumConnections=1000&wireFormat.maxFrameSize=104857600"/>
        -->

下面开始启动activem
[app@G6-mq01 conf]$ /data/activemq/bin/activemq start
INFO: Loading '/data/activemq/bin/env'
INFO: Using java '/usr/bin/java'
INFO: Starting - inspect logfiles specified in logging.properties and log4j.properties to get details
INFO: pidfile created : '/data/activemq/data/activemq.pid' (pid '12229')

查看端口启动情况
[app@G6-mq01 conf]$ lsof -i:61616                              #这个是active的服务端
COMMAND   PID USER   FD   TYPE DEVICE SIZE/OFF NODE NAME
java    12229  app  137u  IPv6  42501      0t0  TCP *:61616 (LISTEN)
[app@G6-mq01 conf]$ lsof -i:8161                               #这个是active的管理端口,在jetty.xml文件里配置的
COMMAND   PID USER   FD   TYPE DEVICE SIZE/OFF NODE NAME
java    12229  app  131u  IPv6  42512      0t0  TCP *:patrol-snmp (LISTEN)

另外两台服务器配置和上面类似,只需修改自己的ip地址即可。

注意:
因为使用zookeeper做负载均衡,三台服务器中只会有一台是master,其他两台处于等待状态,所以只有其中一台提供服务。
所以其他两台服务器虽然active程序启动了,但是61616服务端口和8161管理端口是关闭等待状态(即也就是说这两台节点的这两个端口不会起来,只有当master节点故障时,他们中的一个节点的这两个端口才会接着起来)

只有当这台提供服务的服务器宕机以后,才会通过zookeeper选举出另外的一台顶替上来,所以其他几个ip地址是打不开的,只有一台能打开!

在代码里,使用failover进行配置的,如下:
mq.broker.url=failover:(tcp://172.16.51.181:61616,tcp://172.16.51.182:61616,tcp://172.16.51.183:61616)?initialReconnectDelay=1000
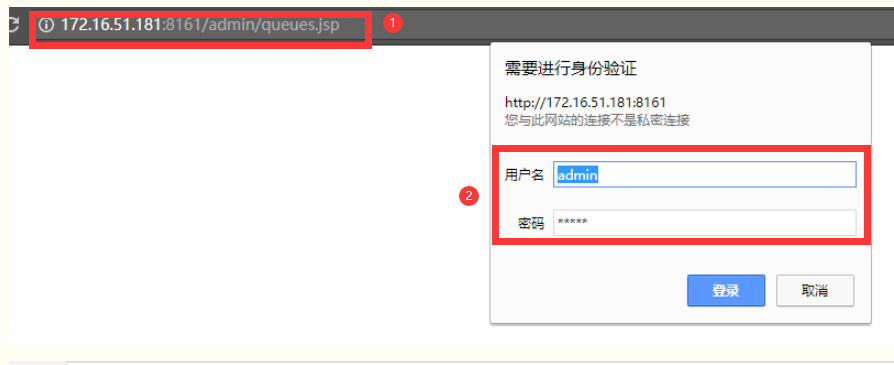
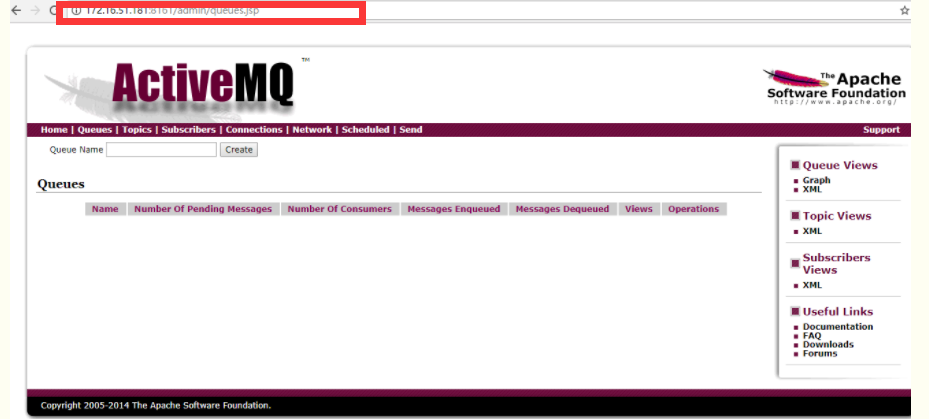
在浏览器里输入下面三个访问地址(默认只有一个master状态的地址能打开),默认用户名和密码都是admin
http://172.16.51.181:8161/admin/queues.jsp
http://172.16.51.182:8161/admin/queues.jsp
http://172.16.51.183:8161/admin/queues.jsp

以上三个地址,默认只能有一个打开,也就是master角色的这个能打开,当这个机器宕机或activemq关闭时,其他两台机器中的一个才能接管服务。
------------------------------------------补充说明--------------------------------------------
1)修改acticemq管理端口
将8161改为其他端口
[app@G6-mq01 ~]$ cd /data/activemq/conf/
[app@G6-mq01 conf]$ cat jetty.xml |grep 8161
        <property name="port" value="8161"/>

kill掉activemq当前的pid,然后start即可
[app@G6-mq01 ~]$ ps -ef|grep activemq|grep -v grep|awk '{print $2}'|xargs kill -9
[app@G6-mq01 ~]$ cd /data/activemq/bin/
[app@G6-mq01 bin]$ ls
activemq  activemq-admin  activemq.jar  diag  env  linux-x86-32  linux-x86-64  macosx  wrapper.jar
[app@G6-mq01 bin]$ ./activemq start

2) 修改activemq管理界面登陆的用户名和密码
默认的用户名和密码为admin,内部使用还好,但如果是对外服务,安全考虑,最好还是将用户名和密码修改下。

需要在activemq.xml文件中的</shutdownHooks>下新增下面内容,用于消息连接身份认证的用户名和密码。
此处引用的是credentials.properties文件夹下面的activemq.username、activemq.password值。
一般写为activemq.username=system、activemq.password=manager。

[app@G6-mq01 conf]$ cat activemq.xml
........
    <plugins>
            <simpleAuthenticationPlugin>
                <users>
                    <authenticationUser username="${activemq.username}" password="${activemq.password}" groups="users,admins"/>
                </users>
            </simpleAuthenticationPlugin>
    </plugins>

[app@G6-mq01 conf]$ cat credentials-enc.properties    #这个文件默认就行,高版本默认的就是用户名就是system
activemq.username=system
activemq.password=ENC(mYRkg+4Q4hua1kvpCCI2hg==)       #密码这里是加密的。

[app@G6-mq01 conf]$ cat jetty-realm.properties
.........
username: password [,rolename ...]
system: manager, admin
# admin: admin, admin
# user: user, user

然后重启activemq服务即可,这样访问http://172.16.51.181:8161/admin/queues.jsp的时候,登陆用户名和密码就是system和manager。

3)如果是部署单机activemq。则上面就不需要部署zookeeper服务,直接安装activemq,配置默认,然后启动activemq。
接着访问http://172.16.51.181:8161/admin/queues.jsp (登陆用户名和密码:admin/admin)即可。