上期回顾:用.bat文件做Airtest脚本的多设备批量运行
最近在使用airtest进行app自动化,但是只能单个执行,实际需要批量执行。看了网上很多文章,其实很多都没真正实践或者说实践不完全,用的不好用。所以,就自己在那些文章的基础上进行了改进与优化。
一、结构
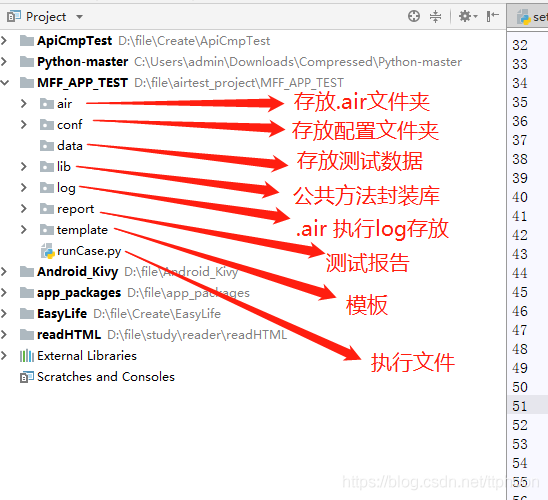
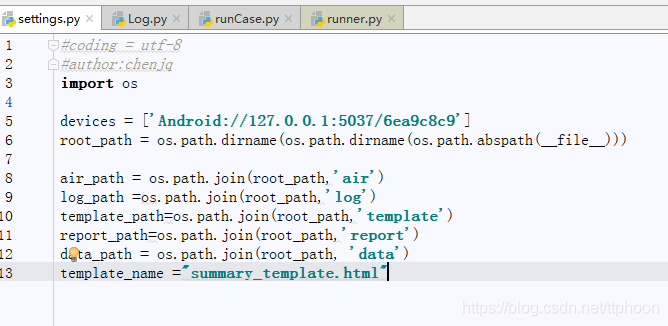
settings.py:放置配置信息,需要修改配置信息直接改改文件即可,不必到代码去改。
air:该项目下所有的.air文件都存放在这。可以在新建.air文件时直接放到此目录即可。

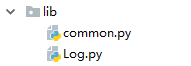
lib:公共方法库,看自己需求可将一些公共方法提取出来放到此文件夹下,方便重复调用。
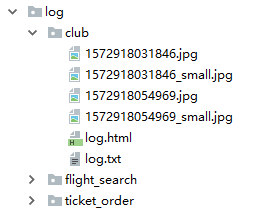
log:将所有.air执行过程中的log和最终的html都放到该目录下
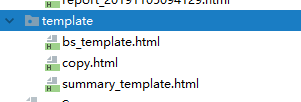
template:存放各种html模板的文件夹,可以放多个,需要变更时到settings.py里修改所要用的模板名称即可。
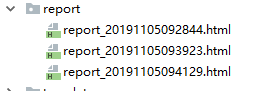
report:存放测试报告
二、执行文件
直接上代码:
from airtest.cli.runner import AirtestCase,run_script
import airtest.report.report as report
from conf.settings import *
from argparse import *
import shutil,os,io,jinja2,datetime
class Air_Case_Handler(AirtestCase):
def setUp(self):
super(Air_Case_Handler, self).setUp()
def tearDown(self):
super(Air_Case_Handler,self).tearDown()
def run_air(self,air_dir,device):
start_time = datetime.datetime.now()
start_time_fmt = start_time.strftime("%Y-%m-%d %H:%M:%S.%f")[:-3]
results = []
root_log = log_path
if os.path.isdir(root_log):
shutil.rmtree(root_log)
else:
os.makedirs(root_log)
for file in os.listdir(air_path):
if file.endswith(".air"):
airName = file
airDirName = file.replace(".air","")
script = os.path.join(air_dir,file)
air_log = os.path.join(root_path,"log\\" + airDirName)
if os.path.isdir(air_log):
#print(air_log)
shutil.rmtree(air_log)
else:
os.makedirs(air_log)
html = os.path.join(air_log,"log.html")
args = Namespace(device=device, log = air_log, recording=None, script=script)
try:
run_script(args,AirtestCase)
except AssertionError as e:
pass
finally:
rpt = report.LogToHtml(script, air_log)
rpt.report("log_template.html", output_file=html)
result = {}
result["name"] = airName.replace('.air', '')
result["result"] = rpt.test_result
results.append(result)
end_time = datetime.datetime.now()
end_time_fmt = end_time.strftime("%Y-%m-%d %H:%M:%S.%f")[:-3]
duration = (end_time - start_time).seconds
env = jinja2.Environment(
loader=jinja2.FileSystemLoader(template_path),
extensions=(),
autoescape=True
)
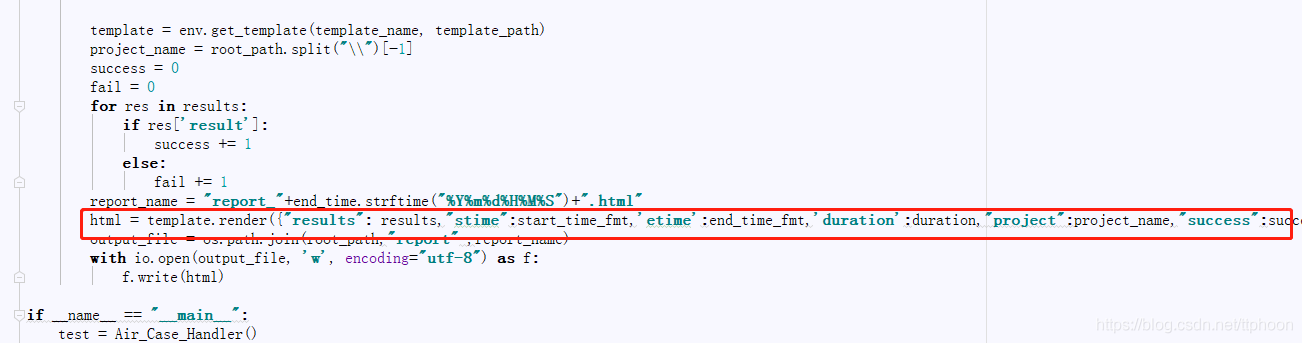
template = env.get_template(template_name, template_path)
project_name = root_path.split("\\")[-1]
success = 0
fail = 0
for res in results:
if res['result']:
success += 1
else:
fail += 1
report_name = "report_"+end_time.strftime("%Y%m%d%H%M%S")+".html"
html = template.render({"results": results,"stime":start_time_fmt,'etime':end_time_fmt,'duration':duration,"project":project_name,"success":success,"fail":fail})
output_file = os.path.join(root_path,"report" ,report_name)
with io.open(output_file, 'w', encoding="utf-8") as f:
f.write(html)
if __name__ == "__main__":
test = Air_Case_Handler()
test.run_air(air_path,devices)
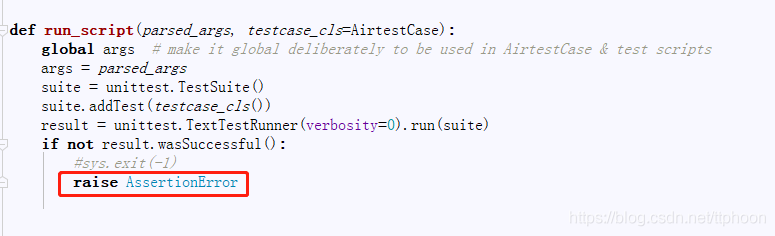
这样,执行下来会发现只要有个地方报错就会中断,不在执行剩余用例。原因在于airtest包里面的runner.py文件里的run_script方法写的是在遇到断言失败时,直接终止程序:sys.exit(-1),找到该文件 pthon\Lib\site-packages\airtest\cli\runner.py
改一下即可:
三、测试报告
先上效果图:
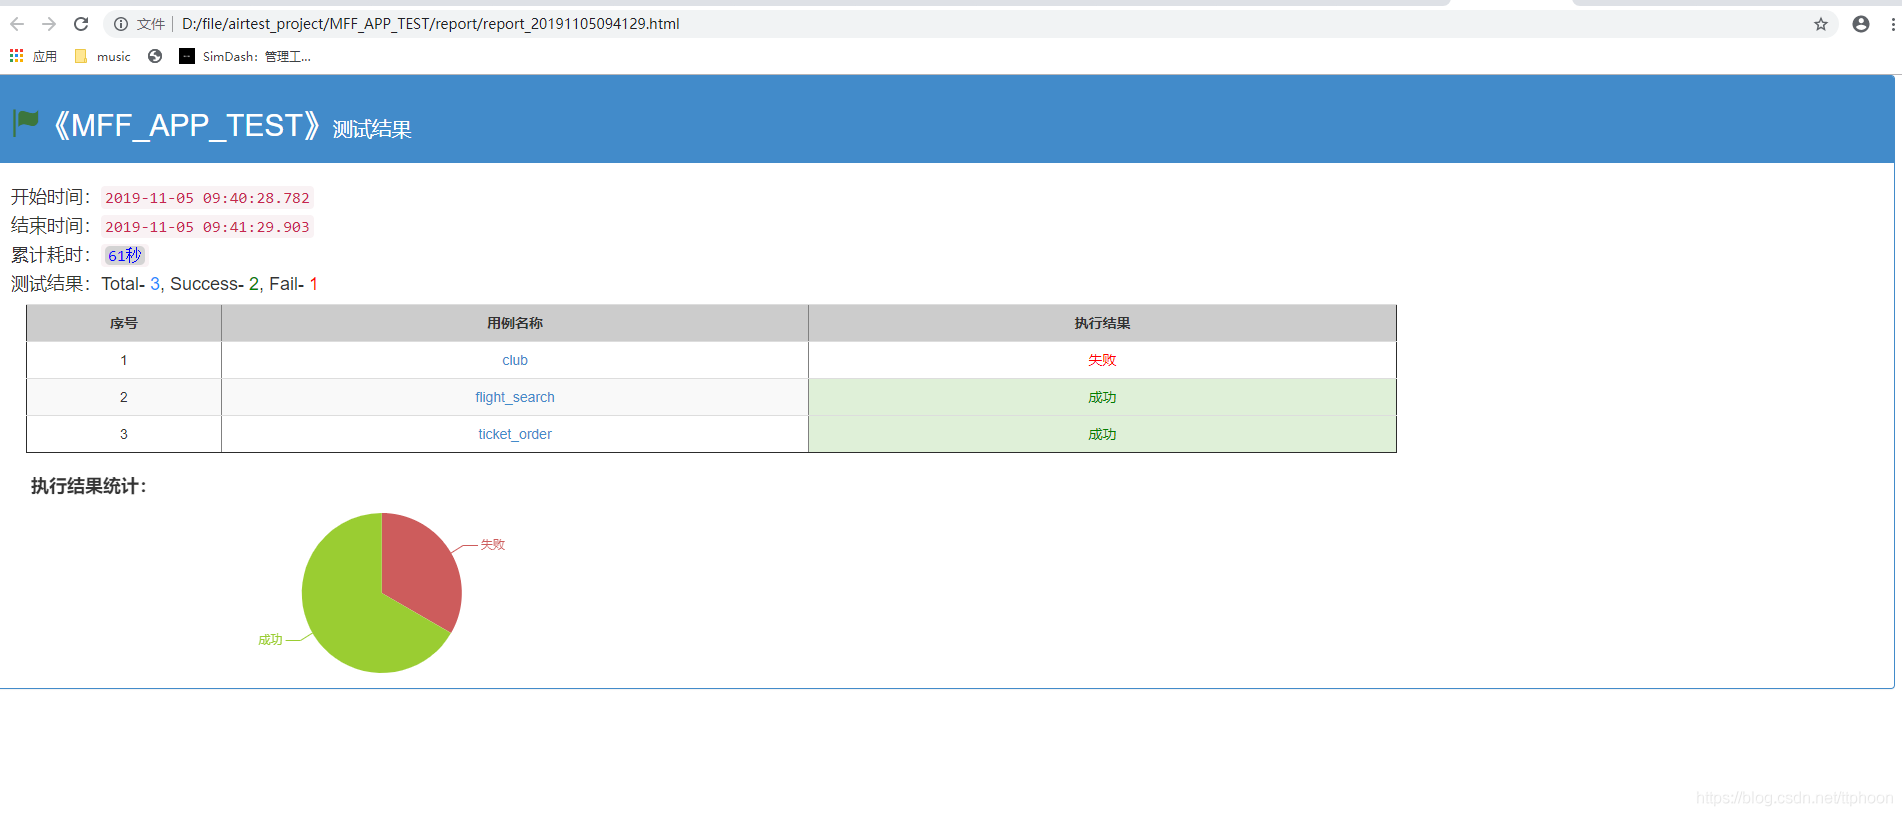
这个算朴素版的模板,有需要的可以自己再额外扩展。
几个点说明一下:
1、模板里的参数都来源于runCase.py,采用的是flask框架,参数通过template.render()来传递,可自行增删改。html里调用是通过{{varname}}实现的。
2、各个用例具体结果是放在log目录下,而report.html是放在report文件加下,所以template里的href路径要改为../log/xxxx

3、页面引用了jquery/echart/bootstrap都是线上引用,所以如果没上网的话可能界面会变得更朴素点哈
附:template_summary.html
<!DOCTYPE html>
<meta http-equiv="Content-Type" content="text/html; charset=utf-8" />
<script src="https://code.jquery.com/jquery-3.1.1.min.js"></script>
<script src="http://cdn.bootcss.com/bootstrap/3.3.0/js/bootstrap.min.js"></script>
<link rel="stylesheet" href="http://cdn.bootcss.com/bootstrap/3.3.0/css/bootstrap.min.css">
<html>
<head>
<title>测试报告</title>
<style>
.fail {
color: red;
text-align: center;
}
.success {
color: green;
text-align: center;
}
.details-col-elapsed {
text-align: center;
}
.details-col-msg {
text-align: center;
background-color:#ccc;
}
</style>
</head>
<body>
<div>
<div class="panel panel-primary" style="margin-right: 20px;">
<div class="panel-heading">
<h2>
<span class="text-success"><i class="glyphicon glyphicon-flag"></i></span>《{{project}}》<small><font color="white">测试结果</font></small>
</h2>
</div>
<div class="panel-body">
<h4>
开始时间:<code>{{stime}}</code>
</h4>
<h4>
结束时间:<code>{{etime}}</code>
</h4>
<h4>
累计耗时:<code><span style="border-radius:5px;padding-left:3px;padding-right:3px;"><font color="blue">{{duration}}秒</font></span></code>
</h4>
<h4>测试结果:Total- <font color="DodgerBlue">{{results|length}}</font>, Success- <font color="green">{{success}}</font>, Fail- <font color="red">{{fail}}</font></h4>
<div class="col-xs-9">
<table width="800" border="thin" cellspacing="0" cellpadding="0" class='table table-striped'>
<tr width="600">
<th class="details-col-msg col-xs-1">序号</th>
<th width="300" class='details-col-msg col-xs-3'>用例名称</th>
<th class='details-col-msg col-xs-3'>执行结果</th>
</tr>
{% for r in results %}
<tr>
<td class="details-col-elapsed col-xs-1">{{loop.index}}</td>
<td class='details-col-elapsed col-xs-3'><a href="../log/{{r.name}}/log.html" target="view_window">{{r.name}}</a></td>
<td class="{{'success' if r.result else 'fail'}} col-xs-3">{{"成功" if r.result else "失败"}}</td>
</tr>
{% endfor %}
</table>
</div>
<div class="col-xs-4 pull-left">
<div id="pie_echarts" class="layui-card-body" style=" 100%;height:200%;">
</div>
</div>
</div>
</div>
</body>
<script src="https://cdn.bootcss.com/echarts/4.4.0-rc.1/echarts.min.js"></script>
<script>
// 基于准备好的dom,初始化echarts实例
var myChart = echarts.init(document.getElementById('pie_echarts'));
// 指定图表的配置项和数据
option = {
title: {
text: '执行结果统计:',
x: 'left'
},
tooltip: {
trigger: 'item',
formatter: "{a} <br/>{b} : {c} ({d}%)"
},
color: ['#CD5C5C', '#9ACD32'],
stillShowZeroSum: false,
series: [
{
name: '测试结果',
type: 'pie',
radius: '80%',
center: ['60%', '60%'],
data: [
{value: {{fail|tojson}}, name: '失败'},
{value: {{success|tojson}}, name: '成功'}
],
itemStyle: {
emphasis: {
shadowBlur: 10,
shadowOffsetX: 0,
shadowColor: 'rgba(128, 128, 128, 0.5)'
}
}
}
]
};
// 使用刚指定的配置项和数据显示图表。
myChart.setOption(option);
</script>
</html>
四、执行
执行脚本必须cmd进入到目录下,用
Python runCase.py才可以。不然会报

嗯。热乎的!刚出炉的!有实际实践的!希望有用。至此。
源码:https://pan.baidu.com/s/1XzgKAv01PC1fHTDlgeDBHg
解压密码:1234
原文链接:
https://blog.csdn.net/ttphoon/article/details/102910119
---------------------------------------------------------------------------------
关注微信公众号即可在手机上查阅,并可接收更多测试分享~
