Docker部署NextCloud
启动mariadb
[root@test4 ~]# docker run -d
--name mysql
-e MYSQL_ROOT_PASSWORD=Flz_3qc123
-p 13306:3306
-v /docker/volumns/mysql/data:/var/lib/mysql
--restart unless-stopped
mariadb:10.4.7-bionic
启动nextcloud-fpm
[root@test4 ~]# docker run -d
--name nextcloud
-v /mnt/hdd2/nextcloud/html:/var/www/html
-v /mnt/hdd2/nextcloud/custom_apps:/var/www/html/custom_apps
-v /mnt/hdd2/nextcloud/config:/var/www/html/config
-v /mnt/hdd2/nextcloud/data:/var/www/html/data
--link mysql:mysql
--restart unless-stopped
nextcloud:16.0.4-fpm
nginx配置
1.将ssl证书放入宿主机/opop/certs目录下
2.将下方配置文件放入宿主机/opop/conf目录下,命名任意必须以.conf结尾
mkdir -p /opop/{cert,conf}
cd /opop/cert
[root@test4 cert]# openssl genrsa -out cert.key 2048
[root@test4 cert]# openssl req -new -x509 -key cert.key -out cert.pem -days 9999 #9999为有效期(天)
Country Name (2 letter code) [XX]: 所在国家,示例:CN
State or Province Name (full name) []:所在省,示例:Guangdong
Locality Name (eg, city) [Default City]: 所在市,示例Foshan
Organization Name (eg, company) [Default Company Ltd]: 公司名,示例:tengxun
Organizational Unit Name (eg, section) []: 所在部门,示例:jishubu
Common Name (eg, your name or your server's hostname) []: 这个自己翻译,示例:tengxun.com
Email Address []: 邮箱,示例:admin@admin.com
[root@test2 cert]# cd ../conf
[root@test4 conf]# vim nextcloud.conf
upstream php-handler {
server nextcloud:9000;
}
server {
listen 80;
listen [::]:80;
server_name 172.16.186.155;
# enforce https
return 301 https://$server_name:443$request_uri;
}
server {
listen 443 ssl http2;
listen [::]:443 ssl http2;
server_name 172.16.186.155;
# Use Mozilla's guidelines for SSL/TLS settings
# https://mozilla.github.io/server-side-tls/ssl-config-generator/
# NOTE: some settings below might be redundant
ssl_certificate /etc/nginx/ssl_certs/cert.pem;
ssl_certificate_key /etc/nginx/ssl_certs/cert.key;
# Add headers to serve security related headers
# Before enabling Strict-Transport-Security headers please read into this
# topic first.
#add_header Strict-Transport-Security "max-age=15768000; includeSubDomains; preload;";
#
# WARNING: Only add the preload option once you read about
# the consequences in https://hstspreload.org/. This option
# will add the domain to a hardcoded list that is shipped
# in all major browsers and getting removed from this list
# could take several months.
add_header X-Content-Type-Options nosniff;
add_header X-XSS-Protection "1; mode=block";
add_header X-Robots-Tag none;
add_header X-Download-Options noopen;
add_header X-Permitted-Cross-Domain-Policies none;
add_header Referrer-Policy no-referrer;
add_header Strict-Transport-Security 15552000;
# add_header X-Frame-Options SAMEORIGIN;
# Remove X-Powered-By, which is an information leak
fastcgi_hide_header X-Powered-By;
# Path to the root of your installation
root /var/www/html;
# The following 2 rules are only needed for the user_webfinger app.
# Uncomment it if you're planning to use this app.
#rewrite ^/.well-known/host-meta /public.php?service=host-meta last;
#rewrite ^/.well-known/host-meta.json /public.php?service=host-meta-json last;
# The following rule is only needed for the Social app.
# Uncomment it if you're planning to use this app.
#rewrite ^/.well-known/webfinger /public.php?service=webfinger last;
location = /.well-known/carddav {
return 301 $scheme://$host:$server_port/remote.php/dav;
}
location = /.well-known/caldav {
return 301 $scheme://$host:$server_port/remote.php/dav;
}
# set max upload size
client_max_body_size 512M;
fastcgi_buffers 64 4K;
# Enable gzip but do not remove ETag headers
gzip on;
gzip_vary on;
gzip_comp_level 4;
gzip_min_length 256;
gzip_proxied expired no-cache no-store private no_last_modified no_etag auth;
gzip_types application/atom+xml application/javascript application/json application/ld+json application/manifest+json application/rss+xml application/vnd.geo+json application/vnd.ms-fontobject application/x-font-ttf application/x-web-app-manifest+json application/xhtml+xml application/xml font/opentype image/bmp image/svg+xml image/x-icon text/cache-manifest text/css text/plain text/vcard text/vnd.rim.location.xloc text/vtt text/x-component text/x-cross-domain-policy;
# Uncomment if your server is build with the ngx_pagespeed module
# This module is currently not supported.
#pagespeed off;
location / {
rewrite ^ /index.php$request_uri;
}
location ~ ^/(?:build|tests|config|lib|3rdparty|templates|data)/ {
deny all;
}
location ~ ^/(?:.|autotest|occ|issue|indie|db_|console) {
deny all;
}
location ~ ^/(?:index|remote|public|cron|core/ajax/update|status|ocs/v[12]|updater/.+|oc[ms]-provider/.+).php(?:$|/) {
fastcgi_split_path_info ^(.+?.php)(/.*|)$;
include fastcgi_params;
fastcgi_param SCRIPT_FILENAME $document_root$fastcgi_script_name;
fastcgi_param PATH_INFO $fastcgi_path_info;
fastcgi_param HTTPS on;
# Avoid sending the security headers twice
fastcgi_param modHeadersAvailable true;
# Enable pretty urls
fastcgi_param front_controller_active true;
fastcgi_pass php-handler;
fastcgi_intercept_errors on;
fastcgi_request_buffering off;
}
location ~ ^/(?:updater|oc[ms]-provider)(?:$|/) {
try_files $uri/ =404;
index index.php;
}
# Adding the cache control header for js, css and map files
# Make sure it is BELOW the PHP block
location ~ .(?:css|js|woff2?|svg|gif|map)$ {
try_files $uri /index.php$request_uri;
add_header Cache-Control "public, max-age=15778463";
# Add headers to serve security related headers (It is intended to
# have those duplicated to the ones above)
# Before enabling Strict-Transport-Security headers please read into
# this topic first.
#add_header Strict-Transport-Security "max-age=15768000; includeSubDomains; preload;";
#
# WARNING: Only add the preload option once you read about
# the consequences in https://hstspreload.org/. This option
# will add the domain to a hardcoded list that is shipped
# in all major browsers and getting removed from this list
# could take several months.
add_header X-Content-Type-Options nosniff;
add_header X-XSS-Protection "1; mode=block";
add_header X-Robots-Tag none;
add_header X-Download-Options noopen;
add_header X-Permitted-Cross-Domain-Policies none;
add_header Referrer-Policy no-referrer;
# Optional: Don't log access to assets
access_log off;
}
location ~ .(?:png|html|ttf|ico|jpg|jpeg|bcmap)$ {
try_files $uri /index.php$request_uri;
# Optional: Don't log access to other assets
access_log off;
}
}
启动nginx
[root@test4 ~]# docker run -d
--name nginx
-p 80:80 -p 443:443
-v /mnt/hdd2/nextcloud/html:/var/www/html
-v /opop/conf:/etc/nginx/conf.d
-v /opop/cert:/etc/nginx/ssl_certs
--link mysql:mysql
--link nextcloud:nextcloud
--restart unless-stopped
nginx
==================== 可选项 ============================
进入容器进行设置(设置前可浏览器访问,但不能进行视频通话)
docker exec -it <nextcloud_containerID> /bin/bash
apt-get update
cp /etc/apt/sources.list{,.bak}
#将官网源换位国内源(按需),这里我使用阿里的源
网易的源
cat > /etc/apt/sources.list << EOF
deb http://mirrors.163.com/debian/ buster main contrib non-free
deb http://mirrors.163.com/debian/ buster-updates main contrib non-free
deb http://mirrors.163.com/debian/ buster-backports main contrib non-free
deb http://mirrors.163.com/debian-security buster/updates main contrib non-free
EOF
阿里源
cat > /etc/apt/sources.list << EOF
deb http://mirrors.aliyun.com/debian/ stretch main non-free contrib
deb-src http://mirrors.aliyun.com/debian/ stretch main non-free contrib
deb http://mirrors.aliyun.com/debian-security stretch/updates main
deb-src http://mirrors.aliyun.com/debian-security stretch/updates main
deb http://mirrors.aliyun.com/debian/ stretch-updates main non-free contrib
deb-src http://mirrors.aliyun.com/debian/ stretch-updates main non-free contrib
deb http://mirrors.aliyun.com/debian/ stretch-backports main non-free contrib
deb-src http://mirrors.aliyun.com/debian/ stretch-backports main non-free contrib
EOF
官方的源
cat > /etc/apt/sources.list << EOF
deb http://deb.debian.org/debian buster main contrib non-free
deb-src http://deb.debian.org/debian buster main contrib non-free
deb http://security.debian.org/debian-security buster/updates main contrib
deb-src http://security.debian.org/debian-security buster/updates main contrib
EOF
apt-get update
安装部分命令示例:apt-get install vim wget -y
==================== 可选项 ============================
浏览器访问
https://172.16.186.155/index.php
“高级”----”继续访问不安全”
管理员/密码都为自定义,数据库自定义(会自动创建),数据库主机中写mysql,即容器名称

安装Talk插件(视频使用)
点击最右上角的"小轴承"----点击应用,暂且不要退出
从nextcloud store官网下载 Talk组件:https://apps.nextcloud.com/apps/spreed (Unstable为不稳定版本)
这里用的是6.0.5版本
[root@test4 ~]# https://github.com/nextcloud/spreed/releases/download/v6.0.5/spreed-6.0.5.tar.gz (这里也有公私玥,最高支持到6.0.5)
[root@test4 ~]# tar -zxvf spreed-6.0.5.tar.gz
获取nextcloud容器ID
[root@test4 ~]# docker ps -a
将解压出来的spreed目录放到容器的指定位置
[root@test4 ~]# docker cp spreed 54ed3b335c6a:/var/www/html/apps/spreed
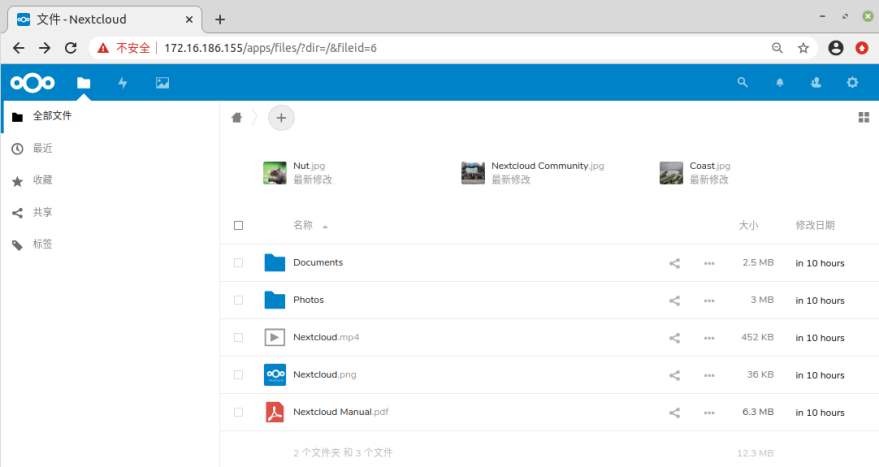
再次来到web页面刷新下页面,下图为未刷新前

下图为刷新页面后的,点击”启用未经测试的应用”即可,启用时需要输入一次密码
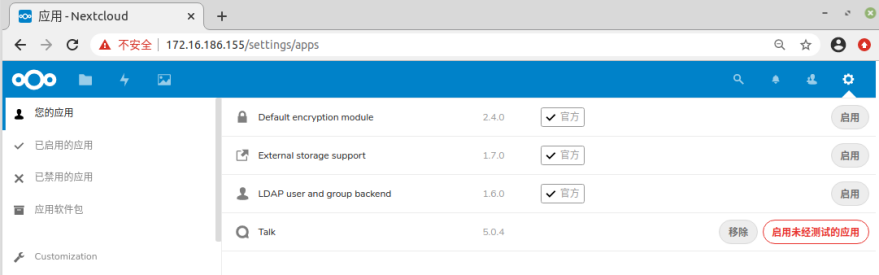
然后点Talk字体最右侧的”启用”
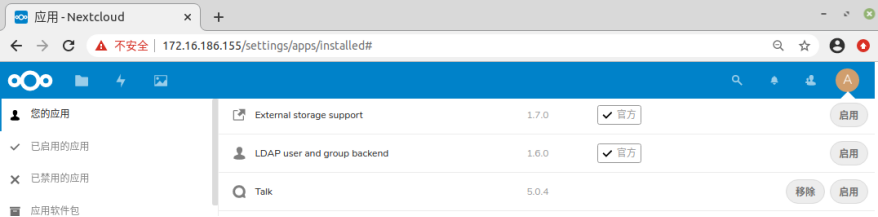
启用后在页面的左上角会多一个放大镜的图标,即”通话”

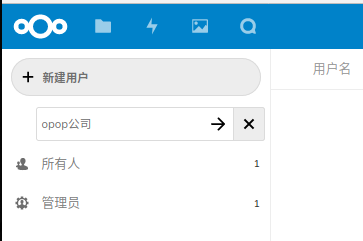
添加分组
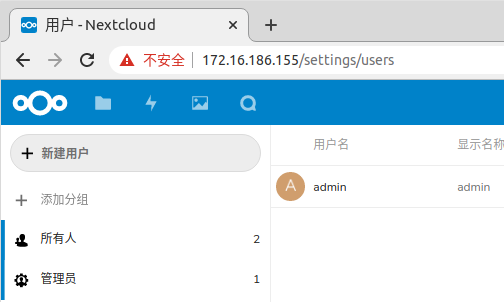
点击下图中最右侧的用户名(即本文档中的A字样),点击"用户"
点击”添加分组”
输入好组名(这里组名为"opop公司")后点击右侧小箭头
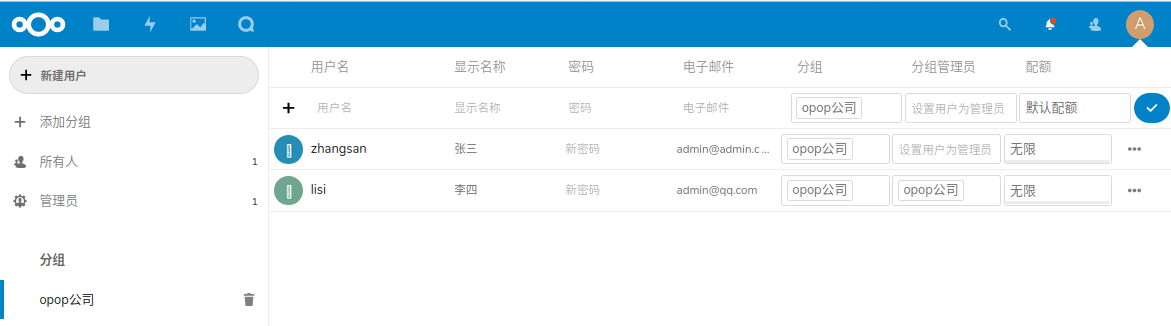
添加用户
点击”新建用户”,用户名必须为英文,设置好以后点最右侧的对号添加用户完成
填写好用户的信息后点击用户行最後面的对号即创建成功

这里已同样的方式再添加一个lisi(李四)用户并将该用户设置为opop公司的管理员,如下图所示(刷新页面即在下图左下角的opop分组中看到是2个用户)
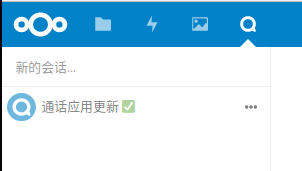
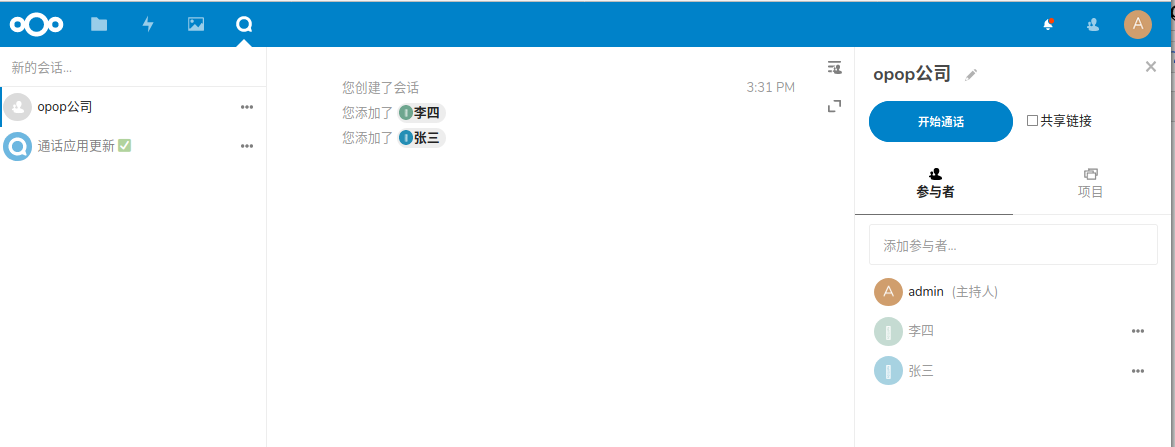
服务端(即安装nextcloud服务的机器)创建视频会话
下图中点击右上角的放大镜(鼠标放上去会有中文显示)

点击"新的会话"
点击"opop公司"
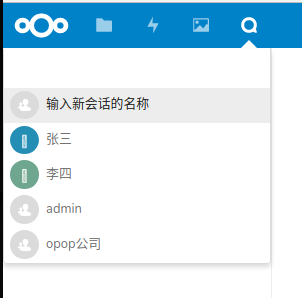
点击右侧的"开始通话"
点击"允许" 即可调用麦和摄像头(这里请忽略IP地址)
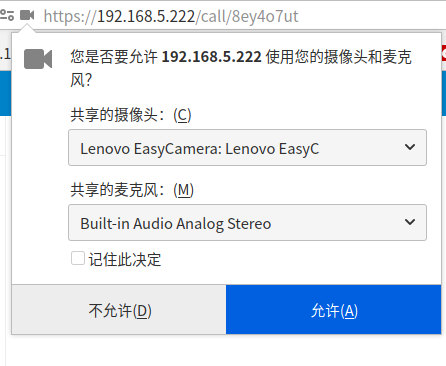
截止到此处,您的摄像头即已为打开模式
客户端登录
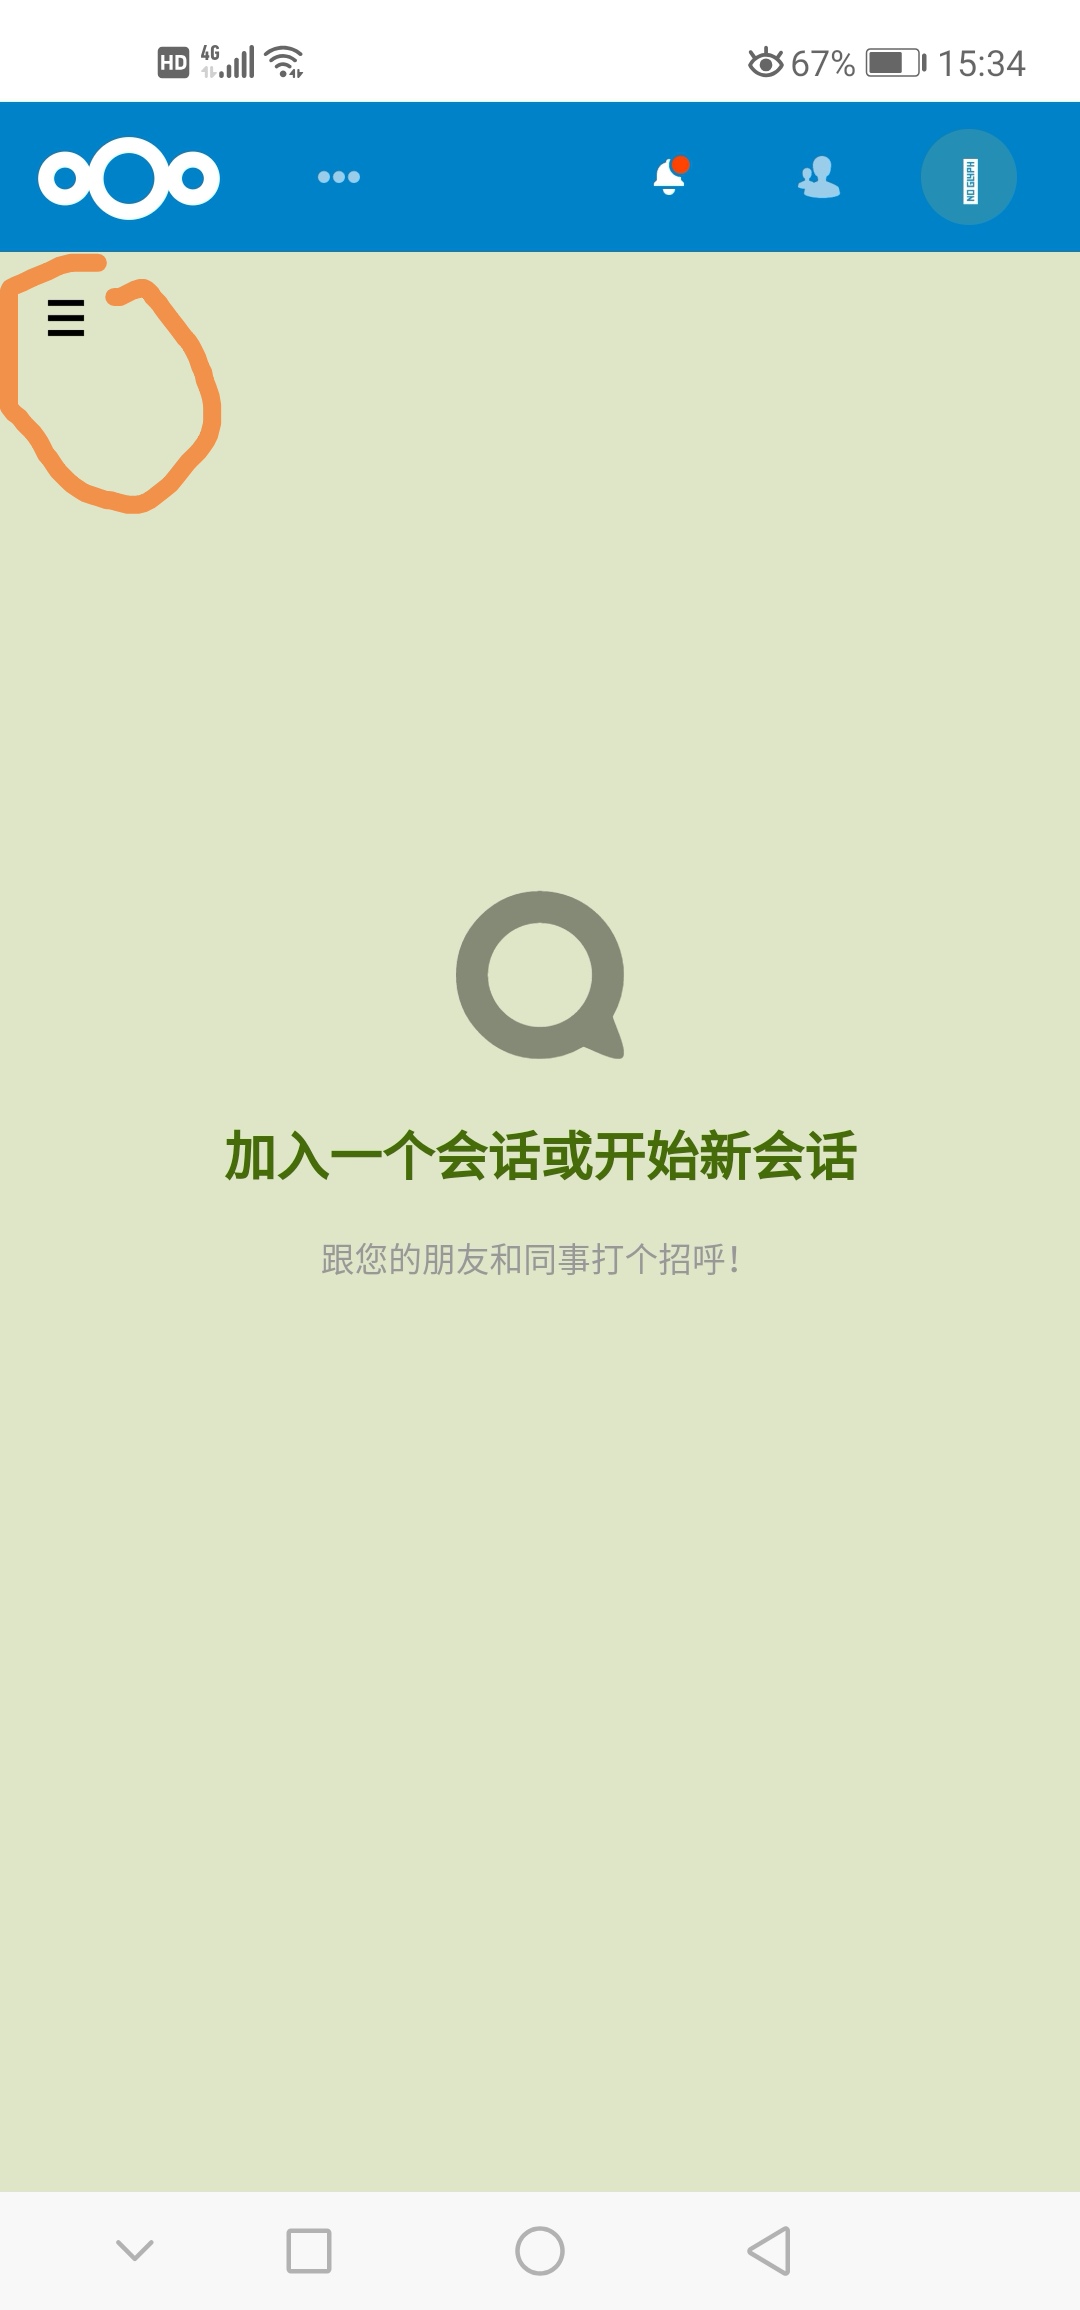
其他用户在远端访问:https://172.16.186.155进行登录,而后进行视频的用户,这里我用手机并用zhangsan用户登录(记得地址中是https而非http)

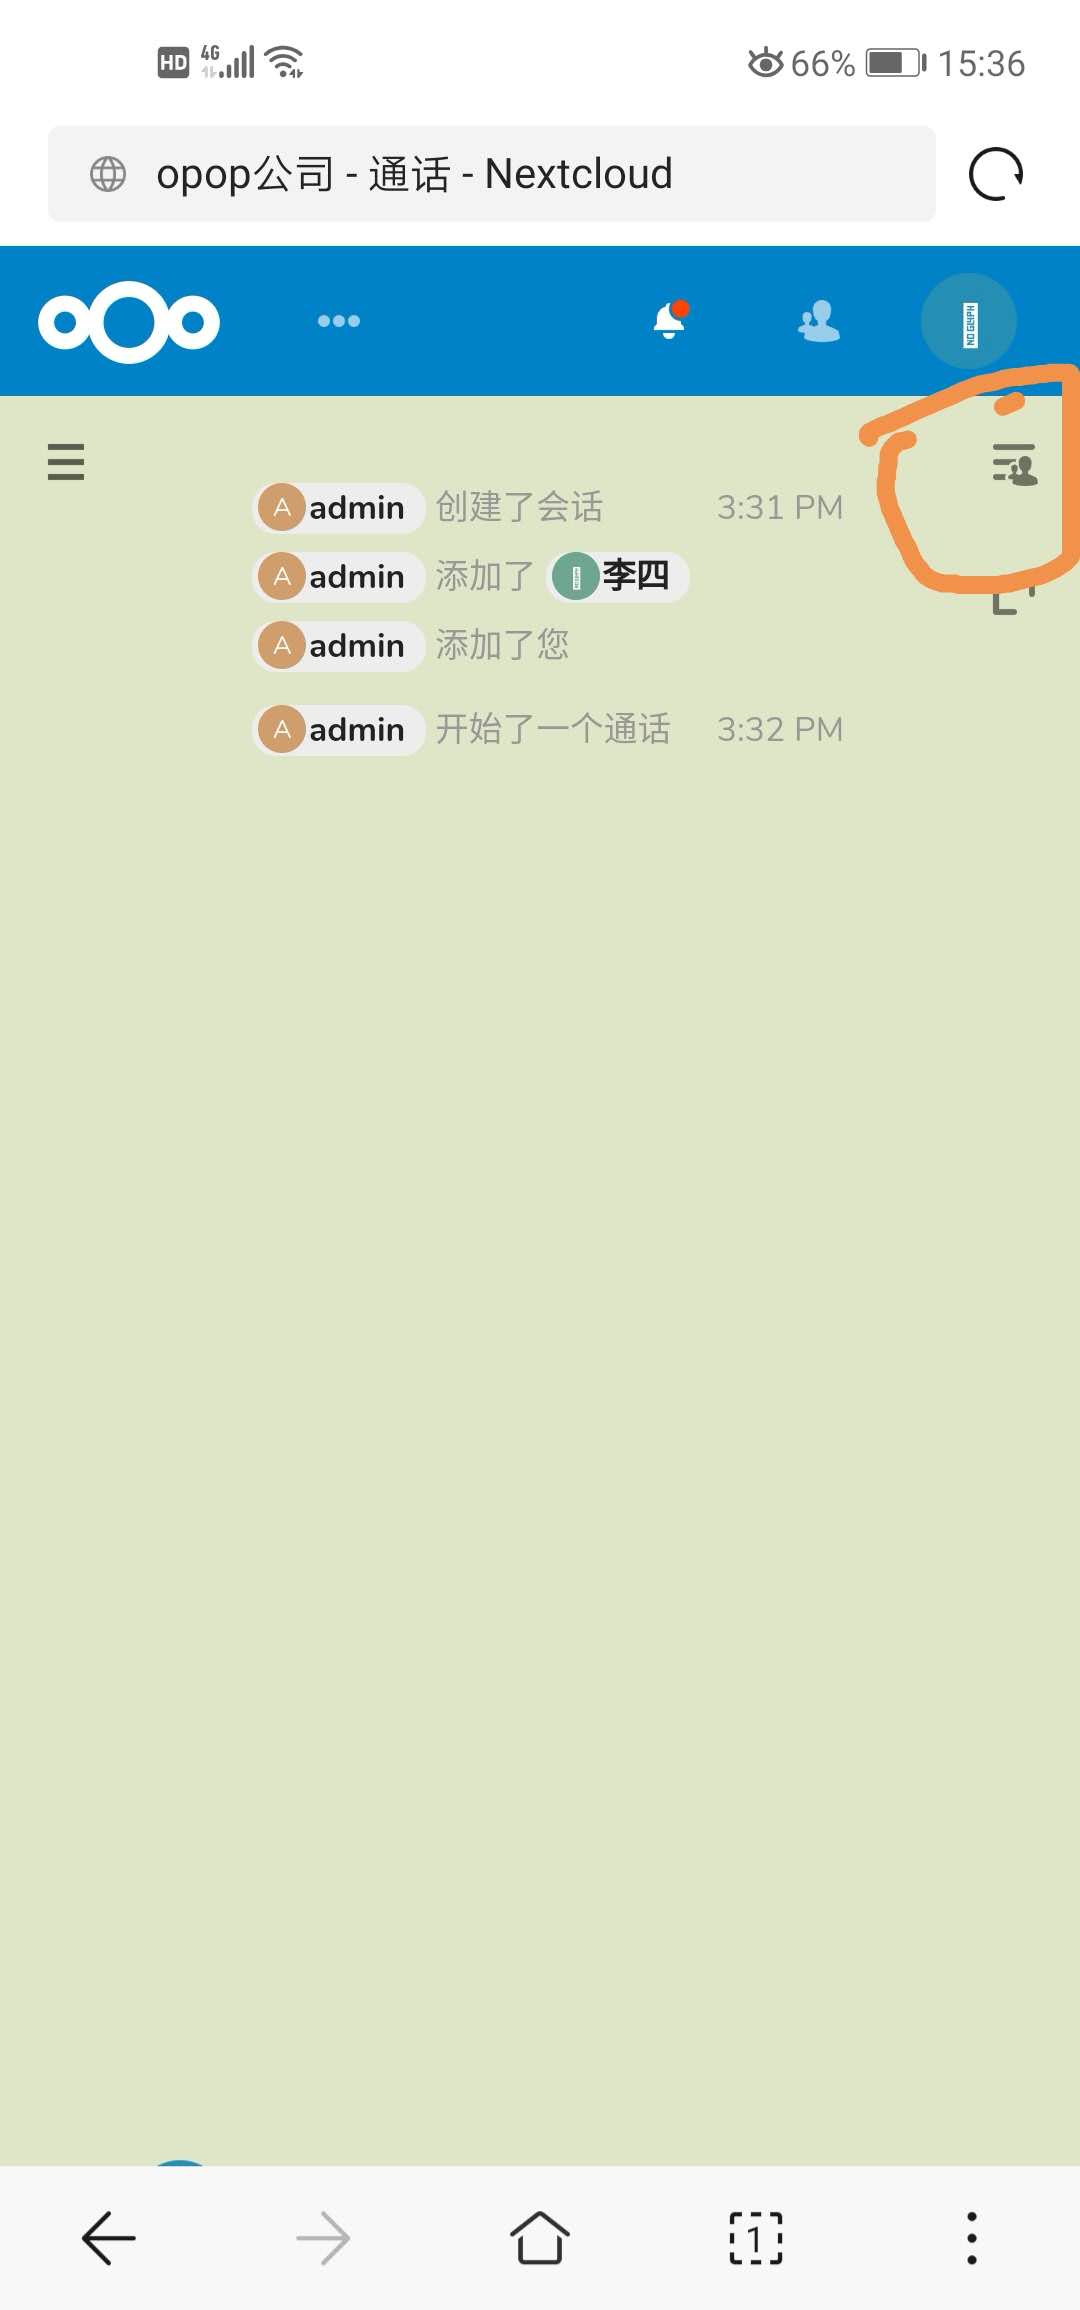
点击上图中最顶端放大镜(偏左)左面的三个点---通话
点击上图中圈住的部分后即可以看到"opop公司",点击"opop公司"进去----点击"加入通话"
下图中的IP请忽略,操作步骤没错
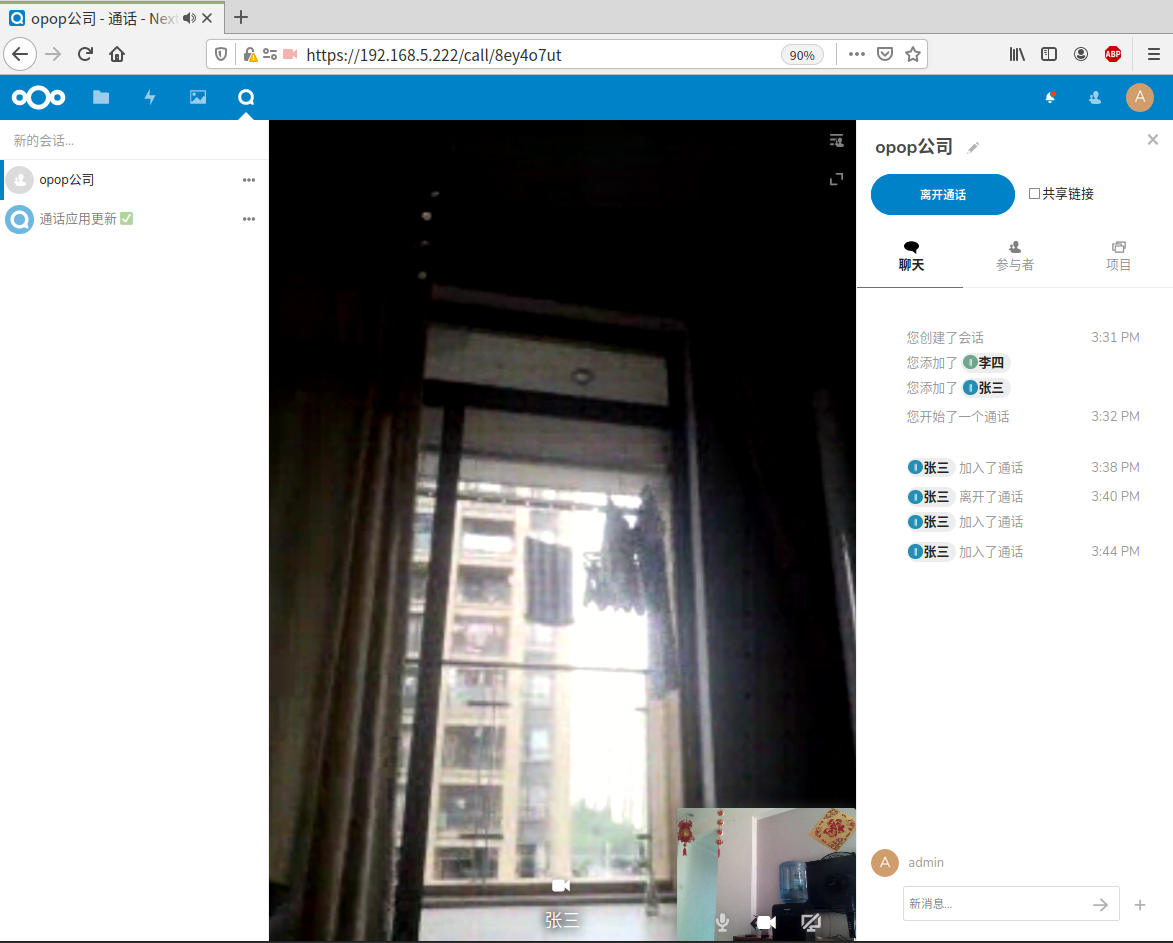
就目前而言虽然联通了,但是偶尔会有一些杂音,不确定是什么问题,如手机端将页面转入后台后,那么对方看到的将是卡住的状态,请注意!!!
Github上nextcloud:https://github.com/nextcloud/spreed
Nextcloud-talk API文档:https://nextcloud-talk.readthedocs.io/en/latest/conversation/
欢迎加入QQ群一起讨论Linux、开源等技术