软件:git for windows
账户:github账户
1、第一步创建自己的github账号,并创建自己的project,创建完毕之后url如下
account:ft1107949255
projectname:flask-luntan
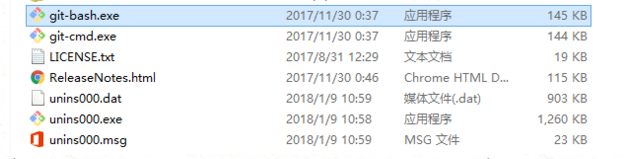
2、第二步开始安装git for windows
下载地址:http://gitforwindows.org/ 点击download下载安装即可,下一步点起走分分钟ok
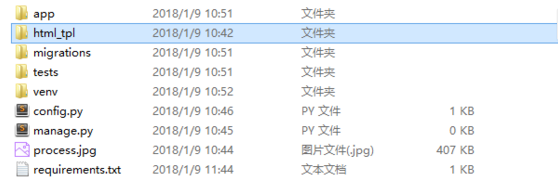
3、创建自己本地项目 luntan即是项目文件夹,就是要把它传上去
示例 E:workwwwflaskluntan
文件如下:
4、打开git运行程序 git bush
---------------------------------这是分割线---------------------
准备工作完毕开始敲命令行了
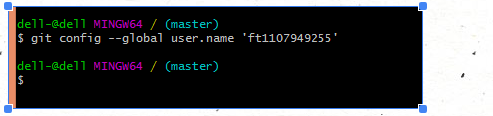
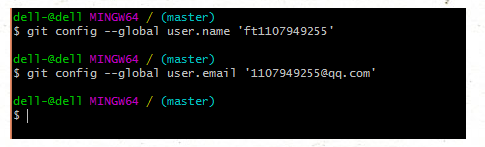
1、设置用户和邮箱
$ git config –global user.name “Your Real Name”
$ git config –global user.email you@email.address
2、上传文件需要提供密钥文件ssh-key,创建ssh-key
$ ssh-keygen -C ‘your@email.address’ -t rsa
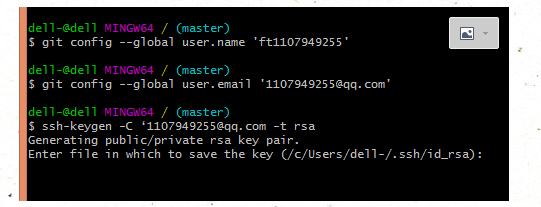
输入之后如图,直接点回车使用默认的路径/c/Users/dell-/.ssh/id_rsa

因为我以前生成过,我覆盖一下,你们第一次的话应该不会有,输入y
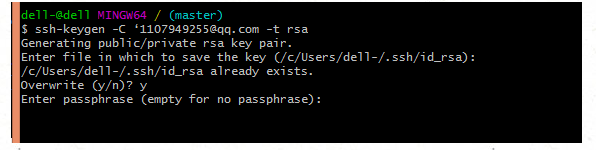
输入passphrase ,设定自己的密码,2次一样

3、打开生成的文件复制里面的key
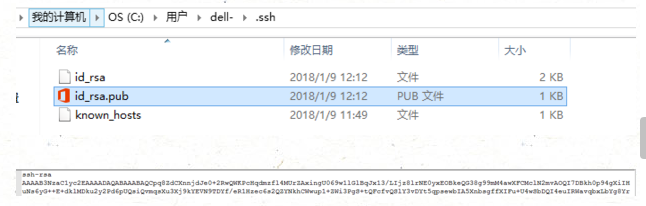
复制所有ctrl+a
4、添加ssh-key到github的个人账户
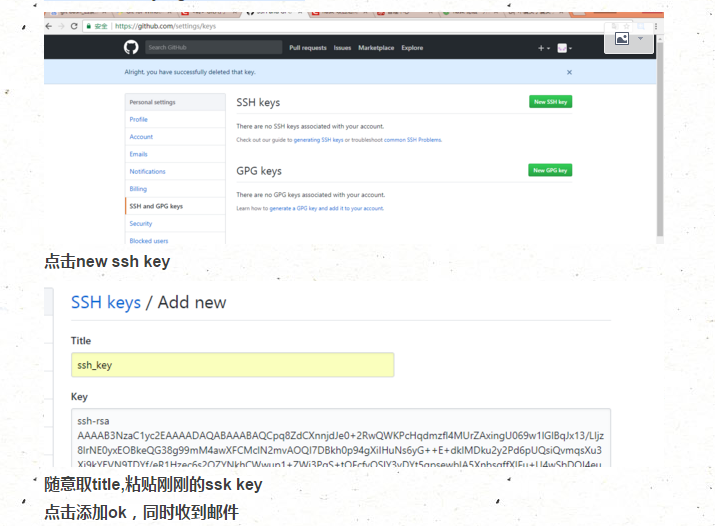
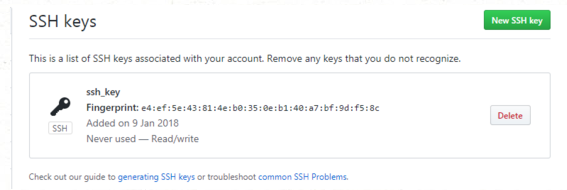
已经ok了
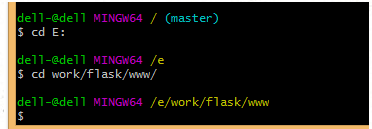
4、开始上传文件了
进入 E:workwwwflask cd
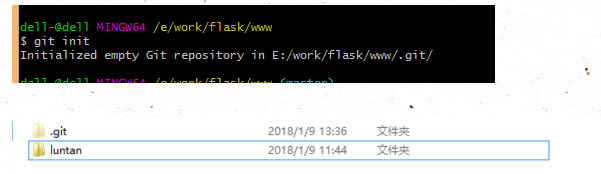
----新建仓库
$ git init 已经创建则覆盖
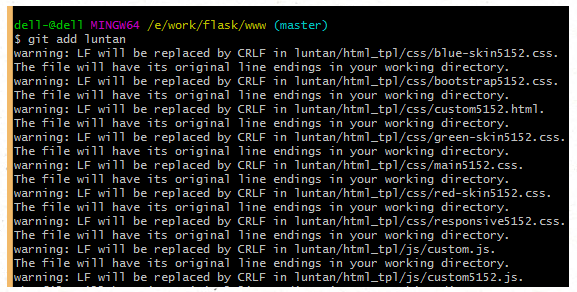
----把文件添加到里面
$ git add luntan
-------提交项目
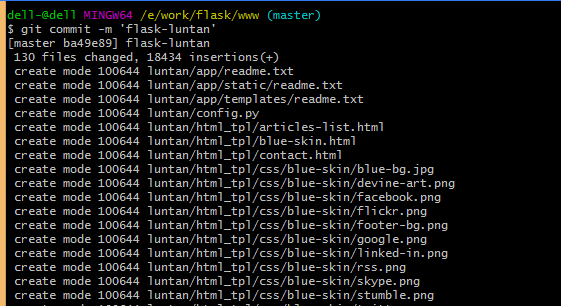
$ git commit -m '你的项目名'
-----执行下面的操作就ok了
$ git remote add origin git@github.com:XXX/XXX.git

$ git pull origin master
输入你设定的密码
$ git push -u origin master
输入你设定的密码

遇到的问题:git failed to push some refs to 缺少README.md 文件

$ git pull --rebase origin master
执行后可以看到本地代码中多了README.md文件
再次执行git push origin master即可完成代码上传。

参考资料:
多试几次就比较快了,删除项目文件直接在网页上删除,在git里面操作不是很清楚,可以去了解下。
接下来update 克隆下来的项目,操作一遍就ok了
git clone  https://github.com/xxxx.git   //clone pro
## clone ok后进入该目录
## 修改code之后
git add .
git commit -m "update fengtao 2018-5-21"   描述一下
git pull  https://github.com/xxxx.git master
git push  https://github.com/xxxx.git master   提交到master
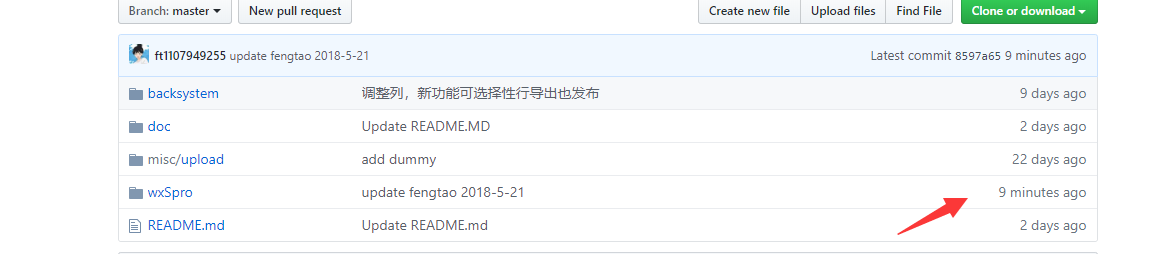
提交ok。
github README.MD显示图片
# kiminitodoke 好想告诉你app # program interface # loading  # story  # user   # other   