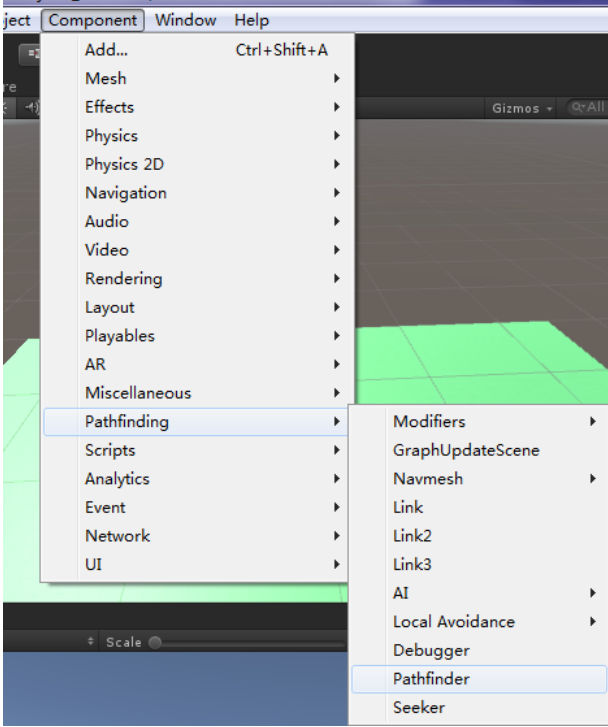
添加组件的方式:
[AddComponentMenu("Pathfinding/Pathfinder")]
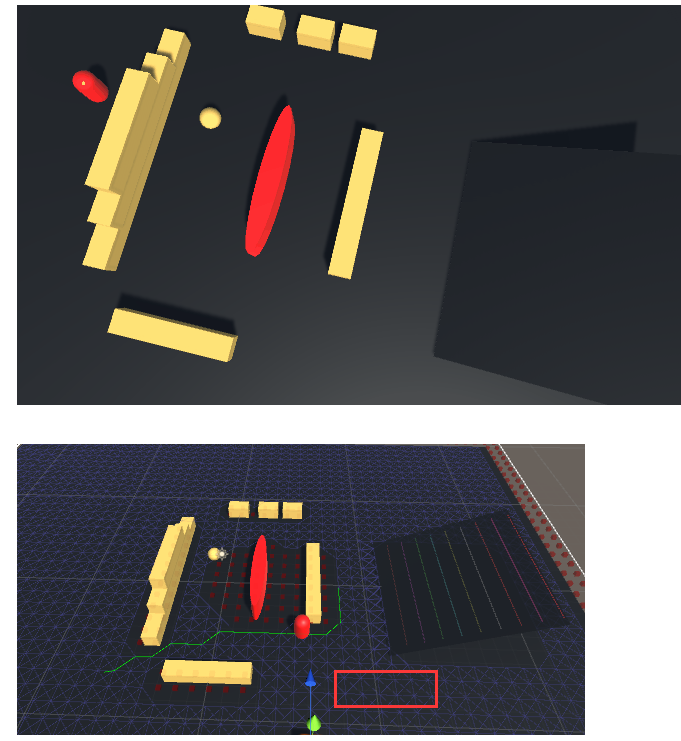
1、创建场景
在场景中添加一些Cube 作为障碍物 Obstacles,添加一个 Capsule 作为Player,然后添加一个Plane 作为地面,再添加一个Plane,作为斜坡测试。这两个Plane的层都为Ground
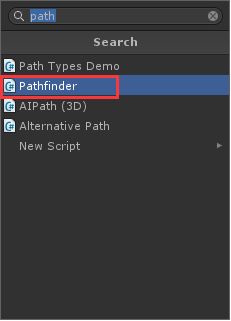
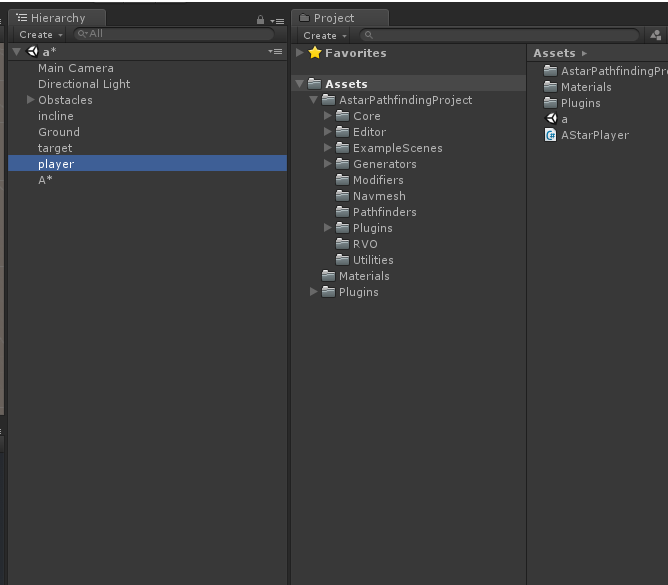
2.定义一个空物体定义为 A*添加脚本:这个脚本和A Start Path组件是一样的
3.设置障碍层将物体添加到Obstacles层里。

4.设置A*
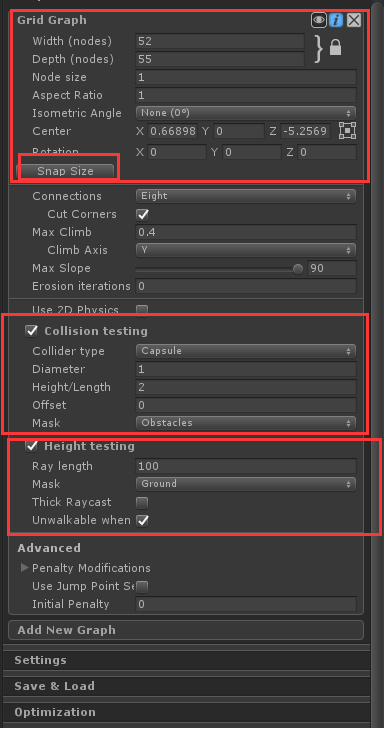
如图中,
黑色箭头所指是宽高,这里的宽高,是指格子的数量。这里用到的就是 A* 的格子寻路。
调整宽高,覆盖整个Plane。
红色箭头所指,是左上、右上、左下、右下、中心 四个点,选中其中一个点,就可以调整这个点的位置。
选中中心,点击蓝色箭头所指的 Snap Size,会根据中心的位置来自动对齐。
红框中的Collision Testing,是生成 禁止通过 格子的。
因为我们的 Cubes 是障碍物,所以在 Mask 中选择 Cubes 所在的Layer - Obstacles。
黄色框中的Height Testing 是用来 让寻路节点 与 Ground 进行检测的,比如要爬坡的时候就需要检测高度。
设置完成后,点击Scan,就会生成寻路网格。
5.编写寻路 AI 代码
生成寻路网格之后,我们在代码中就可以使用 A* 来进行寻路了。
首先在 Player 这个 Capsule 上添加Seeker 组件。
然后新建脚本 AStarPlayer.cs 作为测试代码。
在代码中,首先我们从 屏幕发射射线,来定位目标位置。
然后使用 Seeker 来开始生成最短路径。
Seeker生成路径成功后,会把每一个节点的位置保存在 List中。
我们按照顺序读取 List 中的位置,位移Player 到对应的位置,就完成了寻路。生成寻路网格之后,我们在代码中就可以使用 A* 来进行寻路了。
首先在 Player 这个 Capsule 上添加Seeker 组件。
然后新建脚本 AStarPlayer.cs 作为测试代码。
在代码中,首先我们从 屏幕发射射线,来定位目标位置。
然后使用 Seeker 来开始生成最短路径。
Seeker生成路径成功后,会把每一个节点的位置保存在 List中。
我们按照顺序读取 List 中的位置,位移Player 到对应的位置,就完成了寻路。
using UnityEngine;
using System.Collections;
using Pathfinding;
public class AStarPlayer : MonoBehaviour
{
//目标位置;
Vector3 targetPosition;
Seeker seeker;
CharacterController characterController;
//计算出来的路线;
Path path;
//移动速度;
float playerMoveSpeed = 10f;
//当前点
int currentWayPoint = 0;
bool stopMove = true;
//Player中心点;
float playerCenterY = 1.0f;
// Use this for initialization
void Start()
{
seeker = GetComponent<Seeker>();
playerCenterY = transform.localPosition.y;
}
//寻路结束;
public void OnPathComplete(Path p)
{
Debug.Log("OnPathComplete error = " + p.error);
if (!p.error)
{
currentWayPoint = 0;
path = p;
stopMove = false;
}
for (int index = 0; index < path.vectorPath.Count; index++)
{
Debug.Log("path.vectorPath[" + index + "]=" + path.vectorPath[index]);
}
}
// Update is called once per frame
void Update()
{
if (Input.GetMouseButtonDown(0))
{
RaycastHit hit;
if (!Physics.Raycast(Camera.main.ScreenPointToRay(Input.mousePosition), out hit, 100))
{
return;
}
if (!hit.transform)
{
return;
}
targetPosition = hit.point;// new Vector3(hit.point.x, transform.localPosition.y, hit.point.z);
Debug.Log("targetPosition=" + targetPosition);
seeker.StartPath(transform.position, targetPosition, OnPathComplete);
}
}
void FixedUpdate()
{
if (path == null || stopMove)
{
return;
}
//根据Player当前位置和 下一个寻路点的位置,计算方向;
Vector3 currentWayPointV = new Vector3(path.vectorPath[currentWayPoint].x, path.vectorPath[currentWayPoint].y + playerCenterY, path.vectorPath[currentWayPoint].z);
Vector3 dir = (currentWayPointV - transform.position).normalized;
//计算这一帧要朝着 dir方向 移动多少距离;
dir *= playerMoveSpeed * Time.fixedDeltaTime;
//计算加上这一帧的位移,是不是会超过下一个节点;
float offset = Vector3.Distance(transform.localPosition, currentWayPointV);
if (offset < 0.1f)
{
transform.localPosition = currentWayPointV;
currentWayPoint++;
if (currentWayPoint == path.vectorPath.Count)
{
stopMove = true;
currentWayPoint = 0;
path = null;
}
}
else
{
if (dir.magnitude > offset)
{
Vector3 tmpV3 = dir * (offset / dir.magnitude);
dir = tmpV3;
currentWayPoint++;
if (currentWayPoint == path.vectorPath.Count)
{
stopMove = true;
currentWayPoint = 0;
path = null;
}
}
transform.localPosition += dir;
}
}
}
IK