PS:源码已上传Github, 欢迎指教。https://github.com/shileishmily/spring-cloud-x.git
上一节讲了Sleuth和Zipkin的整合,实现了链路追踪监控,但是有一个问题,Sleuth通过http调用将采集的链路信息发送给Zipkin Server。当我们系统并发量很大的时候,同步调用肯定会影响性能,甚至导致业务不可用。所以本篇讲一下异步采集信息如何搭建。
Sleuth将链路信息发送到RabbitMQ,消费者消费消息存储到Mysql。然后Zipkin基于Mysql分析链路追踪信息。
1、RabbitMQ启动
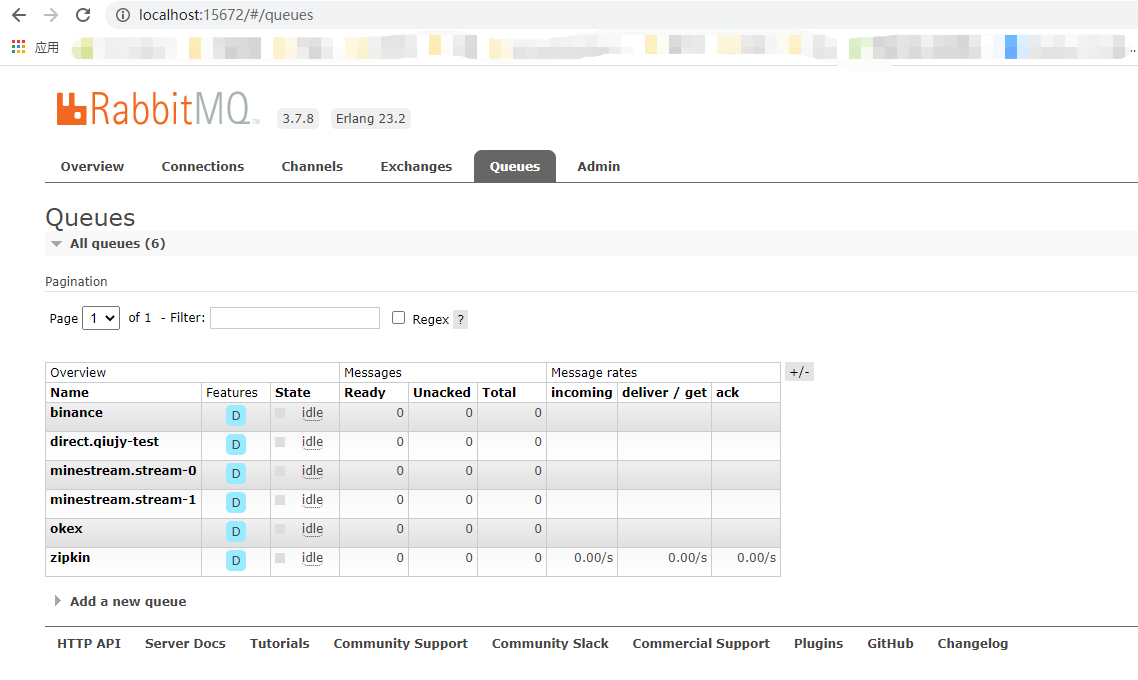
如何搭建RabbitMQ本篇不讲解。访问http://localhost:15672/,用户名密码都是guest。

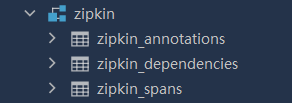
2、创建数据库、表信息
建表的脚本文件mysql.sql 在 GitHub官方地址能查到,链接如下:
https://github.com/openzipkin/zipkin/blob/master/zipkin-storage/mysql-v1/src/main/resources/mysql.sql
3、启动Zipkin Server
Zipkin配置文件内容可以查看 GitHub:https://github.com/openzipkin/zipkin/blob/master/zipkin-server/src/main/resources/zipkin-server-shared.yml
启动命令:java -jar zipkin-server-2.23.2-exec.jar --zipkin.collector.rabbitmq.addresses=127.0.0.1 --zipkin.storage.type=mysql - -zipkin.storage.mysql.host=127.0.0.1 --zipkin.storage.mysql.port=3306 --zipkin.storage.mysql.username=xxxxx --zipkin.storage.mysql.password=xxxxx --zipkin.storage.mysql.db=zipkin

4、修改Zipkin Client
4.1 以x-demo-springcloud-pay-service为例,Client增加spring-cloud-stream-binder-rabbit依赖
dependencies {
    compile("org.springframework.cloud:spring-cloud-starter-netflix-eureka-client")
    compile("org.springframework.cloud:spring-cloud-starter-zipkin")
    compile("org.springframework.cloud:spring-cloud-starter-netflix-ribbon")
    compile("org.springframework.cloud:spring-cloud-stream-binder-rabbit")
}
4.2 配置文件修改
以x-demo-springcloud-pay-service为例,为了证明链路消息采集是通过MQ传输的,我们把Zipkin的配置地址注掉。
spring:
  application:
    name: x-demo-springcloud-pay-service
#  zipkin:
#    base-url: http://127.0.0.1:9411/
  sleuth:
    sampler:
      probability: 1.0

server:
  port: 8087

eureka:
  client:
    service-url:
      defaultZone: http://localhost:8761/eureka/,http://localhost:8762/eureka/,http://localhost:8763/eureka/
logging:
  level:
    root: debug
参考4.1和4.2依次修改x-demo-springcloud-user-service,x-demo-springcloud-order-service,然后重启三个微服务。
5、访问http://localhost:8087/pay
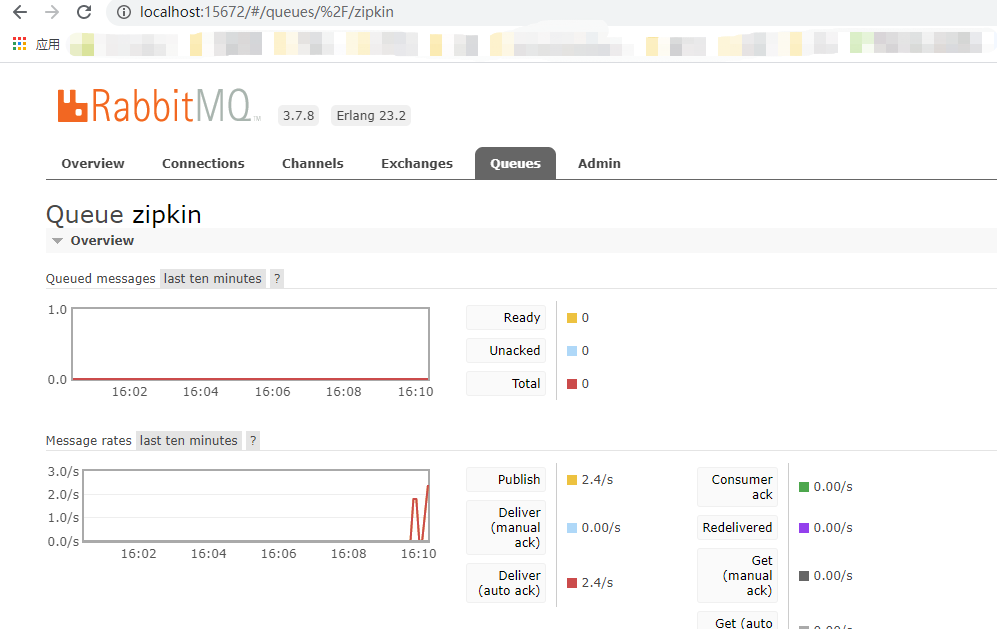
6、观察RabbitMQ队列
从下图看到zipkin队列有数据接收了。

7、查看Mysql数据库
zipkin_annotations表:

zipkin_spans表:

到此数据入库,整个流程没有问题了。
再次刷新Zipkin Server监控,WebUI也可以看到数据了。

到此Spring Cloud Sleuth和Zipkin,RabbitMQ整合完成,实际生产环境中运用远远比这个要复杂的多,大家还需要多摸索。