安装准备
Mariadb 去除
由于CentOS7自带的是 Mariadb, 所以先来删除他吧...
1. 查找版本
# rpm -qa|grep mariadb
执行命令后会出现类似 MariaDB-server-5.5.49-1.el7.centos.x86_64 之类的鬼..记住名字就行了.
2. 删除
# rpm -e --nodeps 上面查出来的文件名
3. 删除配置文件
# rm /etc/my.cnf
安装包获取
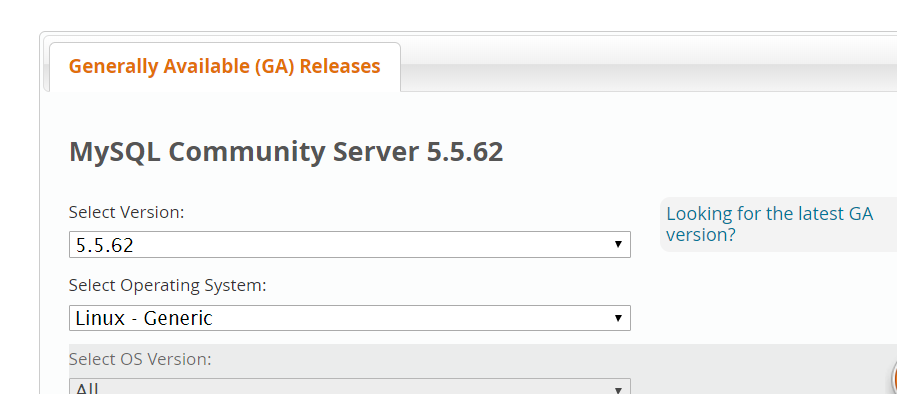
在官方直接找吧 MySQL Community Server 5.5.62
选择 Linux - Generic 注意
推送压缩包
推送到虚拟机或者远程服务器, ftp 或者 rz, 或者直接图形界面拖动随你, 总之推上去就行了
开始安装
解压
解压中注意如果出现EOF 报错之类的需要考虑是否压缩包文件损坏
尝试更换压缩包或者重新推送压缩包
tar -xvf mysql-5.5.62-linux-glibc2.12-x86_64.tar.gz
复制到 local
mv mysql-5.5.62-linux-glibc2.12-x86_64 /usr/local
修改文件夹
cd /usr/local
mv mysql-5.5.62-linux-glibc2.12-x86_64 mysql-5.5.62
修改配置文件
vi /etc/my.cnf
[mysql]
# 设置mysql客户端默认字符集
default-character-set=utf8
socket=/var/lib/mysql/mysql.sock

[mysqld]
skip-name-resolve
#设置3306端口
port = 3306

socket=/var/lib/mysql/mysql.sock
# 设置mysql的安装目录, 这里的目录一定要是你解压后并且改了名的目录哟..

basedir=/usr/local/mysql-5.5.62
# 设置mysql数据库的数据的存放目录, 这里的目录一定要是你解压后并且改了名的目录哟..

datadir=/usr/local/mysql-5.5.62/data

# 允许最大连接数
max_connections=200

# 服务端使用的字符集默认为8比特编码的latin1字符集
character-set-server=utf8

# 创建新表时将使用的默认存储引擎
default-storage-engine=INNODB

lower_case_table_name=1
max_allowed_packet=16M
切换目录到mysql中
cd /usr/local/mysql-5.5.62
添加用户组与用户
注意 : 这里需要将目录切换到mysql目录下 也就是上一步的操作
groupadd mysql

useradd -g mysql mysql

chown -R mysql:mysql ./
安装mysql
./scripts/mysql_install_db --user=mysql --basedir=/usr/local/mysql-5.5.62/ --datadir=/usr/local/mysql-5.5.62/data/
安装后会有如下的打印
[root@yangtuo mysql-5.5.62]# ./scripts/mysql_install_db --user=mysql --basedir=/usr/local/mysql-5.5.62/ --datadir=/usr/local/mysql-5.5.62/data/
Installing MySQL system tables...
190616 17:56:34 [Warning] Using unique option prefix lower_case_table_name instead of lower_case_table_names is deprecated and will be removed in a future release. Please use the full name instead.
190616 17:56:34 [Note] Ignoring --secure-file-priv value as server is running with --bootstrap.
190616 17:56:34 [Note] /usr/local/mysql-5.5.62//bin/mysqld (mysqld 5.5.62) starting as process 73351 ...
OK
Filling help tables...
190616 17:56:34 [Warning] Using unique option prefix lower_case_table_name instead of lower_case_table_names is deprecated and will be removed in a future release. Please use the full name instead.
190616 17:56:34 [Note] Ignoring --secure-file-priv value as server is running with --bootstrap.
190616 17:56:34 [Note] /usr/local/mysql-5.5.62//bin/mysqld (mysqld 5.5.62) starting as process 73359 ...
OK

To start mysqld at boot time you have to copy
support-files/mysql.server to the right place for your system

PLEASE REMEMBER TO SET A PASSWORD FOR THE MySQL root USER !
To do so, start the server, then issue the following commands:

/usr/local/mysql-5.5.62//bin/mysqladmin -u root password 'new-password'
/usr/local/mysql-5.5.62//bin/mysqladmin -u root -h 172.20.10.7
192.168.122.1 password 'new-password'

Alternatively you can run:
/usr/local/mysql-5.5.62//bin/mysql_secure_installation

which will also give you the option of removing the test
databases and anonymous user created by default.  This is
strongly recommended for production servers.

See the manual for more instructions.

You can start the MySQL daemon with:
cd /usr/local/mysql-5.5.62/ ; /usr/local/mysql-5.5.62//bin/mysqld_safe &

You can test the MySQL daemon with mysql-test-run.pl
cd /usr/local/mysql-5.5.62//mysql-test ; perl mysql-test-run.pl

Please report any problems at http://bugs.mysql.com/

[root@yangtuo mysql-5.5.62]#
以上到此已经安装成功了 mysql 还需要一些设置才可以正常运行
安装配置
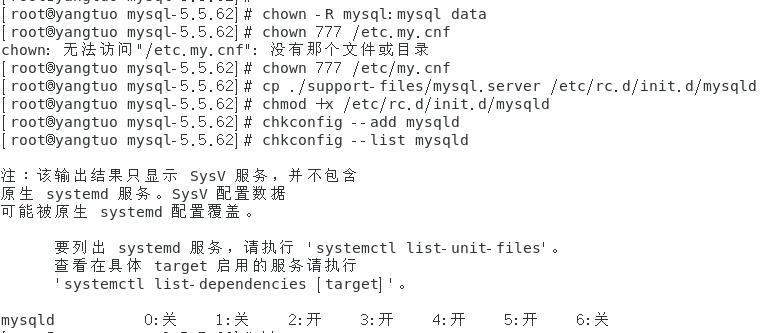
配置Mysql
chown -R mysql:mysql data

chown 777 /etc.my.cnf

cp ./support-files/mysql.server /etc/rc.d/init.d/mysqld

chmod +x /etc/rc.d/init.d/mysqld

chkconfig --add mysqld

chkconfig --list mysqld

mkdir /var/lib/mysql

chmod 777 /var/lib/mysql


开启服务
service mysqld start
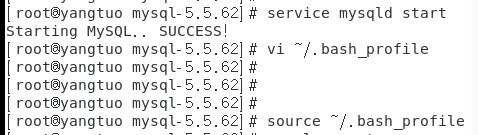
设置PATH
vi ~/.bash_profile
在文件最后面加入以下内容,并使用:wq保存
export PATH=$PATH:/usr/local/mysql-5.5.62/bin
刷新PATH
source ~/.bash_profile
以上操作完成就既可以正常使用 mysql 了, 为了后期的方便使用, 我们还要进行一定的优化设置已经安全性设置等
mysql 基本使用及设置
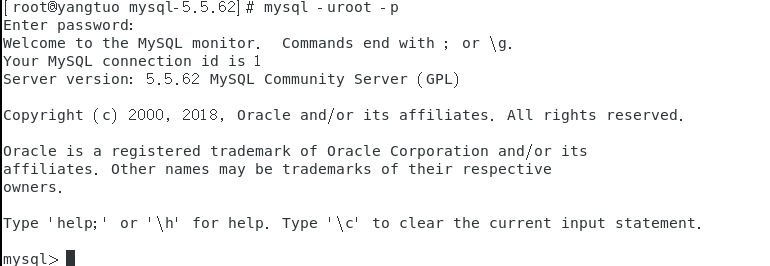
登录mysql
这时mysql没有密码, 当出现Enter password:时直接回车
mysql -uroot -p
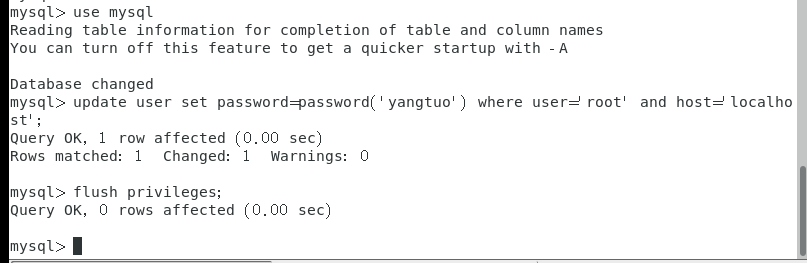
修改root密码
mysql> use mysql
mysql> update user set password=password('需要设置的密码') where user='root' and host='localhost';
mysql> flush privileges;
配置远程登录
mysql>GRANT ALL PRIVILEGES ON *.* TO 'root'@'%' IDENTIFIED BY '刚才设置的root密码' WITH GRANT OPTION;
到此所有配置全部完毕. 可以使用远程工具进行登录了