1、在控制节点上,keystone中为neutron增加用户、赋予角色、添加服务入口
# add neutron user (set in service project)
openstack user create --domain default --project service --password servicepassword neutron
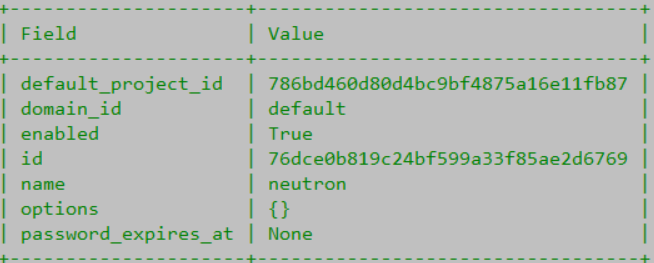
# add neutron user in admin role
openstack role add --project service --user neutron admin    # 此操作无显示
# add service entry for neutron
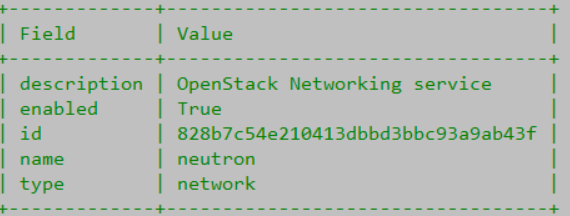
openstack service create --name neutron --description "OpenStack Networking service" network
export controller1=192.168.222.29
# add endpoint for neutron (public)
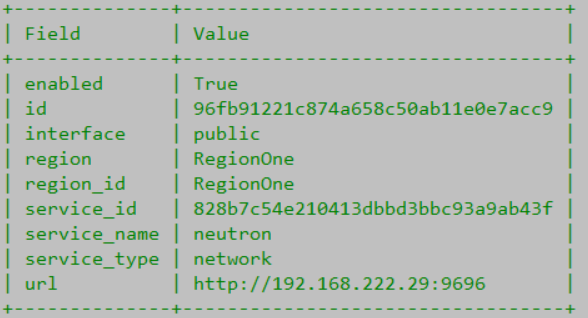
openstack endpoint create --region RegionOne network public http://$controller1:9696
# add endpoint for neutron (internal)
openstack endpoint create --region RegionOne network internal http://$controller1:9696

# add endpoint for neutron (admin)
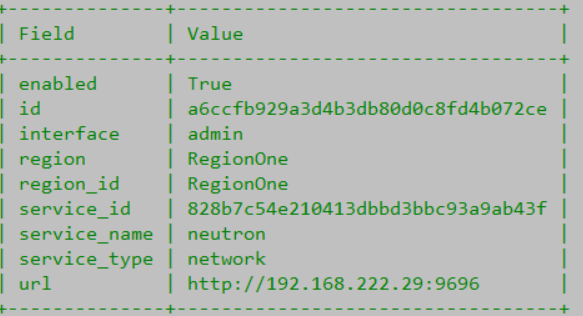
openstack endpoint create --region RegionOne network admin http://$controller1:9696
2、为neutron创建数据库
mysql -u root -p
# 输入之前设置的数据库密码root
create database neutron_ml2;
grant all privileges on neutron_ml2.* to neutron@'localhost' identified by 'password';
grant all privileges on neutron_ml2.* to neutron@'%' identified by 'password';
flush privileges;
exit
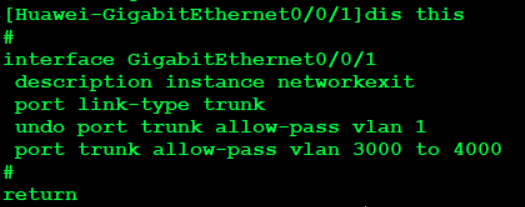
3、查看物理交换机中与instance network相连的端口,并在该物理交换机上端口配置trunk,有几个配置几个。
# 此处以华为二层可管理交换机演示,型号S5700-52P-LI-AC
<Huawei>system-view
[Huawei]vlan batch 3000 to 4000                                                                     # 批量创建vlan 3000到4000
[Huawei]interface GigabitEthernet 0/0/1
[Huawei-GigabitEthernet0/0/1]description instance network
[Huawei-GigabitEthernet0/0/1]port link-type trunk
[Huawei-GigabitEthernet0/0/1]port trunk allow-pass vlan 3000  to 4000       # 允许3000到4000的vlan id通过
[Huawei-GigabitEthernet0/0/1]undo port trunk allow-pass vlan  1
[Huawei-GigabitEthernet0/0/1]dis this                                                            # 显示配置
<Huawei>save                                                             # 一路exit,退到此模式;save保存退出
