1、在控制节点上,keystone中为cinder增加用户、赋予角色、添加服务入口
# add cinder user (set in service project)
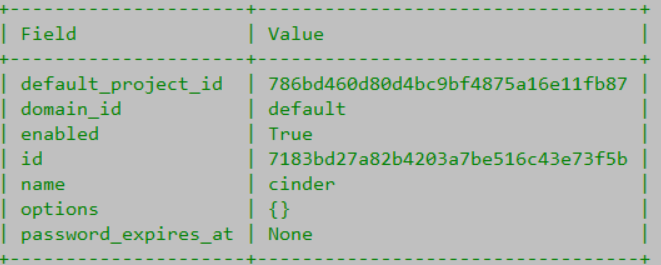
openstack user create --domain default --project service --password servicepassword cinder
# add cinder user in admin role
openstack role add --project service --user cinder admin # 此步骤无显示
# add service entry for cinder
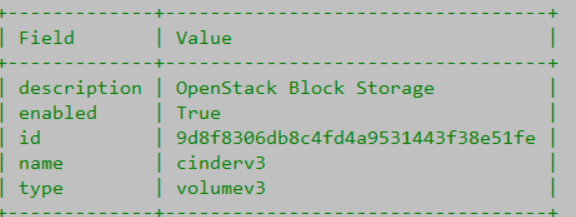
openstack service create --name cinderv3 --description "OpenStack Block Storage" volumev3
export controller1=192.168.222.29
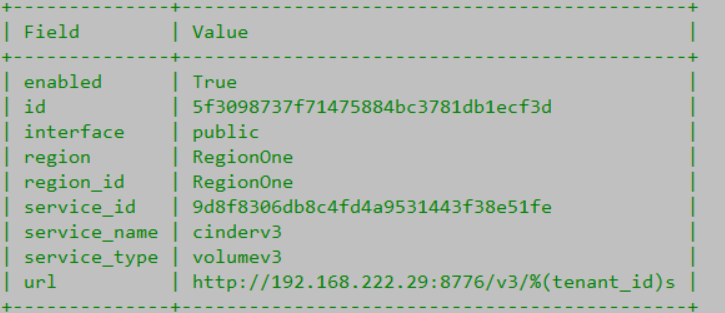
# add endpoint for cinder (public)
openstack endpoint create --region RegionOne volumev3 public http://$controller1:8776/v3/%(tenant_id)s
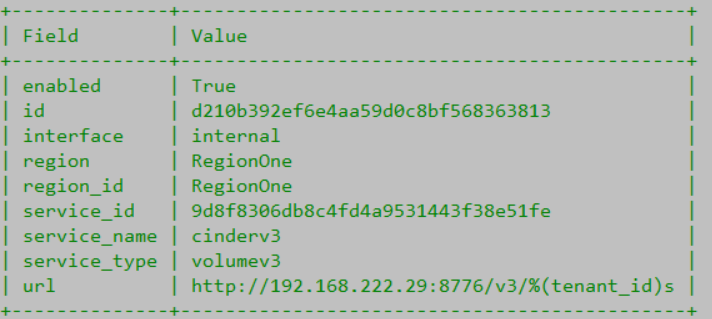
# add endpoint for cinder (internal)
openstack endpoint create --region RegionOne volumev3 internal http://$controller1:8776/v3/%(tenant_id)s
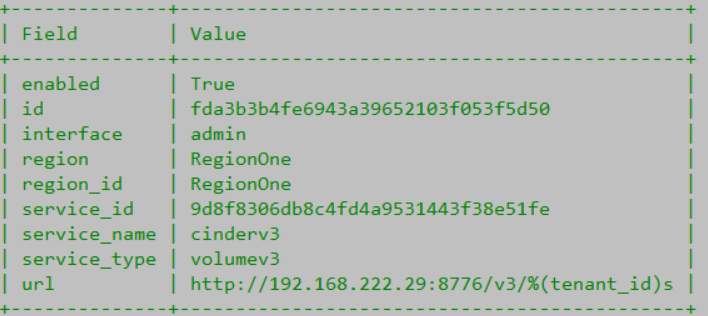
# add endpoint for cinder (admin)
openstack endpoint create --region RegionOne volumev3 admin http://$controller1:8776/v3/%(tenant_id)s
2、为cinder创建数据库
mysql -u root -p
# 输入之前设置的数据库密码root
create database cinder;
grant all privileges on cinder.* to cinder@'localhost' identified by 'password';
grant all privileges on cinder.* to cinder@'%' identified by 'password';
flush privileges;
exit
3、安装cinder组件
apt -y install cinder-api cinder-scheduler python3-cinderclient
# 配置文件
mv /etc/cinder/cinder.conf /etc/cinder/cinder.conf.org          # 备份官方的
vi /etc/cinder/cinder.conf
# 修改如下
# create new
[DEFAULT]
debug = True                  # 打开调试功能
# define own IP address
my_ip = 192.168.222.29        # API IP
rootwrap_config = /etc/cinder/rootwrap.conf
api_paste_confg = /etc/cinder/api-paste.ini
state_path = /var/lib/cinder
auth_strategy = keystone
# RabbitMQ connection info
transport_url = rabbit://openstack:password@192.168.222.29
enable_v3_api = True

# Glance connection info
glance_api_servers = http://192.168.220.29:9292              #  这里配置存储网的IP,也可以API网
# volume option
enabled_backends = lvm
# wipe data better method
volume_clear = zero
volume_clear_size = 100
#volume_clear_ionice = -c3
# MariaDB connection info
[database]
connection = mysql+pymysql://cinder:password@192.168.222.29/cinder

# Keystone auth info
[keystone_authtoken]
www_authenticate_uri = http://192.168.222.29:5000
auth_url = http://192.168.222.29:5000
memcached_servers = 192.168.222.29:11211
auth_type = password
project_domain_name = default
user_domain_name = default
project_name = service
username = cinder
password = servicepassword

[oslo_concurrency]
lock_path = $state_path/tmp

[lvm]
target_helper = tgtadm
target_protocol = iscsi
# IP address of Storage Node
target_ip_address = 192.168.220.25                   # 这里修改为存储网IP
# volume group name just created
volume_group = cinder-volumes
volume_backend_name = raid_sata
volume_driver = cinder.volume.drivers.lvm.LVMVolumeDriver
volumes_dir = $state_path/volumes
# add image-volume cache
image_volume_cache_enabled = True
image_volume_cache_max_size_gb = 100
image_volume_cache_max_count = 50

# 修改文件权限
chmod 644 /etc/cinder/cinder.conf
chown root:cinder /etc/cinder/cinder.conf
# 同步数据库信息
su -s /bin/bash cinder -c "cinder-manage db sync" # info信息不用关心,如果有error,配置存储节点后再执行
systemctl restart cinder-scheduler                # 服务已经开机自动启动

# 添加环境变量
echo "export OS_VOLUME_API_VERSION=3" >> ~/keystonerc
source ~/keystonerc
# 查看验证卷
openstack volume service list
