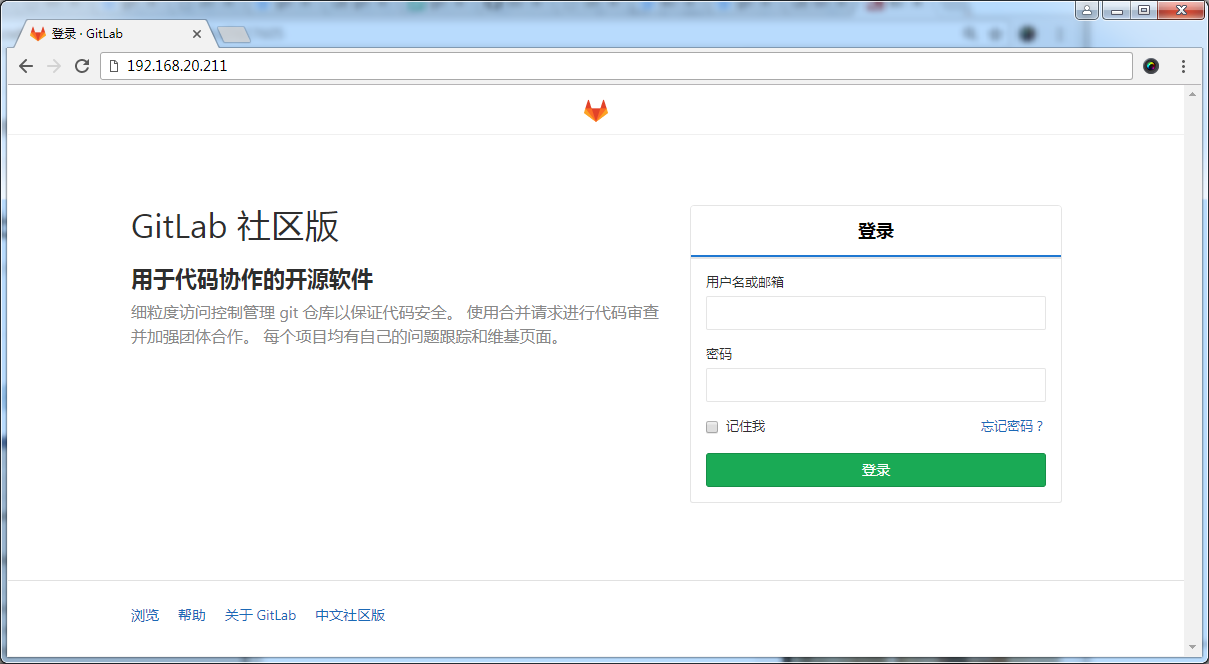
原文:https://www.sunjianhua.cn/archives/centos-gitlab.html
1. 安装文档
https://about.gitlab.com/installation/
2. 安装
-
编辑源
$ vim/etc/yum.repos.d/gitlab-ce.repo [gitlab-ce] name=gitlab-ce baseurl=http://mirrors.tuna.tsinghua.edu.cn/gitlab-ce/yum/el7 repo_gpgcheck=0 gpgcheck=0 enabled=1 gpgkey=https://packages.gitlab.com/gpg.key -
更新本地 YUM 缓存
sudo yum makecache -
建立新版nginx的yum仓库
wget http://nginx.org/packages/centos/7/noarch/RPMS/nginx-release-centos-7-0.el7.ngx.noarch.rpm rpm -ivh nginx-release-centos-7-0.el7.ngx.noarch.rpm - 安装Git
-
安装社区版gitlab-ce
sudo yum install gitlab-ce #(自动安装最新版) #sudo yum install gitlab-ce-10.1.1-ce.0.el6.x86_64 #(安装指定版本) -
配置并启动
# vim /etc/gitlab/gitlab.rb # 找到 external_url 'http://192.168.20.211# 修改成你的ip地址 # 然后执行下面的命令,对GitLab进行编译。 sudo gitlab-ctl reconfigure #启动gitlab sudo gitlab-ctl restart -
汉化(需要的看看)
#确认当前版本
sudo cat /opt/gitlab/embedded/service/gitlab-rails/VERSION

#克隆汉化版本库
git clone https://gitlab.com/xhang/gitlab.git

#导出9.3.5 版本的汉化补丁
git diff v10.1.1 v10.1.1-zh > ../10.1.1-zh.diff

# 停止 gitlab
sudo gitlab-ctl stop
sudo patch -d /opt/gitlab/embedded/service/gitlab-rails -p1 < ../10.1.1-zh.diff

#重启 GitLab 即可
sudo gitlab-ctl start

#执行重新配置命令
sudo gitlab-ctl reconfigure
