1、安装:
安装客户端
sudo yum install mysql
安装服务器
sudo yum install mysql-server
2、配置:查看配置文件
cat /etc/my.cnf
3、启动:
启动脚本:cat /etc/init.d/mysqld
sudo service mysqld start/stop/status/restart/reload/force-reload/condrestart
初次启动信息:多了启动初始化的一些工作
Initializing MySQL database: WARNING: The host '10-57-19-59' could not be looked up with resolveip.
This probably means that your libc libraries are not 100 % compatible
with this binary MySQL version. The MySQL daemon, mysqld, should work
normally with the exception that host name resolving will not work.
This means that you should use IP addresses instead of hostnames
when specifying MySQL privileges !
Installing MySQL system tables...
OK
Filling help tables...
OK
To start mysqld at boot time you have to copy
support-files/mysql.server to the right place for your system
PLEASE REMEMBER TO SET A PASSWORD FOR THE MySQL root USER !
To do so, start the server, then issue the following commands:
/usr/bin/mysqladmin -u root password 'new-password'
/usr/bin/mysqladmin -u root -h 10-57-19-59 password 'new-password'
Alternatively you can run:
/usr/bin/mysql_secure_installation
which will also give you the option of removing the test
databases and anonymous user created by default. This is
strongly recommended for production servers.
See the manual for more instructions.
You can start the MySQL daemon with:
cd /usr ; /usr/bin/mysqld_safe &
You can test the MySQL daemon with mysql-test-run.pl
cd /usr/mysql-test ; perl mysql-test-run.pl
Please report any problems with the /usr/bin/mysqlbug script!
[ OK ]
Starting mysqld: [ OK ]
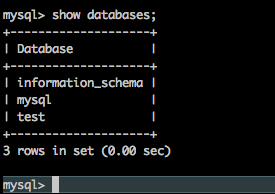
未初始化前,mysql -h127.0.0.1 -uroot登录后的表如下,root账号都默认密码为空
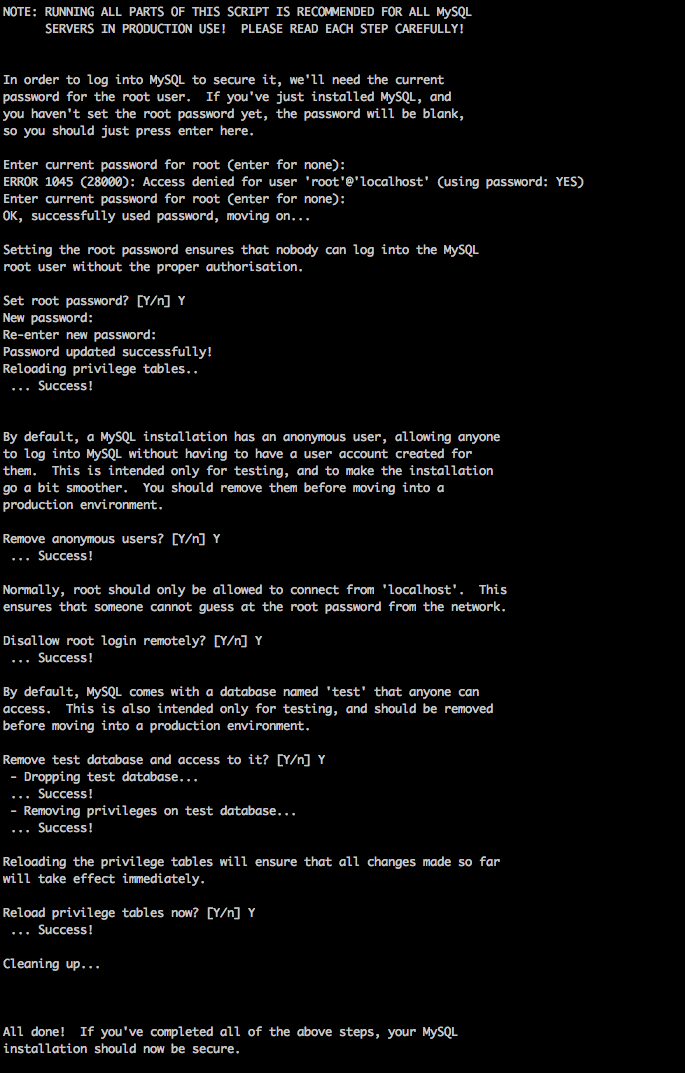
执行如下命令进行安装设置:
sudo mysql_secure_installation
设置root密码,禁止远程用户使用root账号登录,删除测试表test,删除匿名用户,重新设置表的权限
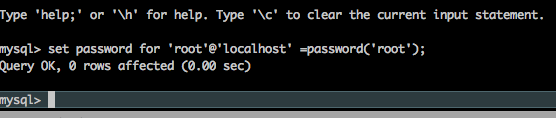
重新设置密码:password 'root'为新密码;-proot为旧密码
sudo mysqladmin -u root -h127.0.0.1 -proot password 'root'
把在所有数据库的所有表的所有权限赋值给位于所有IP地址的root用户。
mysql> grant all privileges on *.* to root@'%' identified by 'password';
如果是新用户而不是root,则要先新建用户
mysql>create user 'username'@'%' identified by 'password';
此时就可以进行远程连接了。
