Koa 中的路由和Express 有所不同,在Express 中直接引入Express 就可以配置路由,但是在 Koa 中我们需要安装对应的koa-router 路由模块来实现。
npm install koa-router --save
const Koa = require('koa'); //引入koa模块
const app = new Koa(); //实例化
const Router = require('koa-router') //引入koa-router模块
const router =new Router() //实例化
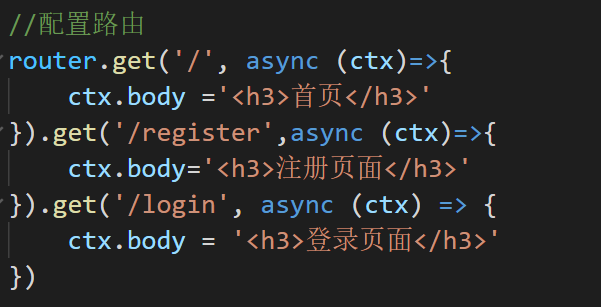
//配置路由
router.get('/', async (ctx)=>{
ctx.body ='<h3>首页</h3>'
})
router.get('/register',async (ctx)=>{
ctx.body='<h3>注册页面</h3>'
})
router.get('/login', async (ctx) => {
ctx.body = '<h3>登录页面</h3>'
})
//启动路由
app
.use(router.routes())
.use(router.allowedMethods())
app.listen(3000);
/*
router.allowedMethods()作用: 这是官方文档的推荐用法,我们可以
看到 router.allowedMethods()用在了路由匹配 router.routes()之后,所以在当所有
路由中间件最后调用.此时根据 ctx.status 设置 response 响应头
*/
配置路由也可以这样配置:
获取 get 传值:
在 koa2 中 GET 传值通过 request 接收,但是接收的方法有两种:query 和 querystring。
① query:返回的是格式化好的参数对象。
② querystring:返回的是请求字符串
const Koa = require('koa')
const app = new Koa()
const router = require('koa-router')() //直接引入实例化路由
//获取get传值
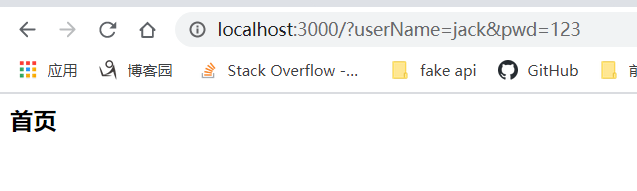
//加入地址栏输入的url为:http://localhost:3000/userName=jack&pwd=123
router.get('/', async (ctx) => {
//①从ctx中读取get传值
console.log(ctx.url) // /?userName=jack&pwd=123
console.log(ctx.query) // { userName: 'jack', pwd: '123' }
console.log(ctx.querystring) //userName=jack&pwd=123
//②从ctx里面的request中获取get传值
console.log(ctx.request.url) // /?userName=jack&pwd=123
console.log(ctx.request.query) //{ userName: 'jack', pwd: '123' }
console.log(ctx.request.querystring) //userName=jack&pwd=123
ctx.body = '<h3>首页</h3>'
})
app.use(router.routes())
app.use(router.allowedMethods())
app.listen(3000)
动态路由:
const Koa = require('koa')
const app = new Koa()
const router = require('koa-router')()

//动态路由
//地址栏中输入 http://localhost:3000/login/userName=jack
router.get('/login/:aid',async (ctx)=>{
    console.log(ctx.params) //{ aid: 'userName=jack' }
    ctx.body='登录页'

})

//动态路由中传多个参数
//地址栏中输入 http://localhost:3000/list/news-list/10
router.get('/list/:aid-list/:pid',async (ctx)=>{
    console.log(ctx.params) //{ aid: 'news', pid: '10' }
    ctx.body="列表页"
})

app.use(router.routes());
app.use(router.allowedMethods());

app.listen(3000);