转载请注明出处:http://www.cnblogs.com/shamoyuu/p/vue_vux_app_5.html
项目github地址:https://github.com/shamoyuu/vue-vux-iconan
我们引入vux的toast插件,为了能在任何地方使用toast(不仅仅是在组件中,比如store.js中),我们修改main.js
import Vue from "vue"
import App from "./App"
import router from "./tools/router"
import store from "./tools/store"
import { ToastPlugin } from "vux"
import TestDirective from "./directives/common/TestDirective"
import api from "./tools/api"
import errorHandle from "./tools/errorHandle"

Vue.config.productionTip = false;

const FastClick = require("fastclick");
FastClick.attach(document.body);

Vue.use(ToastPlugin, { type: "text", position: 'bottom',  "70vw" });
Vue.use(TestDirective);
Vue.use(api);
Vue.use(errorHandle);

Vue.prototype.instance = new Vue({
    el: ".app",
    router: router,
    store: store,
    template: "<App/>",
    components: { App }
});
修改的地方就图中红色的部分,最后一句比较重要,这样我们可以在任何地方引用到vue的实例,从而达到任何地方都使用toast的目的。
只要能获取到Vue对象,就可以通过下面的方式来弹出toast
Vue.prototype.instance.$vux.toast.show("message")
然后我们添加axios
npm install --save-dev axios
然后我们新建一个文件tools/axios.js文件
import axios from "axios"
import Vue from "vue"


//设置全局请求为ajax请求
axios.interceptors.request.use((config) => {
    config.headers["X-Requested-With"] = "XMLHttpRequest";
    return config;
});

//错误处理
axios.interceptors.response.use(
    (response) => {
        let result = response.data;

        if (!result) {
            result = {
                stateCode: 3,
                message: "未获取到数据"
            }
        }

        //stateCode为0表示正常返回数据,其他情况表示有错误,错误信息由message提供
        switch (result.stateCode) {
            case 0:
                return result.data;
            case 1:
                //没有登录
                break;
            case 2:
                //其他错误
                break;
            default:
                break;
        }

        let err = new Error(result.message);

        err.data = result;
        err.response = response;

        throw err;
    },
    (err) => {
        if (err && err.response) {
            if (err.response.status == 404) {
                err.message = "请求地址不存在";
            }
            else {
                err.message = "网络异常,请稍后重试[" + err.response.status + "]";
            }
        }
        else {
            err.message = "网络异常,请稍后重试";
        }
        Vue.prototype.instance.$vux.toast.show(err.message);
        return Promise.reject(err);
    }
);

export default axios;
这个文件的内容很简单,唯一需要注意的是拦截response请求的那部分,我们约定使用下面的格式
{
    "stateCode": 0,
    "data": "当stateCode为0时有效,表示正常返回的数据"
    "message": "当stateCode不为0时有效,表示错误信息"
}
所以在stateCode==0的时候,我们直接返回了result.data,其他的信息直接丢弃了,因为页面不需要关心。
这里如果正常返回了数据(200状态),那么是否需要弹出message信息由页面决定,而其他非200的异常都会默认弹出toast提示。
然后我们新建一个错误处理的文件tools/errorHandle.js
export default {
    install(Vue) {
        Vue.prototype.$errorHandle = function (errorData) {
            //如果返回200,则弹出message
            if (errorData.response && errorData.response.status == 200) {
                if (errorData.data && errorData.data.message) {
                    Vue.prototype.instance.$vux.toast.show(errorData.data.message);
                }
            }
            else {
                //如果是非200,其他错误在这里处理
            }
        }
    }
}
然后我们新建一个tools/api.js文件,将axios再封装一下,顺便让它变成全局对象。
import axios from "@/tools/axios"

export default {
    install(Vue) {
        Vue.prototype.$api = {
            get(url, params) {
                return axios.get(url, {
                    params: params
                })
            },
            post(url, params) {
                return axios.post(url, params);
            }
        }
    }
}
至此,我们成功地引入了axios,来写个例子,在任意组件添加下面的代码
mounted: function() {
    this.$api.get("http://meleong.duapp.com/xxxx/xxxx", {
        id: "1"
    })
    .then(function(data) {
        console.info("成功", arguments);
    })
    .catch(this.$errorHandle);
}
这里对错误的处理并没有放到then的第二个参数上,而是单独写了catch,这样写比较清晰一点。
如果不写这个catch,对状态200且stateCode != 0的错误不会有任何提示(某些情况下可能真的不需要提示)。

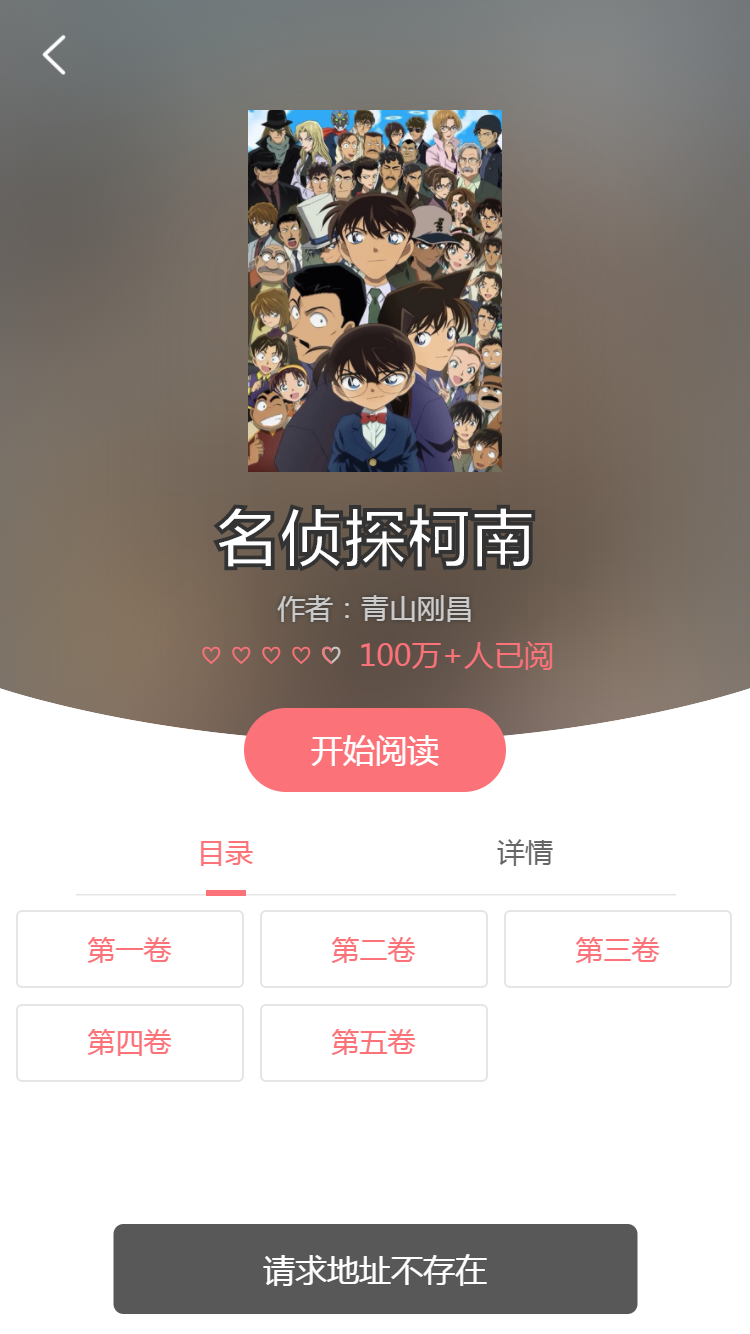
这个是状态404的错误提示,不管写不写catch都会弹出来。

这个是状态200,但是stateCode != 0时的错误提示,必须写了.catch(this.$errorHandle)才会触发。