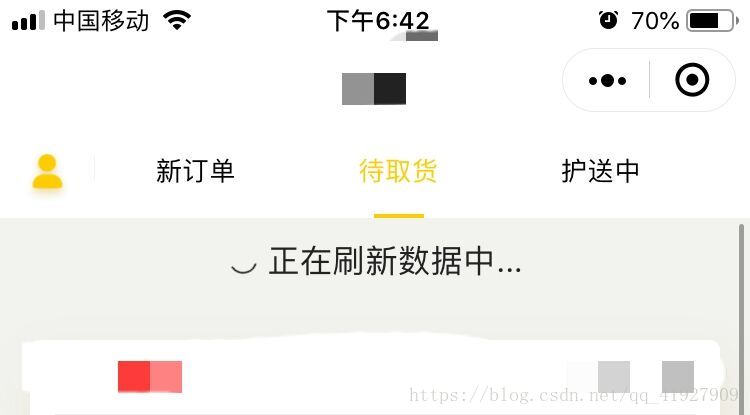
贴图
大概实现这种使用swiper做tab切换,数据页面下拉刷新的效果。
官方提供的scroll-view作为容器,如果在scroll-view使用onPullDownRefresh实现下拉刷新,会存在页面刷新卡,并且刷新会出现在tab之上,用户体验极差。
这里先来一波参考文档:
scroll-view微信官方文档
scroll-view下拉组件---来自其他大神自己封装的组件,强推!实现思路还是scroll-view
以下代码为示例,并非图片效果,图片效果需要根据自己业务修改
具体实现:
1、下载scroll-view下拉组件将所需要的x-scroll-view组件拷至自己项目对应的component文件目录下。
2、页面json文件中引用组件:
"usingComponents": {
    "x-scroll-view": "../path/x-scroll-view"
    }
3、.wxml中使用组件:
<x-scroll-view refreshing="{{refreshing}}"   style='height:1000rpx;' nomore="{{nomore}}" bindpulldownrefresh="_onPullDownRefresh" bindscroll="_onScroll">
     <view style='min-height:1100rpx'>
       <block wx:for="{{colors}}"  wx:for-index="index" wx:key="index">
         	<view class="view" style="background: {{item}}">{{index + 1}}. {{item}}</view>
       </block>
       </view>
     </x-scroll-view>
注意:必须在循环外面嵌套一层view,将高度设置为超过scroll-view的高度,否则在数据高度未超过scroll-view本身高度时,无法触发下拉刷新
4、.js文件中:
Page({

  data: {
    colors: [],
    scrollLeft: 0,
    currentTab: 0,
    currentIndex: 0,
  },
  // tab切换
switchTab: function(e) {
    this.setData({
      currentIndex: e.detail.current
    })
  },
  // 点击tab导航切换
  switchNav: function(e) {
    let cur = e.target.dataset.current;
    if (this.data.currentTab == cur) {
      return false
    } else {
      this.setData({
        currentTab: cur
      })
    }
  },
  _randomColor: function () {
    return `rgba(${Math.floor(Math.random() * 256)},${Math.floor(Math.random() * 256)},${Math.floor(Math.random() * 256)},${(Math.random() * 0.3 + 0.2).toFixed(1)})`;
  },

  _generateColors: function (length) {
    return new Array(length).fill(null).map(() => this._randomColor());
  },

  //下拉刷新监听函数
  _onPullDownRefresh: function () {
    setTimeout(() => {
      const colors = this._generateColors(1);
      this.setData({
        colors,
        refreshing: false,
      });
    }, 2000);
  },

  //加载更多监听函数
  _onLoadmore: function () {
    setTimeout(() => {
      if (this.data.colors.length == 80) {
        this.setData({ nomore: true })
      } else {
        const colors = this._generateColors(1);
        this.setData({ colors: [...this.data.colors, ...colors] });
      }
    }, 1000);
  },

  _onScroll: function (e) {
    console.log(e);
  },

  onLoad: function (options) {
    const colors = this._generateColors(1);
    this.setData({ colors });
  },
})
以上代码实现下拉便可实现下拉刷新,再加上头部tab
<scroll-view scroll-x class='tabHeader' scroll-left="{{scrollLeft}}">
    <view data-current='0' bindtap='switchNav' class="tab-item {{currentIndex==0?'active':''}}">
      <view class="reset {{currentIndex==0?'reset-active':''}}"></view>tab1
    </view>
    <view class="tab-item {{currentIndex==1?'active':''}}" data-current='1' bindtap='switchNav'>
      <view class="reset  {{currentIndex==1?'reset-active':''}}"></view>tab2
     </view>
    <view class="tab-item {{currentIndex==2?'active':''}}" data-current='2' bindtap='switchNav'>
      <view class="reset {{currentIndex==2?'reset-active':''}}"></view>tab3
     </view>
  </scroll-view>
   <swiper duration="300" current='{{currentTab}}' bindchange='switchTab' style='height:{{winHeight}}rpx; background:#F2F2EF'>
   <swiper-item>
   		<x-scroll-view refreshing="{{refreshing}}"   style='height:1000rpx;' nomore="{{nomore}}" bindpulldownrefresh="_onPullDownRefresh" bindscroll="_onScroll">
      		<view style='min-height:1100rpx'>
        		<block wx:for="{{colors}}"  wx:for-index="index" wx:key="index">
          			<view class="view" style="background: {{item}}">{{index + 1}}. {{item}}</view>
        		</block>
        	</view>
      </x-scroll-view>
    </swiper-item>
     <swiper-item>
   		<x-scroll-view refreshing="{{refreshing}}"   style='height:1000rpx;' nomore="{{nomore}}" bindpulldownrefresh="_onPullDownRefresh" bindscroll="_onScroll">
      		<view style='min-height:1100rpx'>
        		<block wx:for="{{colors}}"  wx:for-index="index" wx:key="index">
          			<view class="view" style="background: {{item}}">{{index + 1}}. {{item}}</view>
        		</block>
        	</view>
      </x-scroll-view>
    </swiper-item>
</swiper>
加上部分wxss代码:
page {
height: 100%;
display: flex;
flex-direction: column;
}

x-scroll-view {
height: calc(100% - 51px);
}
.tabHeader {
height: 90rpx;
 100%;
line-height: 89rpx;
font-size: 16rpx;
display: flex;
align-items: center;
z-index: 99;
box-shadow:2px 10px 25px rgba(173,139,1,0.1);
}
okok~