在springboot中整合mybatis-plus
按照官方文档进行的配置:快速开始|mybatis-plus
引入依赖:
 1 <!-- 引入mybatisPlus -->
 2        <dependency>
 3             <groupId>com.baomidou</groupId>
 4             <artifactId>mybatis-plus-boot-starter</artifactId>
 5             <version>3.2.0</version>
 6         </dependency>
 7         <!-- 引入mysql驱动包 -->
 8         <dependency>
 9             <groupId>mysql</groupId>
10             <artifactId>mysql-connector-java</artifactId>
11             <version>5.1.27</version>
12         </dependency>
13         <!-- 引入Druid依赖,阿里巴巴所提供的数据源 -->
14         <dependency>
15             <groupId>com.alibaba</groupId>
16             <artifactId>druid</artifactId>
17             <version>1.0.29</version>
18     </dependency>
在application.yml配置
1 spring:
2   datasource:
3     type: com.alibaba.druid.pool.DruidDataSource
4     driver-class-name: com.mysql.jdbc.Driver
5     url: jdbc:mysql://127.0.0.1:3306/test?useUnicode=true&characterEncoding=UTF-8
6     username: root
7     password: 123456
在启动类上面添加@MapperScan注解,扫描mapper包
1 @SpringBootApplication
2 @MapperScan("com.qiao.demo02.mapper")
3 public class SpringbootDemo02Application {
4
5     public static void main(String[] args) {
6         SpringApplication.run(SpringbootDemo02Application.class, args);
7     }
8
9 }
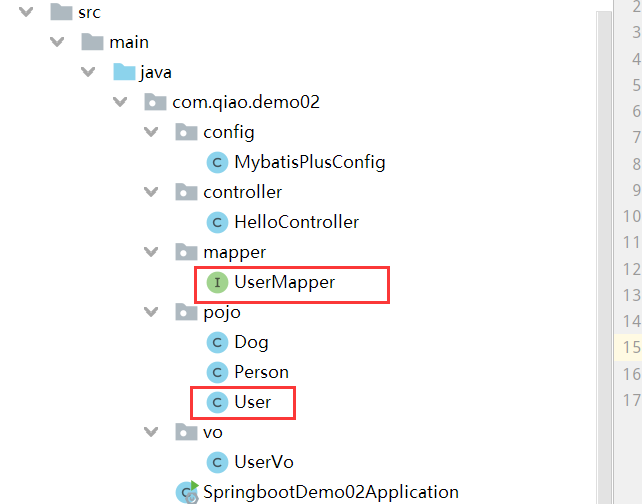
新建User和UserMapper
user类


1 @Data
2 public class User {
3     @TableId
4     private Integer userId;
5     private String userName;
6     private Integer userAge;
7     private String userEmail;
8 }
UserMapper接口
1 public interface UserMapper extends BaseMapper<User> {
2
3 }
最重要的是继承BaseMapper<E>接口:里面声明了很强大的CRUD方法
 1 public interface BaseMapper<T> extends Mapper<T> {
 2     int insert(T entity);
 3
 4     int deleteById(Serializable id);
 5
 6     int deleteByMap(@Param("cm") Map<String, Object> columnMap);
 7
 8     int delete(@Param("ew") Wrapper<T> wrapper);
 9
10     int deleteBatchIds(@Param("coll") Collection<? extends Serializable> idList);
11
12     int updateById(@Param("et") T entity);
13
14     int update(@Param("et") T entity, @Param("ew") Wrapper<T> updateWrapper);
15
16     T selectById(Serializable id);
17
18     List<T> selectBatchIds(@Param("coll") Collection<? extends Serializable> idList);
19
20     List<T> selectByMap(@Param("cm") Map<String, Object> columnMap);
21
22     T selectOne(@Param("ew") Wrapper<T> queryWrapper);
23
24     Integer selectCount(@Param("ew") Wrapper<T> queryWrapper);
25
26     List<T> selectList(@Param("ew") Wrapper<T> queryWrapper);
27
28     List<Map<String, Object>> selectMaps(@Param("ew") Wrapper<T> queryWrapper);
29
30     List<Object> selectObjs(@Param("ew") Wrapper<T> queryWrapper);
31
32     IPage<T> selectPage(IPage<T> page, @Param("ew") Wrapper<T> queryWrapper);
33
34     IPage<Map<String, Object>> selectMapsPage(IPage<T> page, @Param("ew") Wrapper<T> queryWrapper);
35 }
分页查询
这点官方文档讲的也很详细:https://mp.baomidou.com/guide/page.html
新建一个config包,在里面建一个MybatisPlus配置类 返回一个分页拦截器
 1 package com.qiao.demo02.config;
 2
 3 @Configuration
 4 @ConditionalOnClass(value = {PaginationInterceptor.class})
 5 public class MybatisPlusConfig {
 6     @Bean
 7     public PaginationInterceptor paginationInterceptor() {
 8         PaginationInterceptor paginationInterceptor = new PaginationInterceptor();
 9         return paginationInterceptor;
10     }
11 }
这样就能使用mybatis的分页功能了
Junit测试
 1  @Resource
 2     private UserMapper userMapper;
 3     @Test
 4     public void queryUserForPage(){
 5         IPage<User> userPage = new Page<>(2, 2);//参数一是当前页,参数二是每页个数
 6         userPage = userMapper.selectPage(userPage, null);
 7         List<User> list = userPage.getRecords();
 8         for(User user : list){
 9             System.out.println(user);
10         }
11     }
Controller返回json串
先定义一个包装类UserVo,用来保存分页所需要的数据
1 package com.qiao.demo02.vo;
2
3 @Data
4 public class UserVo {
5     private Integer current;
6     private Integer size;
7     private Long total;
8     private List<User> userList;
9 }
然后在控制器编写代码,这里省略了service层,实际开发业务代码写在service层,Controller只负责:接受参数、调用service层方法处理业务逻辑,返回结果
Controller类贴上了@RestController注解
 1 @GetMapping("queryUser")
 2     public UserVo queryList(Integer current, Integer size) {
 3         /**
 4          * 这些代码应该写在service层
 5          */
 6         UserVo userVo = new UserVo();
 7         IPage<User> page = new Page<>(current, size);
 8         userMapper.selectPage(page, null);
 9         userVo.setCurrent(current);
10         userVo.setSize(size);
11         userVo.setTotal(page.getTotal());
12         userVo.setUserList(page.getRecords());
13         return userVo;
14     }
附上结果,前端直接处理json数据即可
