step0:安装mysql
在按照workbench之前,先安装mysql。指令是
yum install mysql mysql-server mysql-libs mysql-server
关于mysql各个包的功能是:
“mysql for the client tools, mysql-server for the server and associated tools, and mysql-libs for the libraries. The libraries are required if you want to provide connectivity from different languages and environments such as Perl, Python and others.”
用yum指令安装的好处是比较方便,坏处是一般yum指令安装的版本都比最新版稍微落后些……
terminal提示complete以后,就说明安装完了。mysql的配置文件被安装到/etc/my.cnf,mysql server的启动脚本被安装到/etc/init.d/mysqld
官方说明:
“A sample configuration file is installed into /etc/my.cnf. An init script, to start and stop the server, will have been installed into /etc/init.d/mysqld. ”
启动MySQL server的命令是:
root-shell> service mysqld start
如果想在centOS开机时自动启动MySQL server,那么可以使用指令
root-shell> chkconfig --levels 235 mysqld on
mysql和 mysq lserver装好以后就可以装workbench了。
step1:到mysql的官网上下载workbench安装文件
http://dev.mysql.com/downloads/mirror.php?id=412155

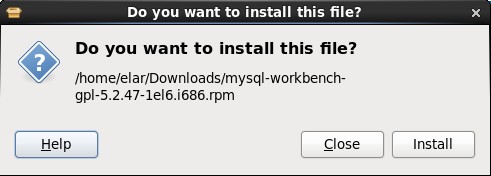
step2:下载好了以后,点击安装

双击下载的文件,即可安装
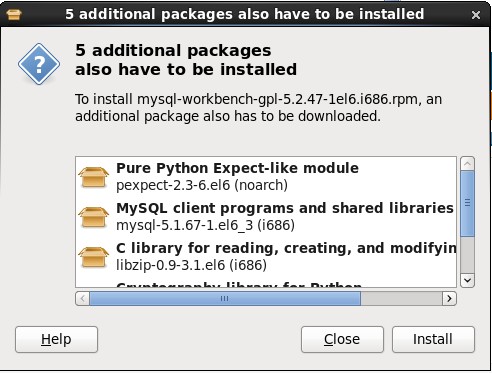
会提示需要额外安装的package,点击install就好。
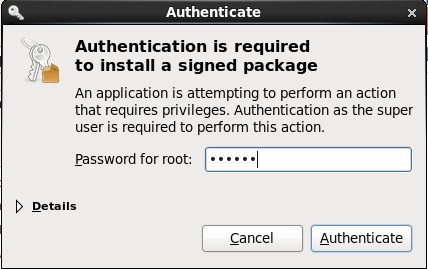
提示需要输入密码,输入root的密码就好
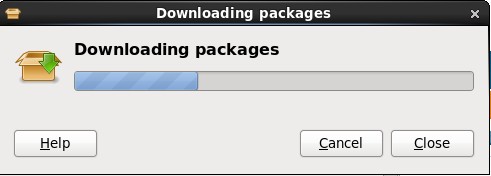
之后它会自己下载所依赖的package
step3:打开3306端口
因为mysql默认使用的是3306端口,而centOS默认是不打开此端口的,因此要先打开它,命令是
/sbin/iptables -I INPUT -p tcp --dport 3036 -j ACCEPT
保存设置
/etc/rc.d/init.d/iptables save
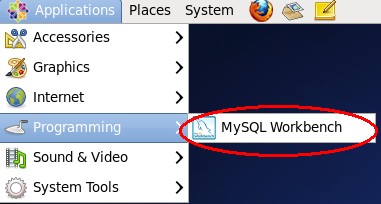
step4:找到安装的程序,运行MySQL workbench
在application->programming下面就可以看得MySQL workbench了
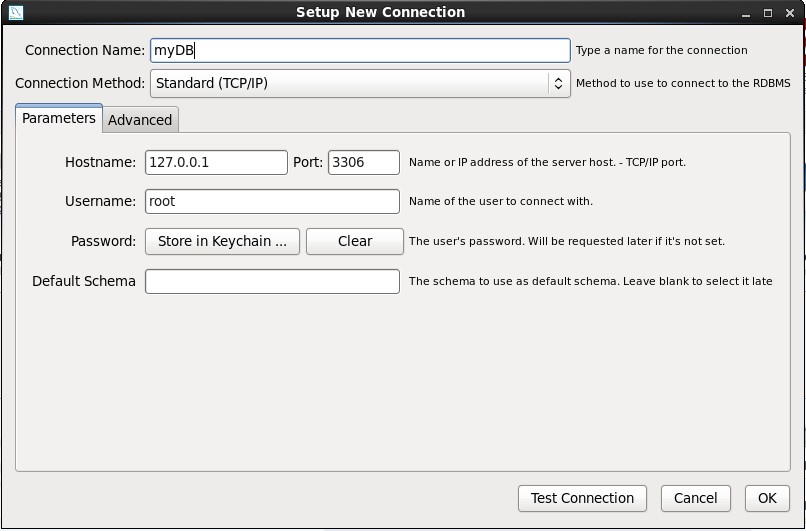
新建一个connection
点击store in Keychain保存密码
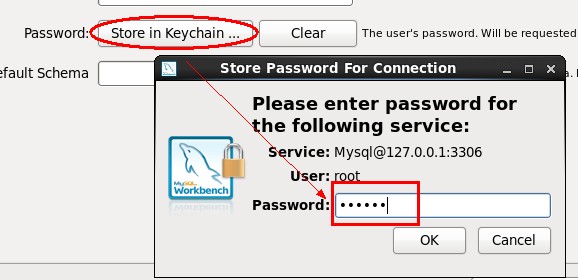
然后一直OK直到创建这个connection就可以了。
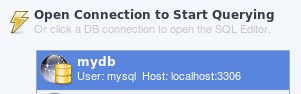
可以看到我们新建了一个connection,双击打开这个connection。
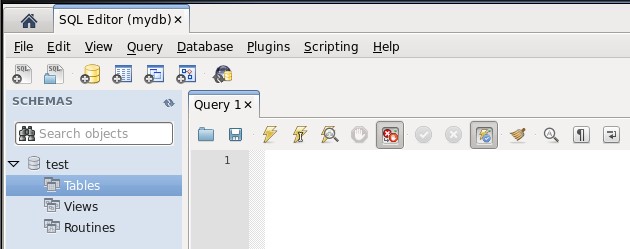
可以看到,现在整个库里还是空的,什么东西都没有。
此时你可以新建database,或者选择导入也可以。
http://www.cnblogs.com/elaron/archive/2013/03/19/2968699.html