1. 正确操作
背景
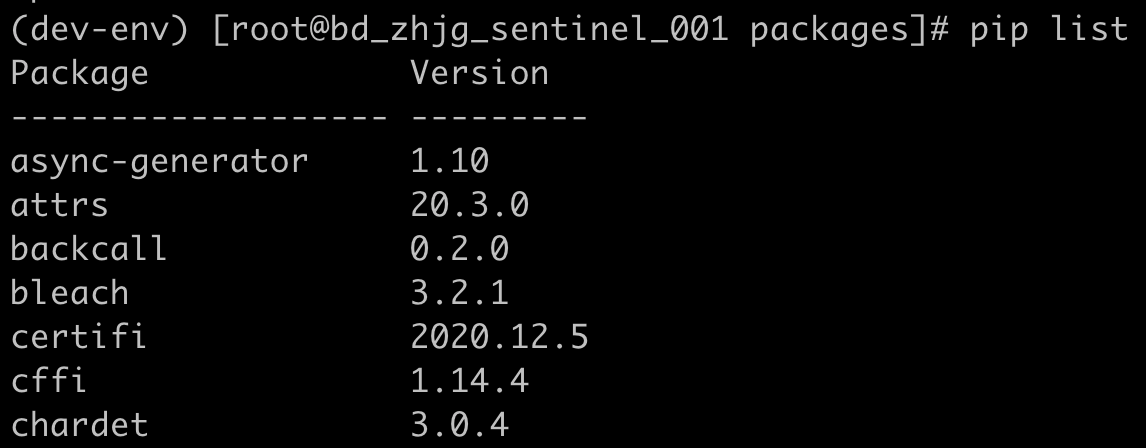
内网服务器无法连接互联网,需要在内网服务器物理机上安装开发需要的pip软件包。
系统为arm架构,需要在有网络的服务器上准备好需要的pip包,然后拷贝到内网服务器上离线安装。
联网服务器上操作
编辑需要的pip包文件 requirements.txt,其中Cython为scikit-learn安装时需要的包,不写的话不会被下载下来:
grpcio == 1.33.2
grpcio-tools == 1.33.2
schedule == 0.6.0
Cython == 0.29.21
numpy == 1.19.3
pandas == 1.1.4
jupyterlab == 2.2.9
matplotlib == 3.3.2
scikit-learn == 0.23.2
seaborn == 0.11.0
sweetviz == 2.0.2
下载requirements.txt文件中的pip包:
pip download -d packages -r requirements.txt
下载下来的大部分为为.whl文件,但有一些为.tar.gz源码文件,因为很多包没有做aarch64的whl文件。
注:如果pip download的有网络环境的机器不是arm64架构,需要用 --platform 参数指定系统环境。
把whl文件和tar.gz分开到不同目录,并打包文件夹。
cd packages
mkdir whl targz
mv *.whl whl
mv *.tar.gz targz
cd ..
tar -cvzf packages.tar.gz packages
内网离线服务器上操作
packages.tar.gz上传到服务器python3-env(自己创建的)目录,并解压。
创建并进入虚拟环境,会在当前工作目录下产生一个文件夹:
cd aidev
python -m venv dev-env
source dev-env/bin/activate
以下操作均在 dev-env 环境中。
首先安装whl 格式的pip包:
# 进入packages目录
pip install whl/* --no-deps           # 安装whl包,--no_deps参数不加无法安装上
接下来安装tar.gz文件。
解压targz下的所有.tar.gz文件:

进入解压后的文件夹,执行以下命令:
python setup.py install
除matplotlib,pyzmq,和scikit-learn外的包都可以顺利安装上。
pyzmq问题如下:

按提示执行以下命令可顺利安装:
pip install .
注:在之前试错(2中错误操作2)的过程中,安装了zeromq3-devel,不知道不装的话是否会有影响。https://pypi.org/project/pyzmq/
# 离线安装zeromq3-devel
# ------ 有网络机器
yum -y install yum-utils
yum install epel-release
repotrack zeromq3-devel     # 下载离线安装包

# ------ 内网无网络连接机器上
# 进入目录
rpm -Uvh --force --nodeps *.rpm
matplotlib问题如下:

按提示下载freetype-2.6.1.tar.gz文件,解压后放到 matplotlib-3.3.2/build 目录下,再次执行 python setup.py 即可。
scikit-learn问题如下(前面安装了Cython,就不会出错了,开始时requirements文件中没有Cython):

通过安装Cython解决。
安装完scikit-learn后导入 sklearn报错: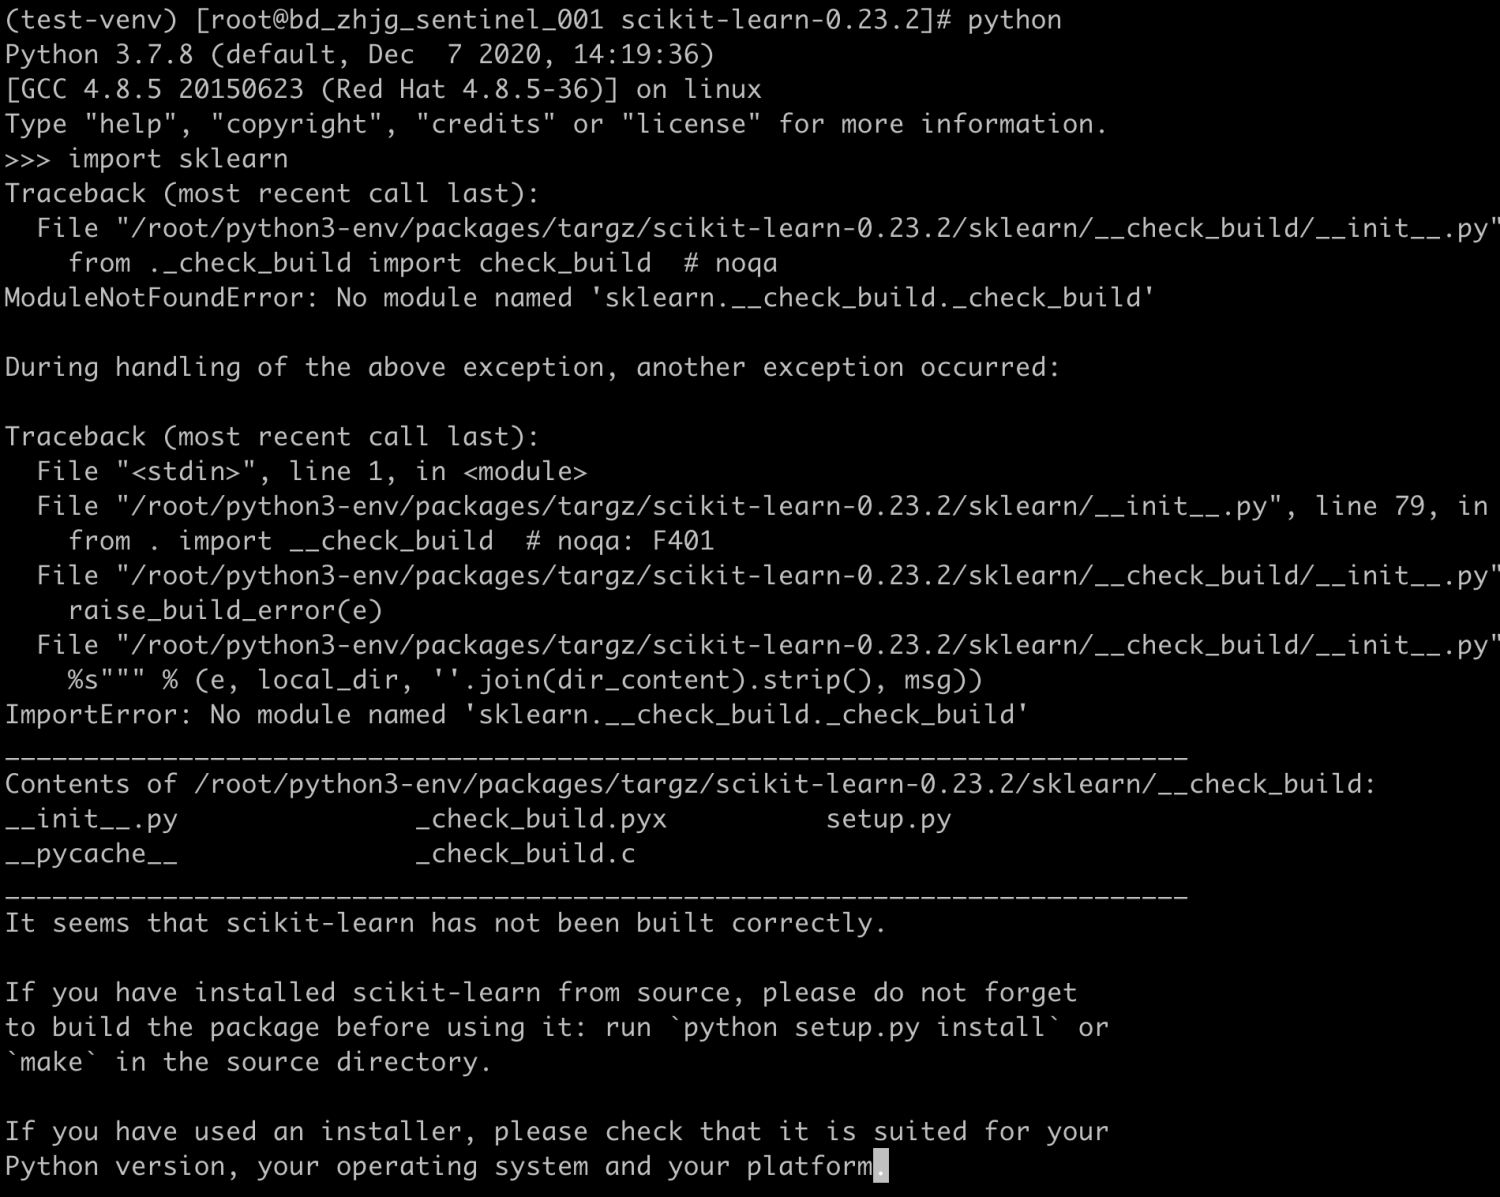
解决办法:退出在scikit-learn-0.23.2目录,再次执行,就不会报错。
2. 错误尝试
2.1 错误尝试1
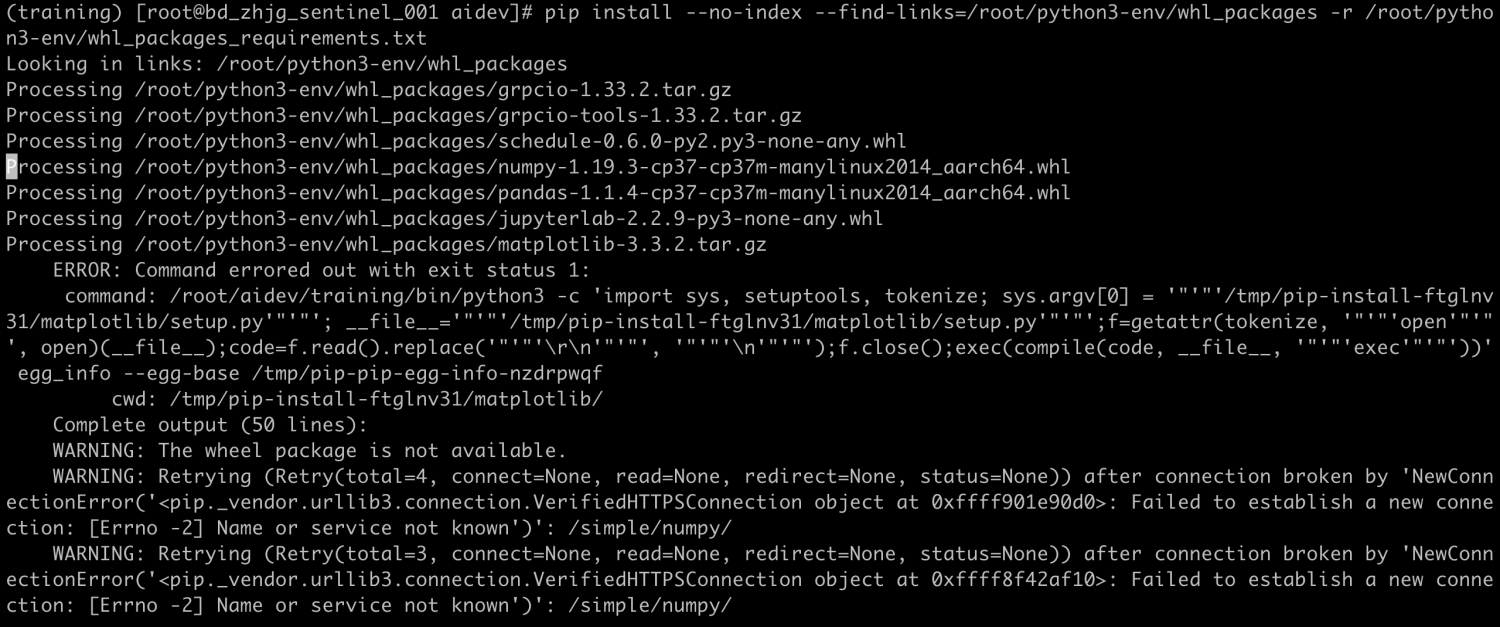
pip download 之后(同1中的requirements.txt, 少了Cython),然后用下图中的pip install命令安装。
ERROR: Could not find a version that satisfies the requirement numpy>=1.15 (from versions: none)
ERROR: No matching distribution found for numpy>=1.15
Traceback (most recent call last):
File "/root/aidev/training/lib/python3.7/site-packages/setuptools/installer.py", line 128, in fetch_build_egg
subprocess.check_call(cmd)
File "/usr/local/lib/python3.7/subprocess.py", line 363, in check_call
raise CalledProcessError(retcode, cmd)
subprocess.CalledProcessError: Command '['/root/aidev/training/bin/python3', '-m', 'pip', '--disable-pip-version-check', 'wheel', '--no-deps', '-w', '/tmp/tmp_if8ygbm', '--quiet', 'numpy>=1.15']' returned non-zero exit status 1.

2.3 错误尝试2
在有网络的arm服务器上 pip wheel 命令下载软件包,并打包成 whl 文件(主要是.tar.gz源码文件打包成 whl文件)。然后在内网服务器上用pip install 安装:
pip install --no-index --find-links=/root/python3-env/whl_develop -r /root/python3-env/requirements.txt
安装成功,pip list能够看到包,其实没有真正安装成功。
执行 jupyter notebook --generate-config 命令会报错:
ImportError: libpython3.7m.so.1.0: cannot open shared object file: No such file or directory
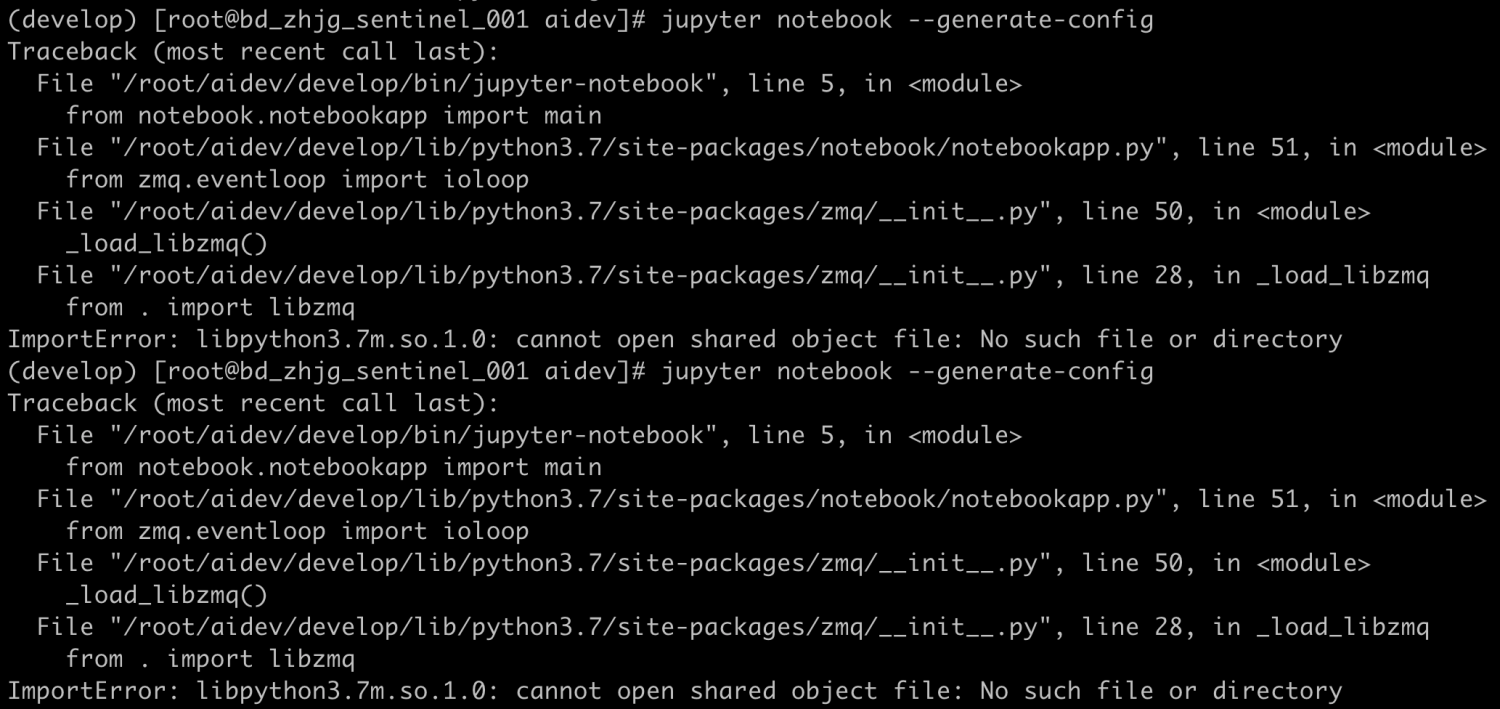
错误原因:python3安装时没有编译动态链接库,详见 centos7 中安装python3.x,并编译动态连接库。重新安装python3,再次执行执行 jupyter notebook --generate-config 还是会报错:
ImportError: /lib64/libstdc++.so.6: symbol __cxa_thread_atexit_impl, version GLIBC_2.18 not defined in file libc.so.6 with link time reference

为解决该问题进行了多种操作,如用 libstdc++.so.6.0.25(来自docker),替换本机的 libstdc++.so.6.0.19 到 libstdc++.so.6的软链接,又会报别的错。最后又换回来了。 安装 zeromq3-devel,还是不能解决问题。
错误原因:在别的机器上编译的文件(从源码打包whl文件会进行gcc编译),到别的机器上执行可能会有问题。
2.3 错误尝试3
此错误是在正确安装好之后进行的,想看看pip安装好whl文件之后,把matplotlib少的freetype文件添加进去后,用pip是否可以安装tar.gz文件,还是报错:
ERROR: Command errored out with exit status 1: /root/aidev/dev-env/bin/python /root/aidev/dev-env/lib/python3.7/site-packages/pip install --ignore-installed --no-user --prefix /tmp/pip-build-env-in9tv3sg/overlay --no-warn-script-location --no-binary :none: --only-binary :none: -i https://pypi.org/simple -- 'setuptools>=40.6.0' wheel 'cffi>=1.0' Check the logs for full command output.
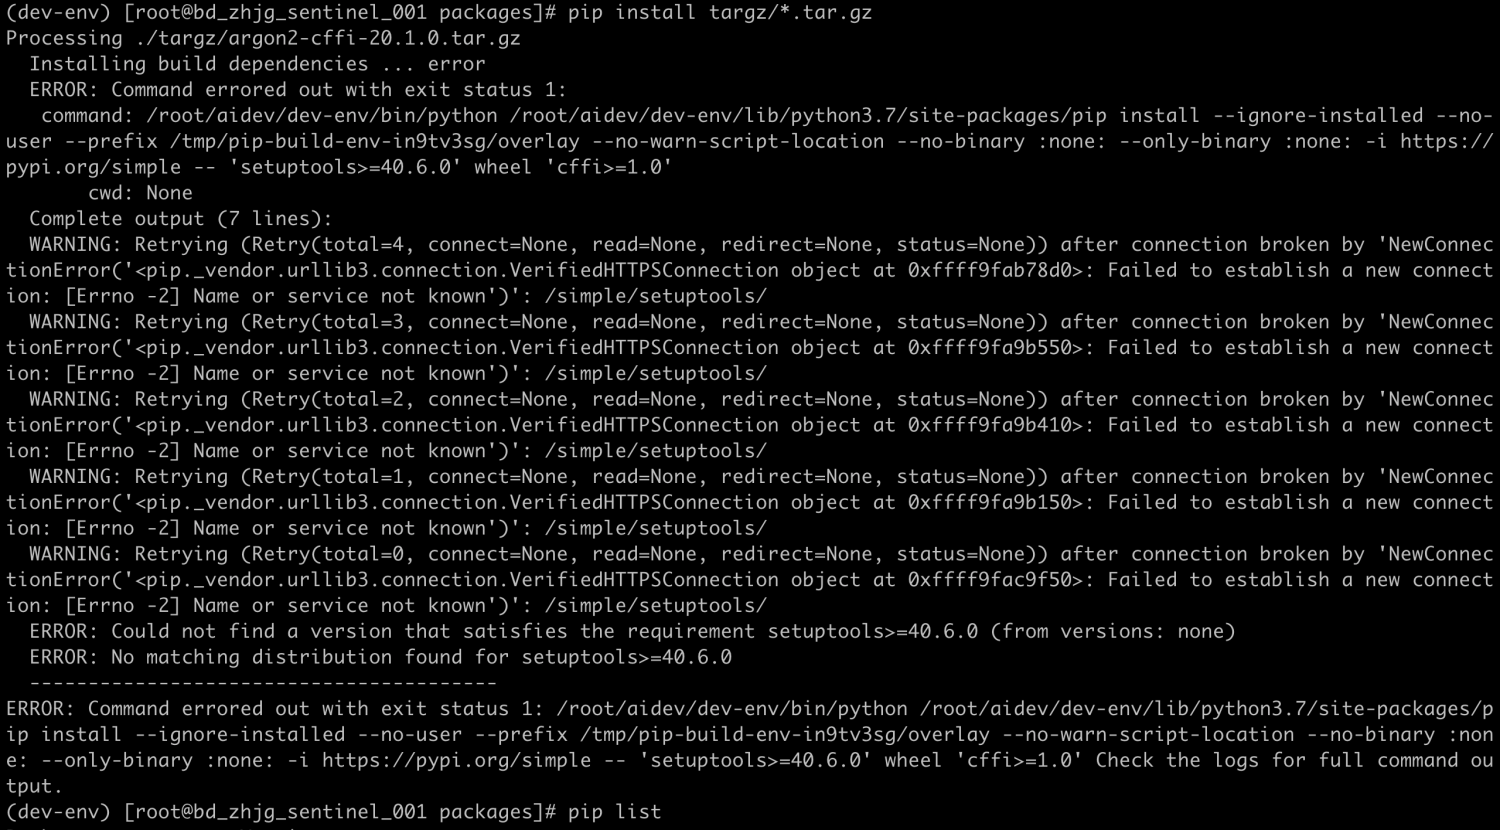
用pip list查看,setuptools 和 cffi明明安装好了:
