1.下载PHP安装包
wget http://php.net/distributions/php-5.6.31.tar.gz
//php7地址 http://php.net/distributions/php-7.1.10.tar.gz
默认情况下Nginx和PHP他俩之间是一点感觉没有的。Apache+PHP编译后生成的是模块文件,而Nginx+PHP需要PHP生成可执行文件才可以,所以要利用fastcgi技术来实现Nginx与PHP的整合,这个只要我们安装时启用 FastCGI即可。此次我们安装PHP不仅使用了FastCGI,而且还使用了PHP-FPM这么一个东东,PHP-FPM说白了是一个管理 FastCGI的一个管理器,它作为PHP的插件存在,在安装PHP时要想使用PHP-FPM就需要把PHP-FPM以补丁的形式安装到PHP中,而且 PHP要与PHP-FPM版本一致,这是必须的,切记!
2.解压安装
tar -zxvf php-5.6.31.tar.gz
cd php-5.6.3
./configure   --prefix=/usr/local/php   --with-config-file-path=/usr/local/php/etc  --with-png-dir=/usr/local/libpng   --with-jpeg-dir=/usr/local/jpeg   --with-freetype-dir=/usr/local/freetype   --with-zlib-dir=/usr/local/zlib   --with-mcrypt=/usr/local/libmcrypt   --with-libxml-dir=/usr/local/libxml2/   --with-iconv-dir=/usr/local/libiconv   --enable-libxml   --enable-xml   --enable-bcmath   --enable-shmop   --enable-sysvsem   --enable-inline-optimization   --enable-opcache   --enable-mbregex   --enable-fpm   --enable-mbstring=all   --enable-gd-native-ttf   --with-openssl   --enable-pcntl   --enable-sockets   --with-xmlrpc   --enable-zip   --enable-soap   --without-pear   --with-gettext   --enable-session   --with-curl   --enable-ctype   --enable-shared   --with-gd

#php7.X
./configure   --prefix=/usr/local/php   --with-config-file-path=/usr/local/php/etc  --with-png-dir=/usr/local/libpng   --with-jpeg-dir=/usr/local/jpeg   --with-freetype-dir=/usr/local/freetype   --with-zlib-dir=/usr/local/zlib  --with-libxml-dir=/usr/local/libxml2/   --with-iconv-dir=/usr/local/libiconv  --with-mysql-sock=/tmp/mysql.sock --with-mysqli=mysqlnd --with-pdo-mysql=mysqlnd --enable-libxml   --enable-xml   --enable-bcmath   --enable-shmop   --enable-sysvsem   --enable-inline-optimization   --enable-opcache   --enable-mbregex   --enable-fpm   --enable-mbstring=all --with-openssl   --enable-pcntl   --enable-sockets   --with-xmlrpc   --enable-zip   --enable-soap   --without-pear   --with-gettext   --enable-session   --with-curl   --enable-ctype   --enable-shared   --with-gd
在安装过程中报了下面的错误:
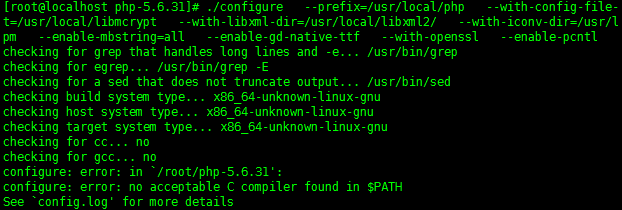
原来是没安装插件 gcc。
继续安装:
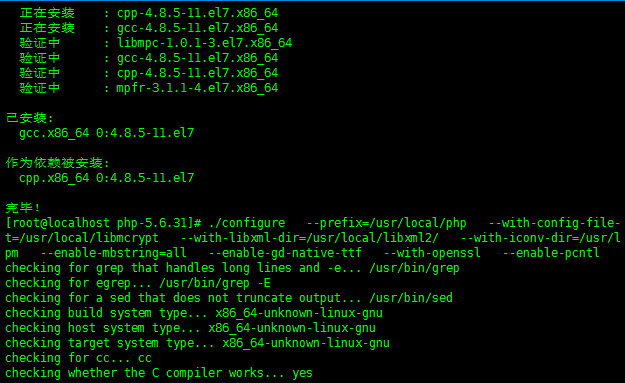
yum install gcc
插件安装完毕后,我们继续安装PHP
最后又报以下错误:
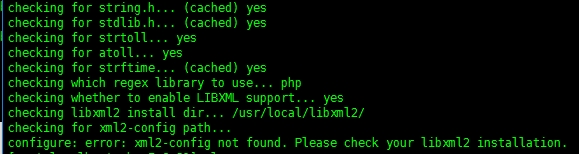
没安装libxml2插件,因为我的是新装的centos系统,所以里面会缺失各种依赖包,继续安装版libxml2插件:
yum install libxml2
提示:
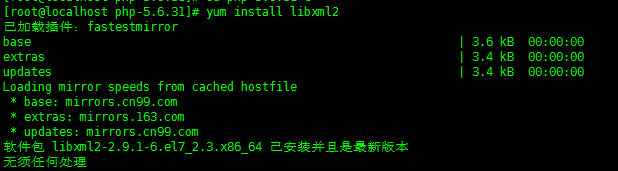
libxml2已存在,可能libxml2-dev未安装,我们安装libxml2-devel
yum install libxml2-devel
安装好后我们继续安装PHP,又提示:
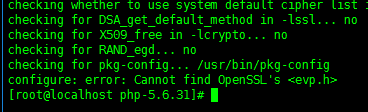
我们安装openssl插件
yum install openssl openssl-devel
安装完后我们继续执行PHP的安装,还报确实插件liburl

安装liburl
yum -y install curl-devel
安装好后继续执行PHP的安装,报GD库未安装,我们继续安装GD库
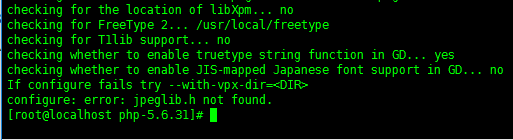
yum install libjpeg libpng freetype libjpeg-devel libpng-devel freetype-devel -y
继续安装PHP报缺失插件libmcrypt
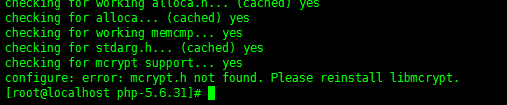
centos尝试用yum安装libmcrypt不成功,只能采用编译安装:
#使用wget可以通过以下路径下载
wget ftp://mcrypt.hellug.gr/pub/crypto/mcrypt/attic/libmcrypt/libmcrypt-2.5.7.tar.gz

#解压
tar -zxvf libmcrypt-2.5.7.tar.gz

#进入目录
cd libmcrypt-2.5.7

#编译(默认安装到/usr/local/lib/)
./configure --prefix=/usr/local/libmcrypt

#执行安装
make && make install
安装完后继续执行PHP的安装,这回终于提示安装成功:
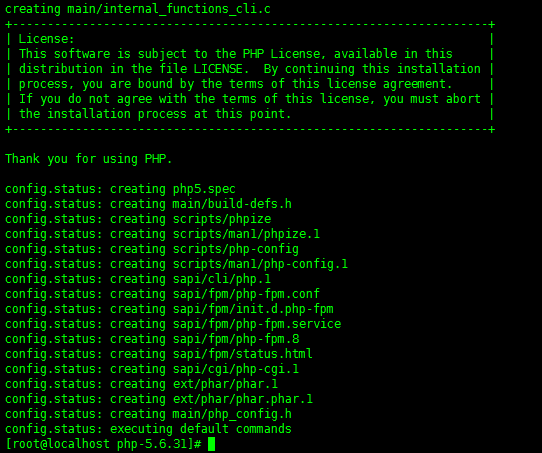
编译安装:
make && make install
3.配置
将源码中的php.ini-development复制到PHP的目录下,并改名为PHP.ini
cp php.ini-development /usr/local/php/etc/php.ini
复制一份php-fpm配置文件,命名为php-fpm.conf(/usr/local/php/etc路径下)
cp php-fpm.conf.default php-fpm.conf
启动php-fpm
/usr/local/php/sbin/php-fpm
如果嫌打目录麻烦,可以设置php-fpm的启动脚本
cp php-5.6.31/sapi/fpm/init.d.php-fpm /etc/init.d/php-fpm
启动时,只需输入
#启动
service php-fpm start

#停止
service php-fpm stop

#重启
service php-fpm reload
4.总结
编译安装个PHP不容易啊,总结一下:
安装PHP必须提前安装的依赖包有:gcc、libxml2、openssl、curl、libmcrypt,但每个人的环境不一样,可能还会有不同的插件缺失,大家可根据提示去逐一安装。