1.选题简介
A.选题:
我们的选题是付款认证应用。本次选题是在人脸识别的基础上进行扩展的应用功能。
B.选题原因:
人脸认证在生活中已经被广泛应用,无论是付款时的刷脸付款,亦或者门禁时进行的身份识别,方方面面都存在。我们选用了付款认证这一角度的实践,既是基于功能较为简单的实现,也有比较现实的意义。
C.预期结果
我们的付款认证应用基于网页端和树莓派进行实现,在网页端上进行付款的操作,在树莓派中实现人脸识别的脚本
(1)网页端上拥有注册的功能,注册过程中需要上传一张带有人脸的照片进行数据的录入,以便其后进行人脸识别的认证。
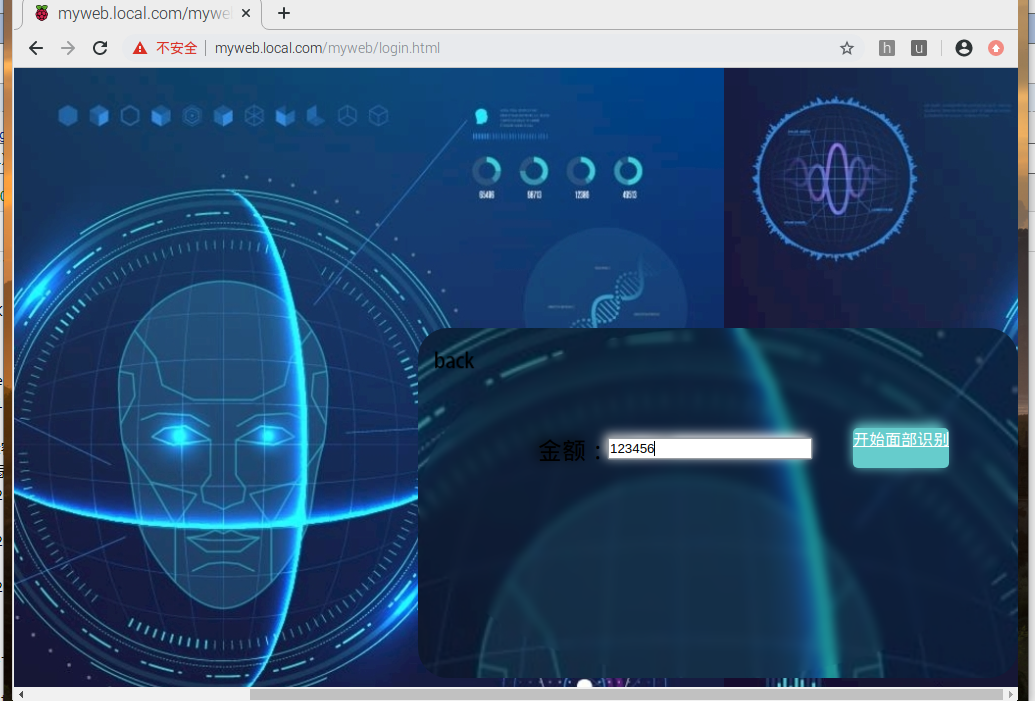
(2)网页端上拥有付款登录的功能,输入账户密码后,系统会要求用户进行人脸识别认证。利用树莓派的摄像头进行交互后,系统会依据后台的数据进行人脸识别,识别成功后则显示付款成功。
(3)我们后续也许会添加更多的功能,以完善付款认证的应用。
2.设计,重点说明系统部署所使用的容器
我们的项目包括网页前端,后端,和微服务部署三个部分
A.微服务部署:
我们刚开始预想的设计是按照之前的作业搭建LNMP服务器(Linux+Nginx+Mysql+PHP),但由于错误拉取镜像的缘故,导致浪费了大量时间,严重延缓了大作业的完成进度

- 具体错误的原因:树莓派的linux系统架构是armv7,而拉取的mysql镜像却是amd架构(mysql官方镜像不支持arm),导致镜像不兼容,容器一运行便进入exit1状态(异常退出)
更换为可用的镜像后,继续运行容器时,发现php容器始终无法工作
- 具体错误的原因:php容器没有监听默认端口9000,导致nginx无法连接php
寻找解决办法无果后,无奈之下拉取了网上现成的镜像直接运行容器(Nginx+PHP),没有搭建Mysql数据库

并没有编写dockerfile,而是直接由命令运行容器
- 容器运行:
docker run -itd -P --name php --restart always -v /data:/data olivercj/php-fpm-arm:0.1 ##运行php容器
docker run -itd -p 80:80 -p 443:443 --name nginx --link php --restart always -v /data:/data olivercj/ningx-arm:0.1 ##运行nginx容器
- 创建nginx配置文件目录
cd /data/webconfig/nginx/conf.d/
- nginx配置文件default.conf
server {
    listen       80;
    server_name  pi-board.local.com;//域名

    access_log   /data/web_log/nginx_log/pi_access.log main;
    error_log   /data/web_log/nginx_log/pi_error.log error;

    root /data/web_root/pi-dashboard/;
    location / {
        index  index.php index.html index.htm;
        try_files $uri $uri/ =404;
    }

    location ~ .php$ {
        fastcgi_pass   php:9000;
        fastcgi_index  index.php;
        include        fastcgi_params;
        include        fastcgi.conf;
    }
- 创建站点根目录
cd /data/web_root
- 拉取示例代码
git clone https://github.com/spoonysonny/pi-dashboard.git
然后将nginx重启,网页服务器搭建成功

B.后端代码
- 人脸识别代码
import face_recognition
import cv2
import numpy as np
import os
video_capture = cv2.VideoCapture(0)

known_face_encodings=[]
known_face_names=[]
face_locations = []
face_encodings = []
face_names = []
process_this_frame = True

def read_directory(directory_name):
    for filename in os.listdir(r"./"+directory_name):
        user_image=face_recognition.load_image_file(directory_name + "/" + filename)
        user_face_encoding = face_recognition.face_encodings(user_image)[0]
        known_face_encodings.append(user_face_encoding)
        known_face_names.append(filename)

read_directory("picture")

while True:
    ret, frame = video_capture.read()

    small_frame = cv2.resize(frame, (0, 0), fx=0.25, fy=0.25)

    rgb_small_frame = small_frame[:, :, ::-1]


    if process_this_frame:

        face_locations = face_recognition.face_locations(rgb_small_frame)
        face_encodings = face_recognition.face_encodings(rgb_small_frame, face_locations)

        face_names = []
        for face_encoding in face_encodings:
            matches = face_recognition.compare_faces(known_face_encodings, face_encoding)
            name = "unknown"
            face_distances = face_recognition.face_distance(known_face_encodings, face_encoding)
            best_match_index = np.argmin(face_distances)
            if matches[best_match_index]:
                name = known_face_names[best_match_index]
                print('success')

                os.exit(0)

            face_names.append(name)

    process_this_frame = not process_this_frame


    for (top, right, bottom, left), name in zip(face_locations, face_names):

        top *= 4
        right *= 4
        bottom *= 4
        left *= 4

        cv2.rectangle(frame, (left, top), (right, bottom), (0, 0, 255), 2)

        cv2.rectangle(frame, (left, bottom - 35), (right, bottom), (0, 0, 255), cv2.FILLED)
        font = cv2.FONT_HERSHEY_DUPLEX
        cv2.putText(frame, name, (left + 6, bottom - 6), font, 1.0, (255, 255, 255), 1)

    cv2.imshow('Video', frame)

    if cv2.waitKey(1) & 0xFF == ord('q'):
        break

video_capture.release()
cv2.destroyAllWindows()
3.运行结果,展示容器启动后,程序的运行结果
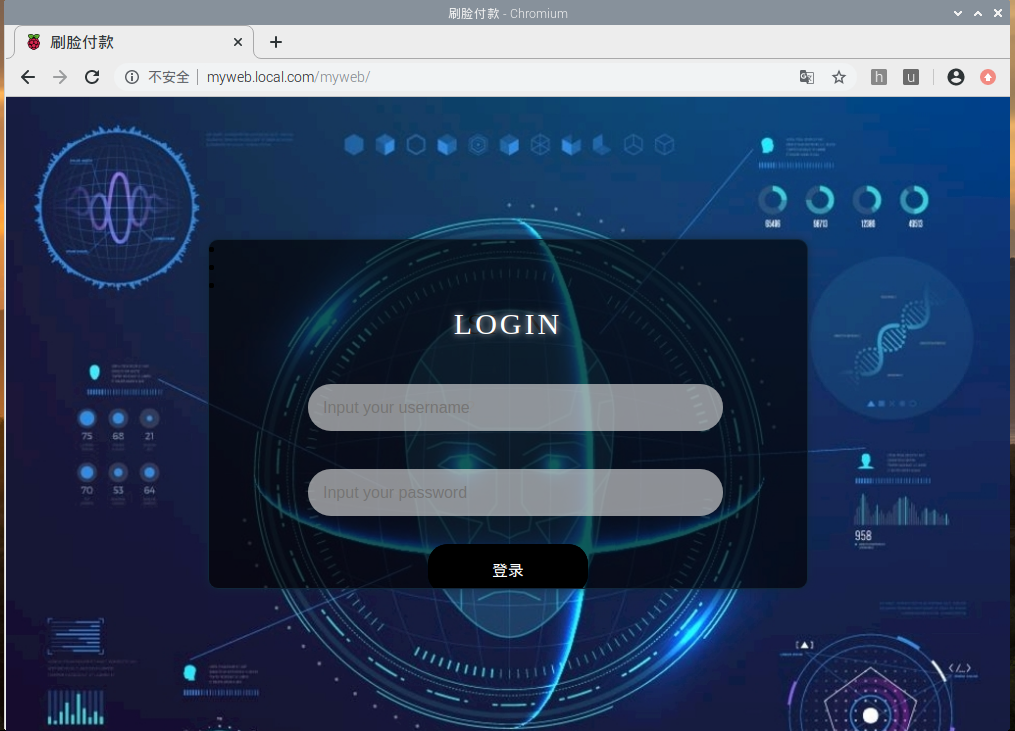
网站首页&&登录界面

注册界面

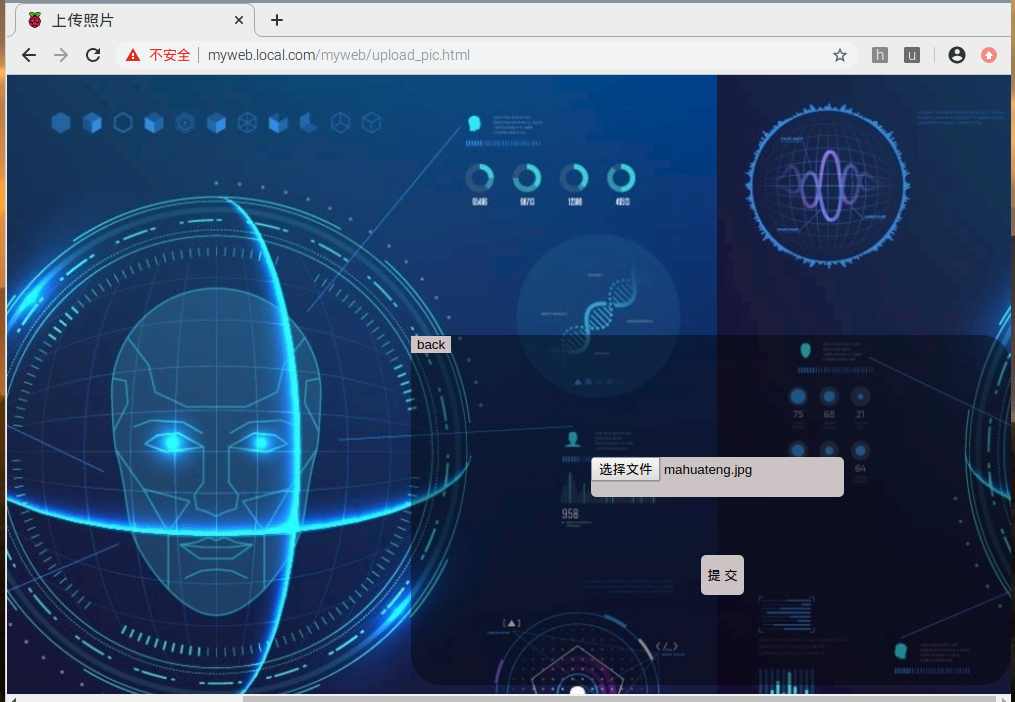
上传照片

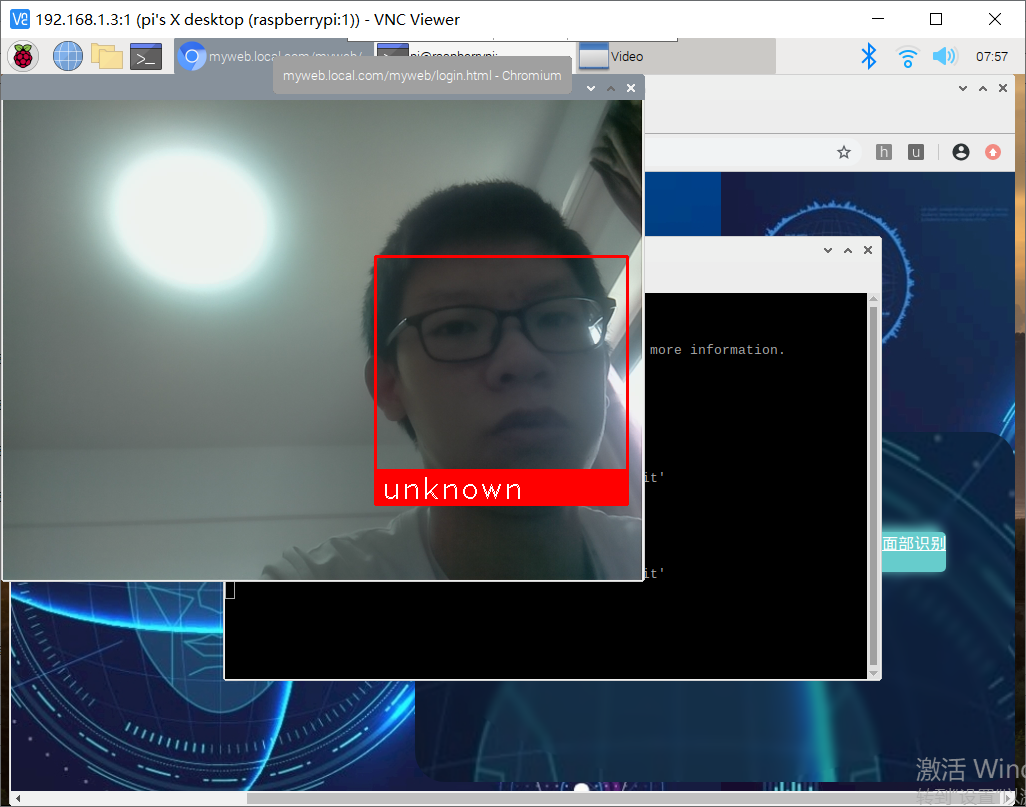
人脸识别

识别失败

识别成功
4.最终的组内分工+贡献比
- 严喜:编写人脸识别代码;20%
- 古力亚尔:编写前端网页代码,编写博客;30%
- 吕瑞峰:补充前后端代码,部署docker服务,编写博客;50%
5.总结(组员分别撰写,统一提交)
- 严喜:实现python代码的过程中,因为是初次接触python,所以遇到了很多问题,在组长的帮助下,最终还是完成了python脚本。在实现过程中,遇到的最大的问题是动态的获取图片的信息,网上找到的很多教程都不一样。经过这次实验,充分体会到了分工合作的重要性。
- 古力亚尔:在编写前端代码过程中,遇到最大的问题就是php嵌入到html中,不过在队友的帮助下也解决了这个问题。在协助队友在树莓派上docker中完成web服务器搭建过程中,查阅了很多关于这方面资料,因此对微服务加深了理解,对docker容器有了更清楚的认识,虽然没帮到队友很大的忙,但是自己进步了很多,学习到很多陌生的知识。
- 吕瑞峰:这次大作业的过程十分的坎坷,更遗憾的是还是没有做完。由于其他事物占据了部分时间,本次大作业的实验做的十分紧迫,我在负责搭建docker容器的过程中,遇到了很多难以解决的问题,因为树莓派和docker在国内的相关资料都相对稀少,解决问题的时候遇到了非常大的阻力,导致直到作业截止前几天进度依然非常缓慢。对我而言,一个人搭建docker容器是特别煎熬的过程,虽然在这过程中也有获得很多关于docker的知识,但还是希望以后不要在经历这种事了。