本节是Tkinter系列的最后一节,是一个综合性的小实践项目。
感谢莫烦大佬的教程,跟着他的教程一节一节的看过来的。大家可以百度能搜索到。
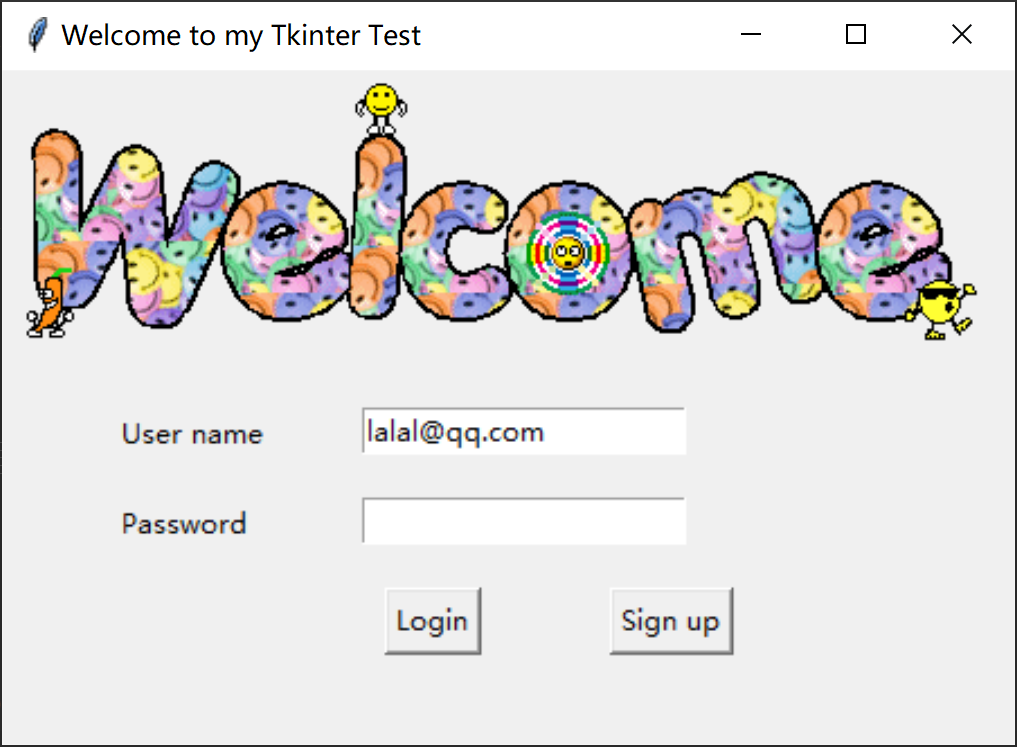
这个小项目是个典型的登录窗口,其中包含了前面章节的很多知识点
比如canvas,Label,Entry等等,效果如图,点击Login和Sign up都会有对应的响应函数,大家可以试一试
代码如下,其中需要注意的几点
1.引入了pickle库,这个是python的自带库,不需要另外的安装,可以用来存储数据
2.点击Sign up,主窗口弹出了次级窗口 window_sign_up = tk.Toplevel(window)
import tkinter as tk
import pickle
import tkinter.messagebox

# 定义窗口
window = tk.Tk()
window.title('Welcome to my Tkinter Test')  # 窗口title
window.geometry('450x300')  # 窗口尺寸

# welcome image
canvas = tk.Canvas(window, height=200, width=500)
image_file = tk.PhotoImage(file='welcome.gif')
image = canvas.create_image(0, 0, anchor='nw', image=image_file)
canvas.pack(side='top')

# user infomation - Label
tk.Label(window, text='User name').place(x=50, y=150)
tk.Label(window, text='Password').place(x=50, y=190)

# user infomation - Entry
var_user_name = tk.StringVar()
var_user_name.set('lalal@qq.com')
var_user_pwd = tk.StringVar()

entry_user_name = tk.Entry(window, textvariable=var_user_name)
entry_user_name.place(x=160, y=150)
entry_user_pwd = tk.Entry(window, textvariable=var_user_pwd, show='*')
entry_user_pwd.place(x=160, y=190)

# Login and singn up button
'''
Login部分
'''


def user_login():
    user_name = entry_user_name.get()
    user_pwd = entry_user_pwd.get()

    # 第一次访问时,文件肯定是不存在的,所以设置异常捕获
    # 没有读取到文件时,创建一个文件,并将管理员用户密码写入
    try:
        with open('users_info.pickle', 'rb') as user_file:
            user_info = pickle.load(user_file)
    except FileNotFoundError:
        with open('users_info.pickle', 'wb') as user_file:
            user_info = {'admin': 'admin'}
            pickle.dump(user_info, user_file)

    # 判断user_name是否在user_info里面
    if user_name in user_info:
        # 如果在,则判断密码是否正确,正确则进入系统,不正确则提示密码错误
        if user_pwd == user_info[user_name]:
            tk.messagebox.showinfo(title='welcome', message='How are you? ' + user_name)
        else:
            tk.messagebox.showerror(message="Error,your password is wrong,try again")
    # user_name不在user_info里面,则提示注册
    else:
        is_sign_up = tk.messagebox.askyesno(title='Welcome', message='You have not sign up yet. Sign up today?')
        if is_sign_up == True:
            user_sign_up()
        else:
            tk.messagebox.showinfo(title='Bye', message='Bye~~')


'''
sign up部分
'''


def user_sign_up():
    def sign_to_system():
        # 从signup窗口取出值
        np = new_pwd.get()
        npf = new_pwd_confirm.get()
        nn = new_name.get()

        with open('users_info.pickle', 'rb') as user_file:
            exist_user_info = pickle.load(user_file)

        # 判断两次密码是否一致
        if np != npf:
            tk.messagebox.showerror(title='Eorror', message='两次密码输入不一致')
        # 判断用户名是否存在
        elif nn in exist_user_info:
            tk.messagebox.showerror(title='Error', message='用户名已存在')
        # 将用户名密码写入文件,并存在user_file中
        else:
            exist_user_info[nn] = np
            with open('users_info.pickle', 'wb') as user_file:
                pickle.dump(exist_user_info, user_file)
            tk.messagebox.showinfo(title='Congratulations', message='注册成功')
        # 销毁窗口
        window_sign_up.destroy()

    # 在主窗口下定义次级窗口
    window_sign_up = tk.Toplevel(window)
    window_sign_up.geometry('350x200')
    window_sign_up.title('Sign up window')
    # 定义Label
    tk.Label(window_sign_up, text='User name:').place(x=10, y=10)
    # 定义entry - name
    new_name = tk.StringVar()
    new_name.set('hahah@qq.com')
    entry_new_name = tk.Entry(window_sign_up, textvariable=new_name)
    entry_new_name.place(x=150, y=10)
    # 定于 entry - pwd
    new_pwd = tk.StringVar()
    tk.Label(window_sign_up, text='Password').place(x=10, y=50)
    entry_new_pwd = tk.Entry(window_sign_up, textvariable=new_pwd, show='*')
    entry_new_pwd.place(x=150, y=50)
    # 定于 entry - pwd - confirm
    new_pwd_confirm = tk.StringVar()
    tk.Label(window_sign_up, text='Confirm Password').place(x=10, y=90)
    new_pwd_confirm = tk.Entry(window_sign_up, textvariable=new_pwd_confirm, show='*')
    new_pwd_confirm.place(x=150, y=90)

    # 定义Button
    btn_confirm_sign_up = tk.Button(window_sign_up, text='Sign up', command=sign_to_system)
    btn_confirm_sign_up.place(x=150, y=130)


btn_login = tk.Button(window, text='Login', command=user_login)
btn_login.place(x=170, y=230)
btn_sign_up = tk.Button(window, text='Sign up', command=user_sign_up)
btn_sign_up.place(x=270, y=230)

window.mainloop()