以下为实测教程,希望能为大家提供帮助,转载请注明出处
ubuntu+apache+mysql+php7
第一、更换apt的源
1、复制原文件备份
sudo cp /etc/apt/source.list /etc/apt/source.list.bak
2、编辑源列表文件
sudo vim /etc/apt/source.list
3、将原来的列表删除,添加如下内容
deb-src http://archive.ubuntu.com/ubuntu xenial main restricted #Added by software-properties
deb http://mirrors.aliyun.com/ubuntu/ xenial main restricted
deb-src http://mirrors.aliyun.com/ubuntu/ xenial main restricted multiverse universe #Added by software-properties
deb http://mirrors.aliyun.com/ubuntu/ xenial-updates main restricted
deb-src http://mirrors.aliyun.com/ubuntu/ xenial-updates main restricted multiverse universe #Added by software-properties
deb http://mirrors.aliyun.com/ubuntu/ xenial universe
deb http://mirrors.aliyun.com/ubuntu/ xenial-updates universe
deb http://mirrors.aliyun.com/ubuntu/ xenial multiverse
deb http://mirrors.aliyun.com/ubuntu/ xenial-updates multiverse
deb http://mirrors.aliyun.com/ubuntu/ xenial-backports main restricted universe multiverse
deb-src http://mirrors.aliyun.com/ubuntu/ xenial-backports main restricted universe multiverse #Added by software-properties
deb http://archive.canonical.com/ubuntu xenial partner
deb-src http://archive.canonical.com/ubuntu xenial partner
deb http://mirrors.aliyun.com/ubuntu/ xenial-security main restricted
deb-src http://mirrors.aliyun.com/ubuntu/ xenial-security main restricted multiverse universe #Added by software-properties
deb http://mirrors.aliyun.com/ubuntu/ xenial-security universe
deb http://mirrors.aliyun.com/ubuntu/ xenial-security multiverse
4、运行sudo apt-get update
5、运行sudo apt-get upgrade
第二、安装apache
1、安装Apache 2.4
apt-get install apache2 -y
从系统库中直接安装Apache。
2、运行命令sudo vim /etc/apache2/apache2.conf,修改参数KeepAlive为Off
3、修改mpm_prefork.conf配置
sudo vim /etc/apache2/mods-available/mpm_prefork.conf
设置参数:
<IfModule mpm_prefork_module>
StartServers 2
MinSpareServers 6
MaxSpareServers 12
MaxRequestWorkers 39
MaxConnectionsPerChild 3000
</IfModule>
4、禁用和启动模块
sudo a2dismod mpm_event
sudo a2enmod mpm_prefork
sudo a2enmod rewrite
5、重启Apache
sudo service apache2 restart
第三、配置虚拟主机环境
这里使用的archerwong,请替换成你自己的命名
1、拷贝默认配置文件
sudo cp /etc/apache2/sites-available/000-default.conf /etc/apache2/sites-available/arhcerwong.conf
2、修改配置文件
/etc/apache2/sites-available/archerwong.conf
开启重写规则等规则并配置站点
<Directory /var/www/blog>
AllowOverride All
Require all granted
</Directory>
<VirtualHost *:80>
ServerName archerwong.blog.com
ServerAlias www.archerwong.blog.com
ServerAdmin webmaster@localhost
DocumentRoot /var/www/blog
ErrorLog /var/www/html/archerwong/logs/error.log
CustomLog /var/www/html/archerwong/logs/access.log combined
</VirtualHost>
3、创建需要目录/文件
sudo mkdir -p /var/www/html/archerwong/{public_html,logs}
4、启动站点
sudo a2ensite archerwong.conf
5、禁止默认根目录配置
sudo a2dissite 000-default.conf
6、重启Apache
sudo service apache2 restart
第四、安装MYSQL数据库
1、安装数据库
sudo apt-get install mysql-server
2、配置数据库安全
mysql_secure_installation
根据提示,我们需要清理默认表以及设置数据库的安全。
第五、LAMP编译安装PHP7
1、安装PHP7和响应的扩展
sudo apt-get install php7.0 php-pear libapache2-mod-php7.0 php7.0-mysql
2、安装组件支持
sudo apt-get install php7.0-curl php7.0-json php7.0-cgi
3、配置文件/etc/php/7.0/apache2/php.ini
max_input_time = 30
error_reporting = E_COMPILE_ERROR | E_RECOVERABLE_ERROR | E_ERROR | E_CORE_ERROR
error_log = /var/log/php/error.log
4、创建一个日志目录
sudo mkdir /var/log/php
sudo chown www-data /var/log/php
5、重启Apache
sudo service apache2 restart
工具的选择
1.连接远程服务器使用mac终端
连接方法: ssh root@xxx.xxx.xxx.xxx 然后会提示输入密码
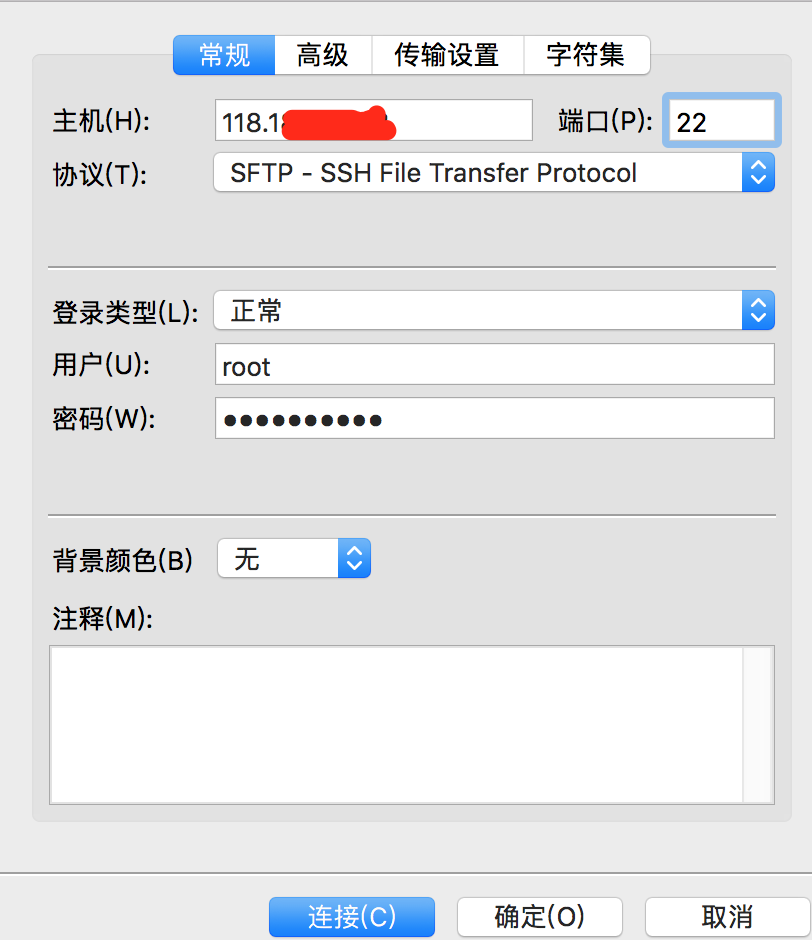
2.filezilla(上传下载文件)
3.navicat(数据库连接)
本地的工具没法连接远程的数据库
首先 , 考虑用户权限问题
下面介绍两种方法,解决这一问题。
1>改表法
可能是你的帐号不允许从远程登陆,只能在localhost。这个时候只要在localhost的那台电脑,登入mysql后,更改 "mysql" 数据库里的 "user" 表里的 "host" 项,从"localhost"改称"%"
mysql>use mysql;
mysql>update user set host = '%' where user = 'root';
mysql>select host, user from user;
2>授权法
//赋予任何主机访问数据的权限,用户名和密码自己设置
mysql>GRANT ALL PRIVILEGES ON *.* TO 'myuser'@'%'IDENTIFIED BY 'mypassword' WITH GRANT OPTION;
//修改生效
mysql>FLUSH PRIVILEGES
还是不成功,然后考虑防火墙问题
本地测试下,在终端中输入
telnet xxx.xxx.xxx.xxx 3306
发现错误提示,尝试修改远程防火墙
sudo ufw allow smtp
sudo ufw status
还是不成功 , 在服务器中输入命令 netstat -ntlp ,查看下发现mysql监听本地
进入/etc/mysql/my.cnf将下面这行注释掉
# bind-address = 127.0.0.1
其他一些配置
开启apache重写规则
ubuntu默认是不开启重写的,开启的方法
sudo a2enmod rewrite //便捷的开发模块方式,不用去修改配置文件
然后再站点配置文件中,注意两块的对应关系
<Directory /var/www/blog>
AllowOverride All
Require all granted
</Directory>
开启php的gd库
首先,apt list php7* 查看有哪些扩展,发现php7.0-gd扩展
apt-get install php7.0-gd
修改php.ini,sudo vim /etc/php/7.0/apache2/php.ini
找到 extension=php_gd2.dll 将前面的;去掉
主要参考:
http://www.laozuo.org/8303.html