环境搭建:
pip install django==1.9.8
pip install MySQL_python-1.2.5-cp27-none-win_amd64.whl
pip install future requests django-import-export six
pip install django-simple-captcha==0.4.6
pip install pillow
pip install xadmin
然后再次 pip uninstall xadmin
把django的表都删除,重建的方法:
1.在settings.py中注释掉所有的models
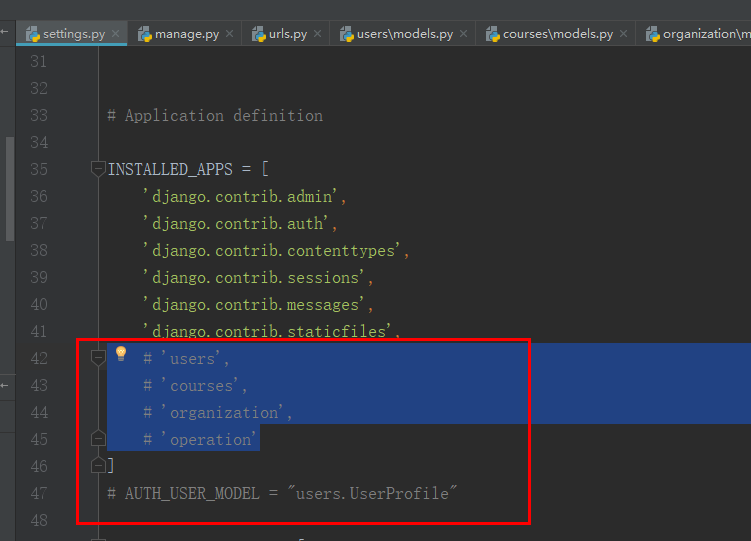
2.删除所有app下的migrations目录下的001__inital.py文件
3.删除所有表,包括django自带的表
4.执行如下命令,重新生成django自带的表
(mxonline) D:pythonmxonline>python manage.py makemigrations
No changes detected
(mxonline) D:pythonmxonline>python manage.py migrate
5.打开注释,生成自定义的app相关的表

6.再次执行生成自定义表的命令
(mxonline) D:pythonmxonline>python manage.py makemigrations
(mxonline) D:pythonmxonline>python manage.py migrate

Django系统自带了admin后台,我们用createsuperuser来创建用户
密码不能太简单:
Admin
g4^w)UT3Duwj
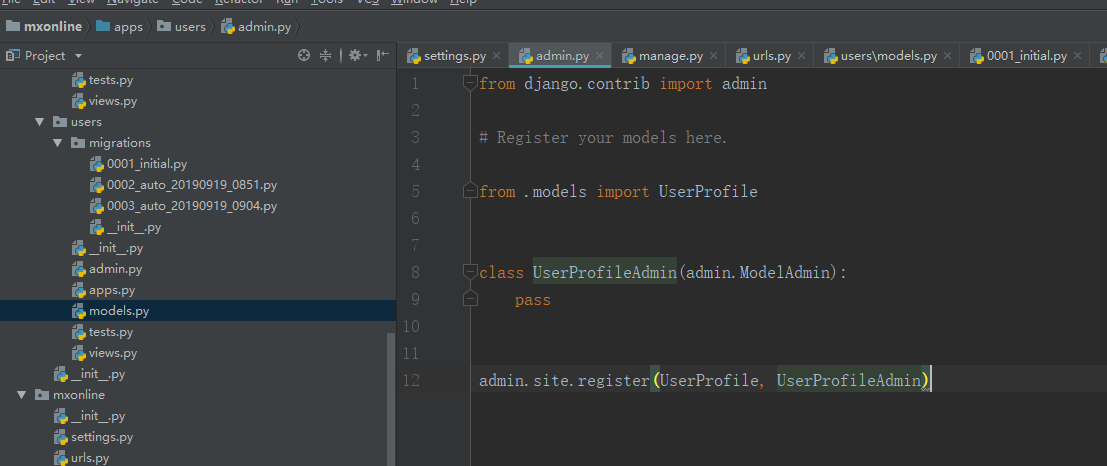
将自定义的UserProfile继承了django的表注册到admin中
修改Users下的admin.py
from django.contrib import admin

# Register your models here.

from .models import UserProfile


class UserProfileAdmin(admin.ModelAdmin):
    pass


admin.site.register(UserProfile, UserProfileAdmin)
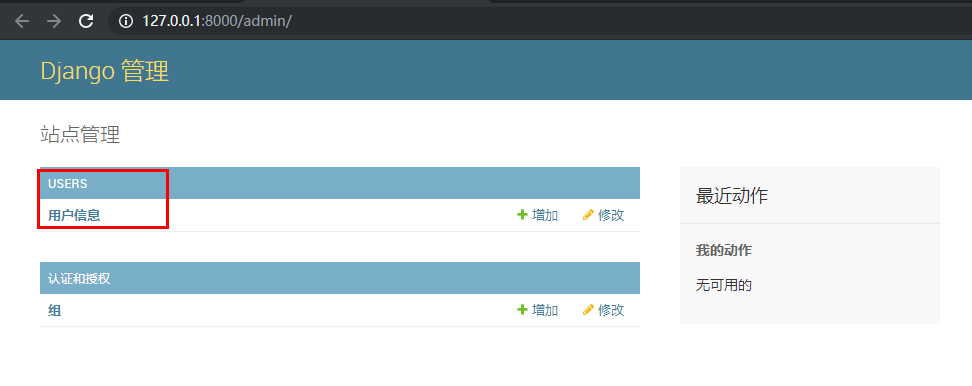
可以看到后台新增了用户信息模块
新增用户报错:
(1452, 'Cannot add or update a child row: a foreign key constraint fails (`mxonline`.`django_admin_log`, CONSTRAINT `django_admin_log_user_id_c564eba6_fk_auth_user_id` FOREIGN KEY (`user_id`) REFERENCES `auth_user` (`id`))')
外键约束。大概意思是:插入数据的时候,外键的值不是对应的主键的值。但是这时候表里是没有数据的,所以可能有主键值;插入数据时它的根节点可能不存在,所以插入失败。建议查询“外键”相关知识。两张表不是并列关系,而是父子关系。
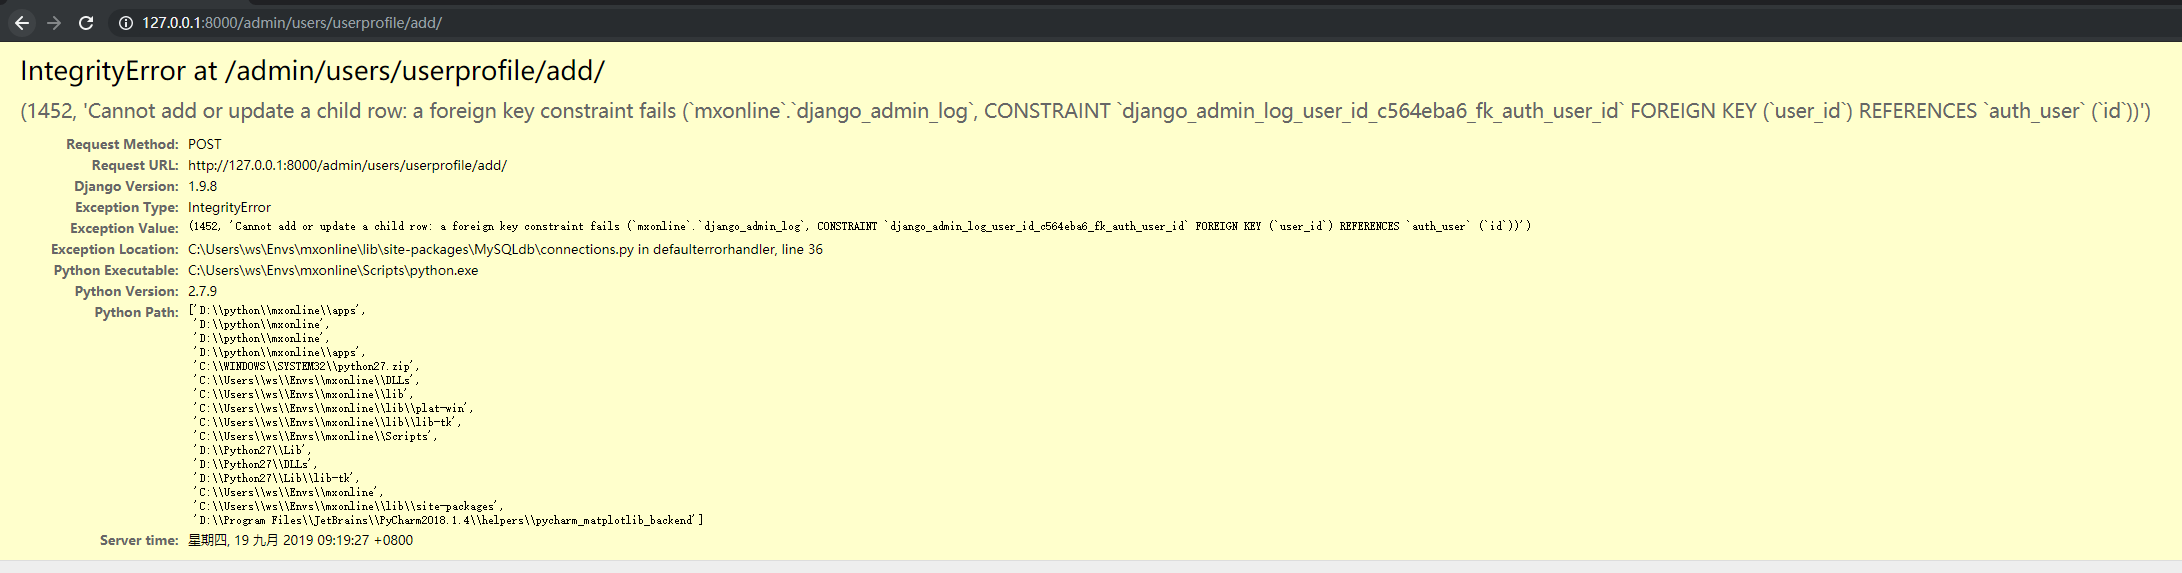
解决办法:
在settings.py的databases部分新增如下内容:
'OPTIONS':{
        "init_command":"SET foreign_key_checks = 0;",
}


安装xadmin
(mxonline) D:pythonmxonline>pip install xadmin
将xadmin和crispy-forms注册到apps中

将默认的admin的跳转变更为xadmin

访问会报错,需要同步一下xadmin的数据表结构
manage.py@mxonline > makemigrations
manage.py@mxonline > migrate

上面是使用安装包的方式安装xadmin,下面我们使用源码包的方式进行安装xadmin,因为后面需要对源码进行修改
具体方法:到github下载xadmin的master分支
https://github.com/sshwsfc/xadmin
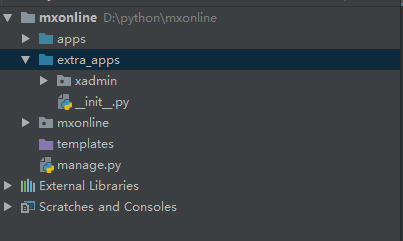
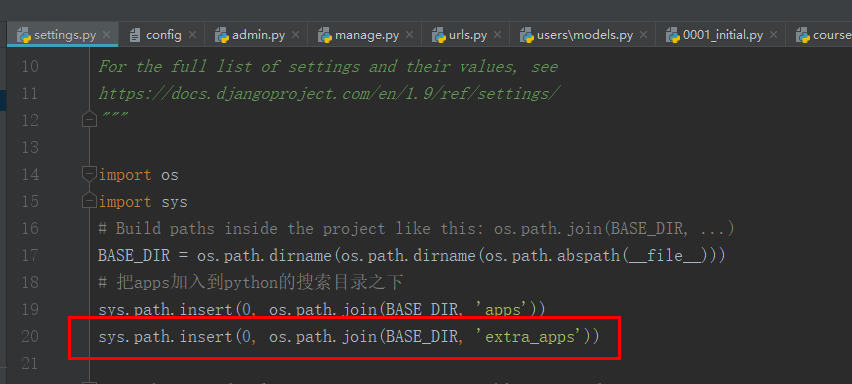
然后拷贝其中的xadmin目录到新建的extra_app包目录中,并把extra_app变更为sources root,然后配置settings.py加入到环境变量中
报错:ImportError: No module named future.utils
解决:
pip install future requests django-import-export six
访问日志报错:
ProgrammingError at /xadmin/xadmin/log/
(1146, "Table 'mxonline.xadmin_log' doesn't exist")
原因分析:安装的版本和github下载版本不一致,需要重新生成表结构
manage.py@mxonline > makemigrations xadmin
manage.py@mxonline > migrate xadmin
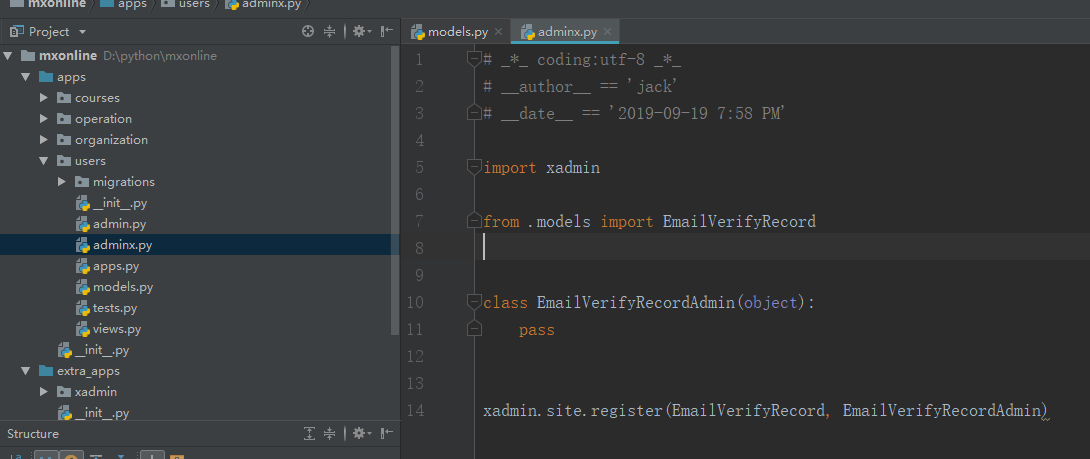
将users这个app的邮箱验证码注册到xadmin中,xadmin会寻找每个app下面的adminx.py文件来作为model文件创建
我们直接在users这个apps下面创建文件
# _*_ coding:utf-8 _*_
# __author__ == 'jack'
# __date__ == '2019-09-19 7:58 PM'

import xadmin

from .models import EmailVerifyRecord


class EmailVerifyRecordAdmin(object):
    pass


xadmin.site.register(EmailVerifyRecord, EmailVerifyRecordAdmin)
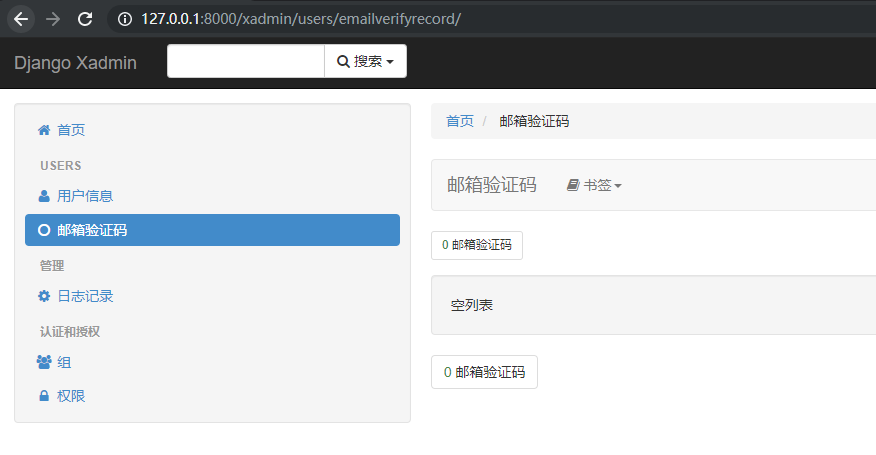
重新启动django就可以看到邮箱验证码注册进去了
添加新的邮箱验证码,变更显示格式在EmailVerifyRecord class中新增__unicode__


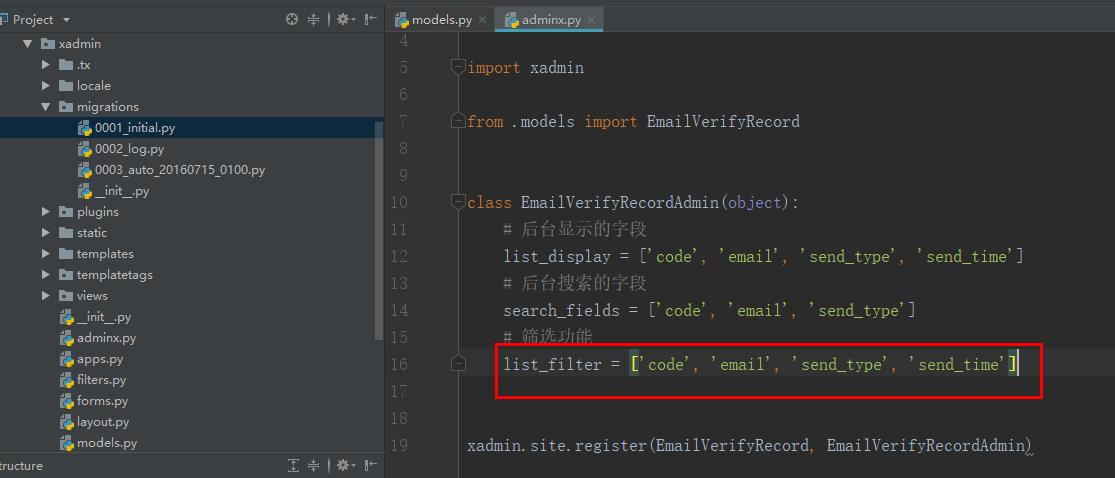
定义显示的字段


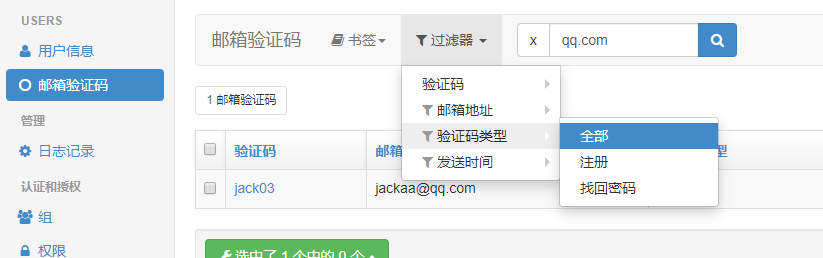
添加筛选功能
将菜单栏的英文改为中文
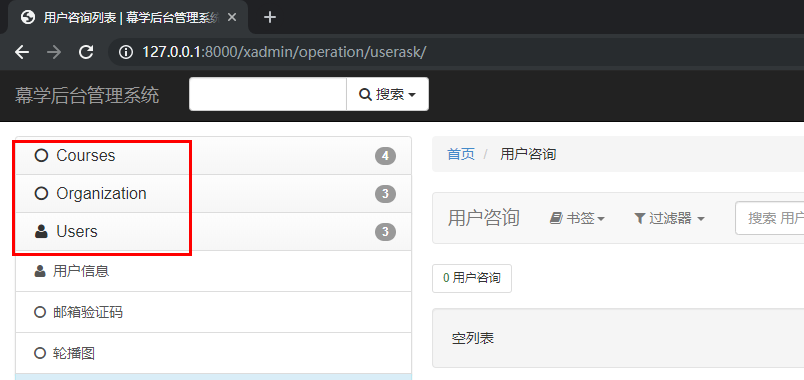
在应用的apps.py中添加verbose_name

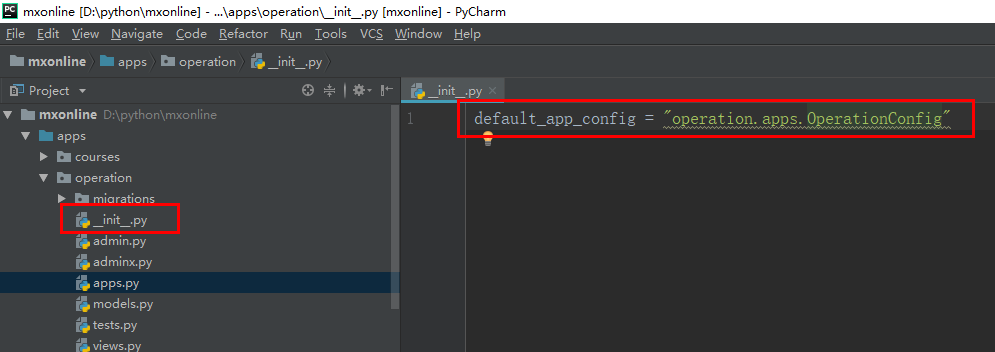
在应用的__init__.py文件中添加 default_app_config
设置头部和底部显示名称
需要在app应用的adminx.py中配置,此处我们在users这个app中配置
class BaseSetting(object):
    # 开启主题功能
    enable_themes = True
    use_bootswatch = True


class GlobalSettings(object):
    # 修改页面左上角字符
    site_title = "幕学后台管理系统"
    # 底部的title修改
    site_footer = "幕学在线网"
    # 左侧菜单栏收缩
    menu_style = "accordion"
xadmin.site.register(views.BaseAdminView, BaseSetting)
xadmin.site.register(views.CommAdminView, GlobalSettings)

settings.py参考
# _*_ encoding:utf-8 _*_
"""
Django settings for mxonline project.

Generated by 'django-admin startproject' using Django 1.9.

For more information on this file, see
https://docs.djangoproject.com/en/1.9/topics/settings/

For the full list of settings and their values, see
https://docs.djangoproject.com/en/1.9/ref/settings/
"""

import os
import sys
# Build paths inside the project like this: os.path.join(BASE_DIR, ...)
BASE_DIR = os.path.dirname(os.path.dirname(os.path.abspath(__file__)))
# 把apps加入到python的搜索目录之下
sys.path.insert(0, os.path.join(BASE_DIR, 'apps'))
sys.path.insert(0, os.path.join(BASE_DIR, 'extra_apps'))

# Quick-start development settings - unsuitable for production
# See https://docs.djangoproject.com/en/1.9/howto/deployment/checklist/

# SECURITY WARNING: keep the secret key used in production secret!
SECRET_KEY = '0h^w(eqi=-c1bbz4l_@j_gpx2&i5#!5=3*4%s0o+9jwpf9h(xb'

# SECURITY WARNING: don't run with debug turned on in production!
DEBUG = True

# ALLOWED_HOSTS = []
ALLOWED_HOSTS = ['*']

# simple_history 关联需要
# AUTH_USER_MODEL = 'accounts.UserInfo'

# Application definition
AUTHENTICATION_BACKENDS = (
    'users.views.CustomBackend',
)

INSTALLED_APPS = [
    'django.contrib.admin',
    'django.contrib.auth',
    'django.contrib.contenttypes',
    'django.contrib.sessions',
    'django.contrib.messages',
    'django.contrib.staticfiles',
    'users',
    'courses',
    'organization',
    'operation',
    'xadmin',
    'crispy_forms',
    'captcha',
    'pure_pagination',
    'dns_manage',
    'DjangoUeditor',
]
AUTH_USER_MODEL = "users.UserProfile"

MIDDLEWARE_CLASSES = [
    'django.middleware.security.SecurityMiddleware',
    'django.contrib.sessions.middleware.SessionMiddleware',
    'django.middleware.common.CommonMiddleware',
    'django.middleware.csrf.CsrfViewMiddleware',
    'django.contrib.auth.middleware.AuthenticationMiddleware',
    'django.contrib.auth.middleware.SessionAuthenticationMiddleware',
    'django.contrib.messages.middleware.MessageMiddleware',
    'django.middleware.clickjacking.XFrameOptionsMiddleware',
    'simple_history.middleware.CurrentUserMiddleware',
]

ROOT_URLCONF = 'mxonline.urls'

TEMPLATES = [
    {
        'BACKEND': 'django.template.backends.django.DjangoTemplates',
        'DIRS': [os.path.join(BASE_DIR, 'templates')]
        ,
        'APP_DIRS': True,
        'OPTIONS': {
            'context_processors': [
                'django.template.context_processors.debug',
                'django.template.context_processors.request',
                'django.contrib.auth.context_processors.auth',
                'django.contrib.messages.context_processors.messages',
                # 新增media注册到html页面中,否则在页面中取不到值
                'django.core.context_processors.media'
            ],
        },
    },
]

WSGI_APPLICATION = 'mxonline.wsgi.application'


# Database
# https://docs.djangoproject.com/en/1.9/ref/settings/#databases


DATABASES = {
    'default': {
        'ENGINE': 'django.db.backends.mysql',
        'NAME': "mxonline",
        'USER': "root",
        'PASSWORD':'root',
        'HOST':"127.0.0.1",
        'OPTIONS':{
                "init_command":"SET foreign_key_checks = 0;",
        }
    }
}


# Password validation
# https://docs.djangoproject.com/en/1.9/ref/settings/#auth-password-validators

AUTH_PASSWORD_VALIDATORS = [
    {
        'NAME': 'django.contrib.auth.password_validation.UserAttributeSimilarityValidator',
    },
    {
        'NAME': 'django.contrib.auth.password_validation.MinimumLengthValidator',
    },
    {
        'NAME': 'django.contrib.auth.password_validation.CommonPasswordValidator',
    },
    {
        'NAME': 'django.contrib.auth.password_validation.NumericPasswordValidator',
    },
]


# Internationalization
# https://docs.djangoproject.com/en/1.9/topics/i18n/

LANGUAGE_CODE = 'zh-hans'

TIME_ZONE = 'Asia/Shanghai'

USE_I18N = True

USE_L10N = True
# 改为false,否则django会把数据库时间保存为utc国际时间
USE_TZ = False


# Static files (CSS, JavaScript, Images)
# https://docs.djangoproject.com/en/1.9/howto/static-files/

STATIC_URL = '/static/'

STATICFILES_DIRS = [
    os.path.join(BASE_DIR, "static")
]

EMAIL_HOST = "mail.wondershare.cn"
EMAIL_PORT = 25
EMAIL_HOST_USER = "zhengjj@wondershare.cn"
EMAIL_HOST_PASSWORD = "junjie.4978"
EMAIL_USE_TLS = False
EMAIL_FROM = "zhengjj@wondershare.cn"

# 资源文件上传路径,比如上传图片
MEDIA_URL = '/media/'
MEDIA_ROOT = os.path.join(BASE_DIR, 'media')

# 当debug = False 默认django会认为是生产环境,而static由类似nginx的服务器进行代理,django就不管了
# STATIC_ROOT = os.path.join(BASE_DIR, 'static')
新建 users 这个app,users/modes.py
# _*_ encoding:utf-8 _*_
from __future__ import unicode_literals

from django.db import models
from django.contrib.auth.models import AbstractUser

# Create your models here.


class UserProfile(AbstractUser):    # 利用django的默认user表扩展我们的user表
    # 如果我们继承的是AbstractBaseUser要加如下两行,否则会报错 AttributeError: type object 'UserProfile' has no attribute 'USERNAME_FIELD'
    # identifier = models.CharField(max_length=40, unique=True)
    # USERNAME_FIELD = 'identifier'
    nick_name = models.CharField(max_length=50, verbose_name=u"昵称", default='')
    birthday = models.DateField(verbose_name=u"生日", null=True, blank=True)
    gender = models.CharField(max_length=6, choices=(("male","男"),("female","女")), default="female")
    address = models.CharField(max_length=100,default=u"")
    mobile = models.CharField(max_length=11, null = True,blank=True)
    image = models.ImageField(upload_to="image/%Y/%m",default=u"image/default.png", max_length=100)

    class Meta:
        verbose_name = "用户信息"
        verbose_name_plural = verbose_name

    def __unicode__(self):
        return self.username