1.使用数据模板对TreeViewItem进行更改
2.xaml中重写TreeviewItem的控件模板
3.继承TreeViewItem(TreeView中的元素),后台进行控件重写。(介绍此方法)
代码:
     ImageSource iconSource;//图标对象
        TextBlock textBlock;
        Image icon;//treeviewitem中的图标

        public TreeViewWithIcons()
        {
            StackPanel stack = new StackPanel();
            stack.Orientation = Orientation.Horizontal;
            Header = stack;
            //Uncomment this code If you want to add an Image after the Node-HeaderText
            //textBlock = new TextBlock();
            //textBlock.VerticalAlignment = VerticalAlignment.Center;
            //stack.Children.Add(textBlock);
            icon = new Image();
            icon.VerticalAlignment = VerticalAlignment.Center;
            icon.Height = 10;
            icon.Width = 10;
            icon.Margin = new Thickness(0, 0, 4, 0);
            icon.Source = iconSource;
            stack.Children.Add(icon);
            //Add the HeaderText After Adding the icon
            textBlock = new TextBlock();
            textBlock.VerticalAlignment = VerticalAlignment.Center;
            stack.Children.Add(textBlock);
        }
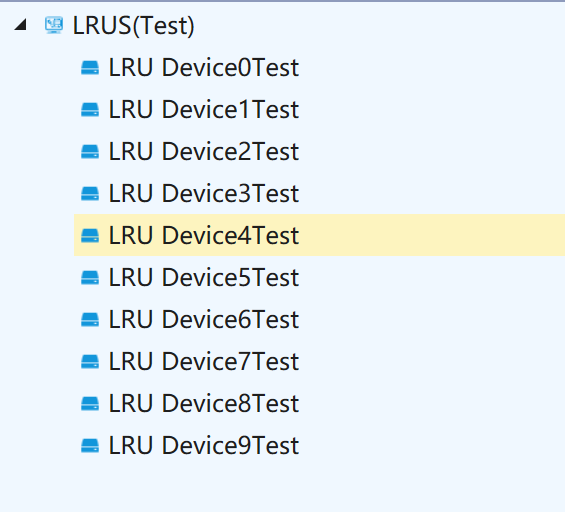
将TreeviewItem的header设置成stackpanel,将图标和文本以横向填充进该stackpanel
完整代码:
public class TreeViewWithIcons : TreeViewItem
    {
        ImageSource iconSource;
        TextBlock textBlock;
        Image icon;

        public TreeViewWithIcons()
        {
            StackPanel stack = new StackPanel();
            stack.Orientation = Orientation.Horizontal;
            Header = stack;
            //Uncomment this code If you want to add an Image after the Node-HeaderText
            //textBlock = new TextBlock();
            //textBlock.VerticalAlignment = VerticalAlignment.Center;
            //stack.Children.Add(textBlock);
            icon = new Image();
            icon.VerticalAlignment = VerticalAlignment.Center;
            icon.Height = 10;
            icon.Width = 10;
            icon.Margin = new Thickness(0, 0, 4, 0);
            icon.Source = iconSource;
            stack.Children.Add(icon);
            //Add the HeaderText After Adding the icon
            textBlock = new TextBlock();
            textBlock.VerticalAlignment = VerticalAlignment.Center;
            stack.Children.Add(textBlock);
        }

        public ImageSource Icon
        {
            set
            {
                iconSource = value;
                icon.Source = iconSource;
            }
            get
            {
                return iconSource;
            }
        }

        protected override void OnUnselected(RoutedEventArgs args)
        {
            base.OnUnselected(args);
            icon.Source = iconSource;
        }

        protected override void OnSelected(RoutedEventArgs args)
        {
            base.OnSelected(args);
            icon.Source = iconSource;
        }

        /// <summary>
        /// Gets/Sets the HeaderText of TreeViewWithIcons
        /// </summary>
        public string HeaderText
        {
            set
            {
                textBlock.Text = value;
            }
            get
            {
                return textBlock.Text;
            }
        }
    }