使用 Spring Boot 和 Thymeleaf 上传文件
Spring Boot 利用 MultipartFile 的特性来接收和处理上传的文件,本示例前端页面使用 Thymeleaf 来处理。
快速上手:
1、添加依赖包
    <dependency>
        <groupId>org.springframework.boot</groupId>
        <artifactId>spring-boot-starter-web</artifactId>
    </dependency>
    <dependency>
        <groupId>org.springframework.boot</groupId>
        <artifactId>spring-boot-starter-thymeleaf</artifactId>
    </dependency>
2、application.properties配置信息
#支持的最大文件
spring.servlet.multipart.max-file-size=100MB
#文件请求最大限制
spring.servlet.multipart.max-request-size=100MB
#除过以上配置,常用的配置信息如下:
spring.servlet.multipart.enabled=true,是否支持 multipart 上传文件
spring.servlet.multipart.file-size-threshold=0,支持文件写入磁盘
spring.servlet.multipart.location=,上传文件的临时目录
spring.servlet.multipart.max-file-size=10Mb,最大支持文件大小
spring.servlet.multipart.max-request-sizee=10Mb,最大支持请求大小
spring.servlet.multipart.resolve-lazily=false,是否支持 multipart 上传文件时懒加载
3、启动类
@SpringBootApplication
public class FileUploadWebApplication {

    public static void main(String[] args) throws Exception {
        SpringApplication.run(FileUploadWebApplication.class, args);
    }

    //Tomcat large file upload connection reset
    @Bean
    public TomcatServletWebServerFactory tomcatEmbedded() {
        TomcatServletWebServerFactory tomcat = new TomcatServletWebServerFactory();
        tomcat.addConnectorCustomizers((TomcatConnectorCustomizer) connector -> {
            if ((connector.getProtocolHandler() instanceof AbstractHttp11Protocol<?>)) {
                //-1 means unlimited
                ((AbstractHttp11Protocol<?>) connector.getProtocolHandler()).setMaxSwallowSize(-1);
            }
        });
        return tomcat;
    }
}
TomcatServletWebServerFactory() 方法主要是为了解决上传文件大于 10M 出现连接重置的问题
4、简单前端页面:
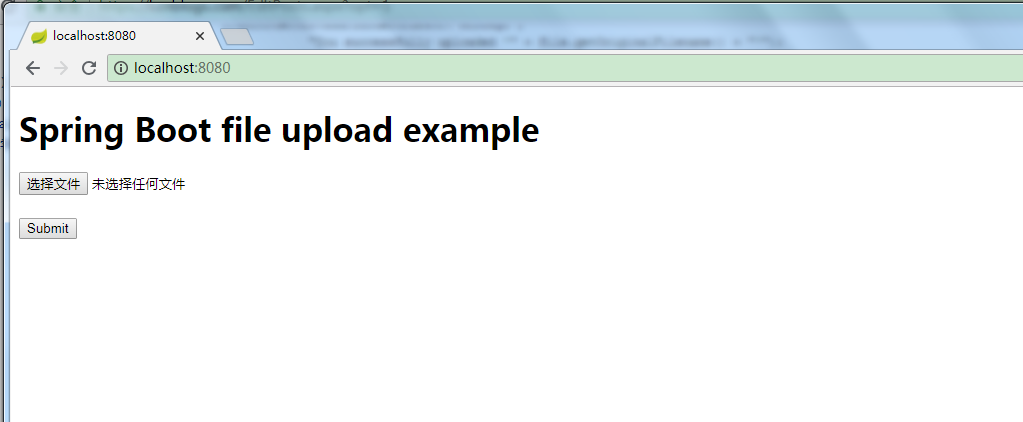
单个文件上传页面 upload.html:
    <!DOCTYPE html>
    <html xmlns:th="http://www.thymeleaf.org">
    <body>
    <h1>Spring Boot file upload example</h1>
    <form method="POST" action="/upload" enctype="multipart/form-data">
        <input type="file" name="file" /><br/><br/>
        <input type="submit" value="Submit" />
    </form>
    </body>
    </html>
多个文件上传页面 uploadMore.html:
<!DOCTYPE html>
    <html xmlns:th="http://www.thymeleaf.org">
    <body>

    <h1>Spring Boot files upload example</h1>

    <form method="POST" action="/uploadMore" enctype="multipart/form-data">
        <input type="file" name="file" /><br/><br/>
        <input type="file" name="file" /><br/><br/>
        <input type="file" name="file" /><br/><br/>
        <input type="submit" value="Submit" />
    </form>

    </body>
    </html>
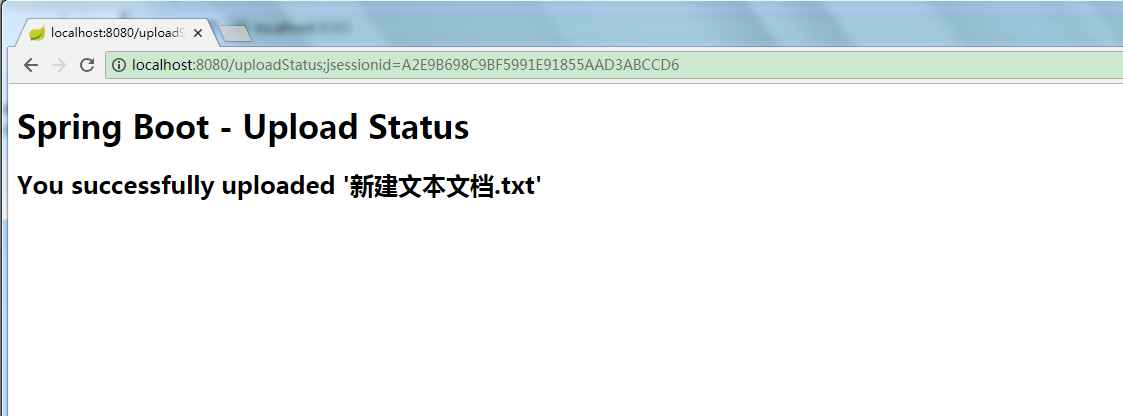
上传结果页面:uploadStatus.html
<!DOCTYPE html>
    <html lang="en" xmlns:th="http://www.thymeleaf.org">
    <body>

    <h1>Spring Boot - Upload Status</h1>

    <div th:if="${message}">
        <h2 th:text="${message}"/>
    </div>
    </body>
    </html>
5、后台上传控制类
@Controller
public class UploadController {

    //文件存储目录
    private String UPLOAD_PATH="E://temp//";

    //跳转上传页面
    @RequestMapping("/")
    public String index() {
        return "upload";
    }


    @GetMapping("/more")
    public String uploadMore() {
        return "uploadMore";
    }

    //多个文件上传
    @RequestMapping("/uploadMore")
    public String moreFileUpload(@RequestParam("file") MultipartFile[] files,RedirectAttributes redirectAttrs) {
        if(files.length ==0) {
            redirectAttrs.addFlashAttribute("message", "Please select a file to upload");
            return "redirect:uploadStatus";
        }

        for(MultipartFile file :files) {
            try {
                byte[] bytes = file.getBytes();
                Path path = Paths.get(UPLOAD_PATH+file.getOriginalFilename());
                Files.write(path, bytes);
            } catch (IOException e) {
                e.printStackTrace();
            }
        }
        redirectAttrs.addFlashAttribute("message",
                "You successfully uploaded all files");
        return "redirect:/uploadStatus";
    }


    //单个文件上传
    @PostMapping("/upload")
    public String singleFileUpload(@RequestParam("file") MultipartFile file,RedirectAttributes redirectAttrs) {
        if(file.isEmpty()) {
            redirectAttrs.addFlashAttribute("message", "Please select a file to upload");
            return "redirect:uploadStatus";
        }

        try {
            byte[] bytes = file.getBytes();
            Path path = Paths.get(UPLOAD_PATH+file.getOriginalFilename());
            Files.write(path, bytes);
            redirectAttrs.addFlashAttribute("message",
                        "You successfully uploaded '" + file.getOriginalFilename() + "'");
        } catch (IOException e) {
            e.printStackTrace();
        }

        return "redirect:/uploadStatus";
    }

    //跳转结果页面
    @RequestMapping("/uploadStatus")
    public String uploadStatus() {
        return "uploadStatus";
    }
}
6、运行启动类:FileUploadWebApplication
在浏览器访问:
多个文件上传:

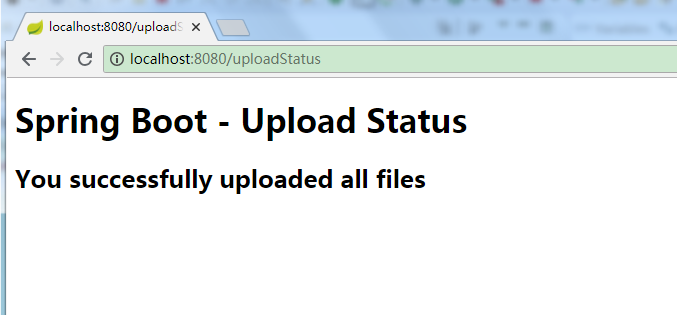
OK ,上传成功。