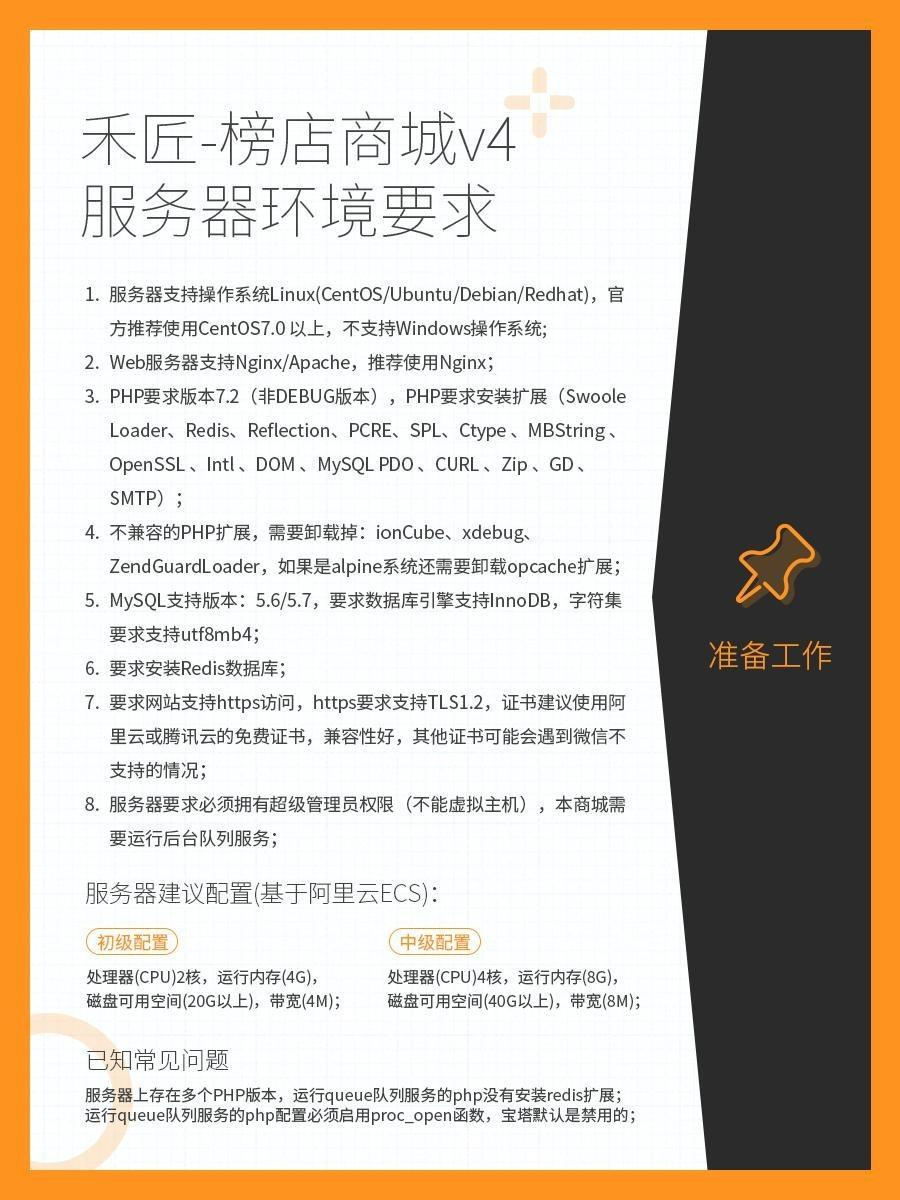
前言:
由于这台服务器上跑了几个程序,不敢用再安装宝塔去部署,所以手动部署去试试。
补充:宝塔安装教程:https://www.kejianet.cn/hejiangv4/
一,安装Mysql:
1.安装教程:
https://www.cnblogs.com/opsprobe/p/9126864.html(mysql-client-5.7 )
查看版本:dpkg -l | grep mysql
ii  mysql-client-5.7                                                 5.7.35-0ubu                                                         ntu0.18.04.1                         amd64        MySQL database client binaries
ii  mysql-client-core-5.7                                            5.7.35-0ubu                                                         ntu0.18.04.1                         amd64        MySQL database core client bin                                                         aries
ii  mysql-common                                                     5.8+1.0.4                                                                                                all          MySQL database common files, e                                                         .g. /etc/mysql/my.cnf
ii  mysql-server                                                     5.7.35-0ubu                                                         ntu0.18.04.1                         all          MySQL database server (metapac                                                         kage depending on the latest version)
ii  mysql-server-5.7                                                 5.7.35-0ubu                                                         ntu0.18.04.1                         amd64        MySQL database server binaries                                                          and system database setup
ii  mysql-server-core-5.7                                            5.7.35-0ubu                                                         ntu0.18.04.1                         amd64        MySQL database server binaries
2.支持InnoDB:
我看了别的文章:
  打开mysql的配置文件(vim)

    /etc/my.cnf或者

    /etc/mysql/my.cnf或者

    /etc/mysql/mysql.conf.d/mysqld.cnf
  修改下面的内容:
    #loose-skip-innodb->loose-skip-innodb
我这里没找到这种配置,键入show engines:
mysql> show engines;
+--------------------+---------+----------------------------------------------------------------+--------------+------+------------+
| Engine             | Support | Comment                                                        | Transactions | XA   | Savepoints |
+--------------------+---------+----------------------------------------------------------------+--------------+------+------------+
| InnoDB             | DEFAULT | Supports transactions, row-level locking, and foreign keys     | YES          | YES  | YES        |
| MRG_MYISAM         | YES     | Collection of identical MyISAM tables                          | NO           | NO   | NO         |
| MEMORY             | YES     | Hash based, stored in memory, useful for temporary tables      | NO           | NO   | NO         |
| BLACKHOLE          | YES     | /dev/null storage engine (anything you write to it disappears) | NO           | NO   | NO         |
| MyISAM             | YES     | MyISAM storage engine                                          | NO           | NO   | NO         |
| CSV                | YES     | CSV storage engine                                             | NO           | NO   | NO         |
| ARCHIVE            | YES     | Archive storage engine                                         | NO           | NO   | NO         |
| PERFORMANCE_SCHEMA | YES     | Performance Schema                                             | NO           | NO   | NO         |
| FEDERATED          | NO      | Federated MySQL storage engine                                 | NULL         | NULL | NULL       |
+--------------------+---------+----------------------------------------------------------------+--------------+------+------------+
9 rows in set (0.00 sec)
发现InnoDB 是 DEFAULT,所以我这个mysql5.7的默认InnoDB是支持的。
3.支持utf8mb4:
输入 SHOW VARIABLES LIKE "character_set%";查看MySQL编码
 1 mysql> SHOW VARIABLES LIKE "character_set%";
 2 +--------------------------+----------------------------+
 3 | Variable_name            | Value                      |
 4 +--------------------------+----------------------------+
 5 | character_set_client     | utf8                       |
 6 | character_set_connection | utf8                       |
 7 | character_set_database   | latin1                     |
 8 | character_set_filesystem | binary                     |
 9 | character_set_results    | utf8                       |
10 | character_set_server     | latin1                     |
11 | character_set_system     | utf8                       |
12 | character_sets_dir       | /usr/share/mysql/charsets/ |
13 +--------------------------+----------------------------+
14 8 rows in set (0.00 sec)
目前不支持utf8,打开vim /etc/mysql/mysql.conf.d/mysqld.cnf,
在lc-messages-dir = /usr/share/mysql 语句后添加 character-set-server=utf8 语句:
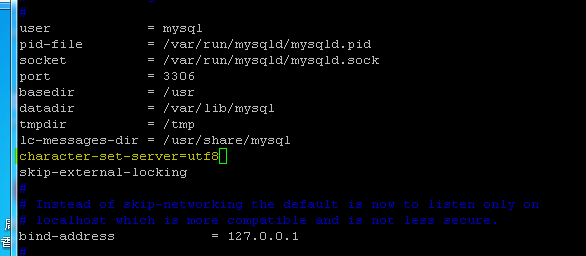
:wq保存;
重启 /etc/init.d/mysql restart;
结果:
mysql> SHOW VARIABLES LIKE "character_set%";
+--------------------------+----------------------------+
| Variable_name            | Value                      |
+--------------------------+----------------------------+
| character_set_client     | utf8                       |
| character_set_connection | utf8                       |
| character_set_database   | utf8                       |
| character_set_filesystem | binary                     |
| character_set_results    | utf8                       |
| character_set_server     | utf8                       |
| character_set_system     | utf8                       |
| character_sets_dir       | /usr/share/mysql/charsets/ |
+--------------------------+----------------------------+
8 rows in set (0.00 sec)
二,安装redis数据库:
sudo apt-get install redis-server
三,安装Nigux
root@root1:~# apt-get install nginx

root@root1:~# nginx -v  #查看版本
nginx version: nginx/1.14.0 (Ubuntu)
详细参考:Ubuntu18+mono+Nginx部署ASP.NET项目
四,安装PHP
1.PHP7.2安装:
sudo apt-get install php7.2
2.PHP-Ngiux安装依赖:
sudo apt-get install php7.2-fpm
3.安装常用扩展JSON,CURL,mysql,MBString,Intl等
JSON:sudo apt-get install php7.2-JSON;
CURL:sudo apt-get install php7.2-CURL;
mysql:sudo apt-get install php7.2-mysql;
MBString:sudo apt-get install php7.2-mbstring;
Intl:sudo apt-get install php7.2-intl;
sudo -y apt-get install php7.2-fpm php7.2-mysql php7.2-curl php7.2-json php7.2-mbstring php7.2-xml php7.2-intl
4.安装必要扩展Swoole Loader,Redis,Reflection,PCRE,SPL,Ctype,OpenSSL,DOM,MySQL PDO,Zip,GD,SMTP:
CGI:sudo apt-get install php7.2-cgi;
Swoole:sudo apt-get install php7.2-swoole;错误 手动编译链接https://my.oschina.net/jonetwelve/blog/617129
Redis:sudo apt-get install php7.2-Redis;
Reflection:sudo apt-get install php7.2-Reflection;错误
PCRE:sudo apt-get install php7.2-PCRE;错误
SPL:sudo apt-get install php7.2-SPL;错误
Ctype:sudo apt-get install php7.2-ctype;
OpenSSL:sudo apt-get install php7.2-OpenSSL;错误
DOM:sudo apt-get install php7.2-dom;
MySQL PDO:sudo apt-get install php7.2-MySQL PDO;错误
Zip:sudo apt-get install php7.2-zip;
GD:sudo apt-get install php7.2-gd;
SMTP:sudo apt-get install php7.2-SMTP;错误
由于需要手动编译php插件(大概上面未通过一半需要编译,所以先放弃了,使用宝塔前卸掉前面安装的软件)
5.卸载ionCube,xdebug,fileinfo、ZendGuardLoader、SG。
略。。。