pywinauto自动化控制win32的ui的程序,网上有好多的教程。但是操作dotnet写的winform教程,就少之又少。今天我就来分享我的pywinauto操作dotnet的winform的研究。
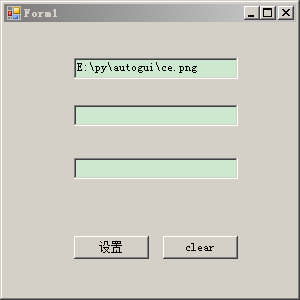
我自己写了个dotnet4的winform程序,样子是这样的
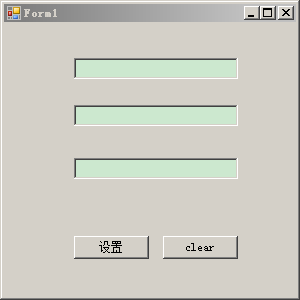
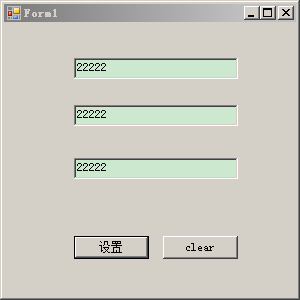
在第一个输入框输入文字后,点击“设置”,就能在下面的输入框同时显示
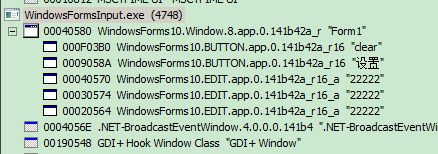
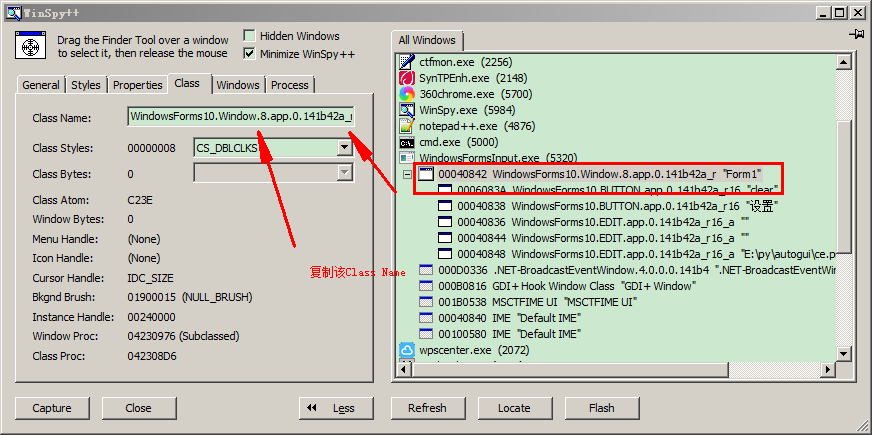
然后,我就打开WinSpy++.exe分析这个dotnet4写的winform,发现层次是这样的:
下图是与以vc写的win32的gui程序的winspy的分析
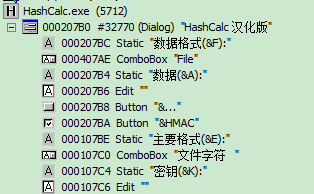

而参照该博主的博客文章https://blog.csdn.net/qq_37193537/article/details/81206788
winspy++的分析
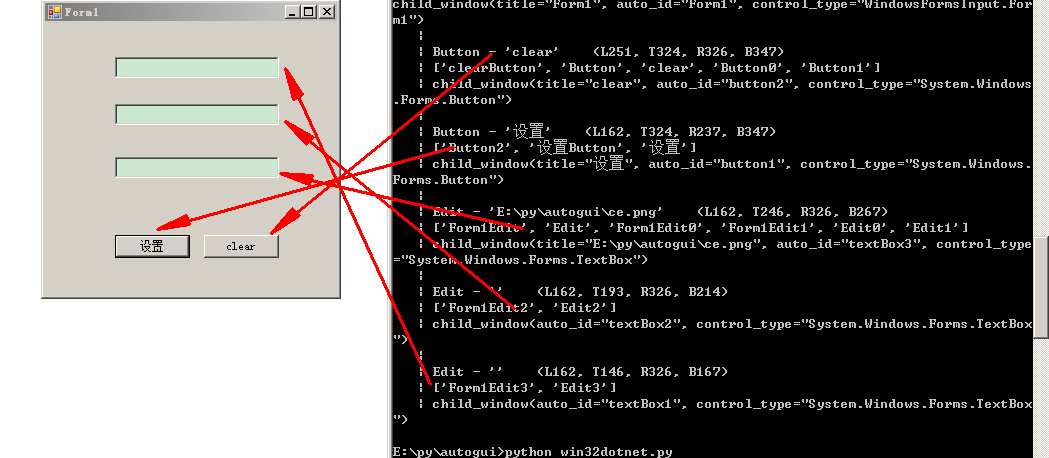
进行画葫芦的分析dotnet写的winform,代码如下:
from pywinauto.application import Application
app= Application().start("WindowsFormsInput.exe")#.exe的路径是正确的,修改自己的路径
form = app.window_(title_re=u"Form1", class_name="WindowsForms10.Window.8.app.0.141b42a_r16_ad1")#

form.print_control_identifiers()
以下是输出:
E:pyautogui>python win32dotnet.py
win32dotnet.py:3: DeprecationWarning: Method .window_() is deprecated, use .wind
ow() instead.
  form = app.window_(title_re=u"Form1", class_name="WindowsForms10.Window.8.app.
0.141b42a_r16_ad1")#
Control Identifiers:

WindowsForms10.Window.8.app.0.141b42a_r16_ad1 - 'Form1'    (L88, T88, R388, B388
)
['WindowsForms10.Window.8.app.0.141b42a_r16_ad1', 'Form1', 'Form1WindowsForms10.
Window.8.app.0.141b42a_r16_ad1']
child_window(title="Form1", auto_id="Form1", control_type="WindowsFormsInput.For
m1")
   |
   | Button - 'clear'    (L251, T324, R326, B347)
   | ['clearButton', 'Button', 'clear', 'Button0', 'Button1']
   | child_window(title="clear", auto_id="button2", control_type="System.Windows
.Forms.Button")
   |
   | Button - '设置'    (L162, T324, R237, B347)
   | ['Button2', '设置Button', '设置']
   | child_window(title="设置", auto_id="button1", control_type="System.Windows.
Forms.Button")
   |
   | Edit - 'E:pyautoguice.png'    (L162, T246, R326, B267)
   | ['Form1Edit', 'Edit', 'Form1Edit0', 'Form1Edit1', 'Edit0', 'Edit1']
   | child_window(title="E:pyautoguice.png", auto_id="textBox3", control_type
="System.Windows.Forms.TextBox")
   |
   | Edit - ''    (L162, T193, R326, B214)
   | ['Form1Edit2', 'Edit2']
   | child_window(auto_id="textBox2", control_type="System.Windows.Forms.TextBox
")
   |
   | Edit - ''    (L162, T146, R326, B167)
   | ['Form1Edit3', 'Edit3']
   | child_window(auto_id="textBox1", control_type="System.Windows.Forms.TextBox
")
初步分析dotnet的win的控件排序与打印的是倒序了。
增加了在第一个Edit中输入字符串:
from pywinauto.application import Application
app= Application().start("WindowsFormsInput.exe")#.exe的路径是正确的,修改自己的路径
form = app.window_(title_re=u"Form1", class_name="WindowsForms10.Window.8.app.0.141b42a_r16_ad1")

form.Form1Edit3.type_keys(r"E:pyautoguice.png")
控制点击“设置”按钮
from pywinauto.application import Application
app= Application().start("WindowsFormsInput.exe")#.exe的路径是正确的,修改自己的路径
form = app.window_(title_re=u"Form1", class_name="WindowsForms10.Window.8.app.0.141b42a_r16_ad1")#
form.Form1Edit3.type_keys(r"E:pyautoguice.png")
#form.Button2.click()    #同样起作用
form.设置.click()