-
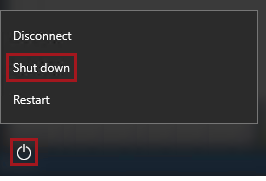
Press the Windows key, and then in the Start page, located at the bottom-left, click the Power button, and then select Shut Down.

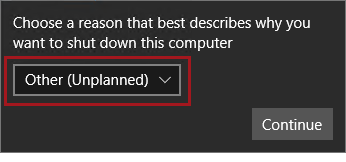
- When prompted to choose a reason, to accept the default.

-
Click Continue.
-
In the Azure Portal Web browser page, wait until the status of the VM updates to Stopped.

In this state, however, the VM is still billable.
6.Optionally, to deallocate the VM, click Stop.
Deallocation will take some minutes to complete, and also extends the time required to restart the VM. Consider deallocating the VM if you want to reduce costs, or if you choose to complete the next lab after an extended period.

- When prompted to stop the VM, click Yes.

The deallocation can take several minutes to complete.
- Verify that the VM status updates to Stopped (Deallocated).

In this state, the VM is now not billable—except for a relatively smaller storage cost.
Note that a deallocated VM will likely acquire a different IP address the next time it is started.