Configure SSL Security in SP2010
. make sure the SSL Security is not configured
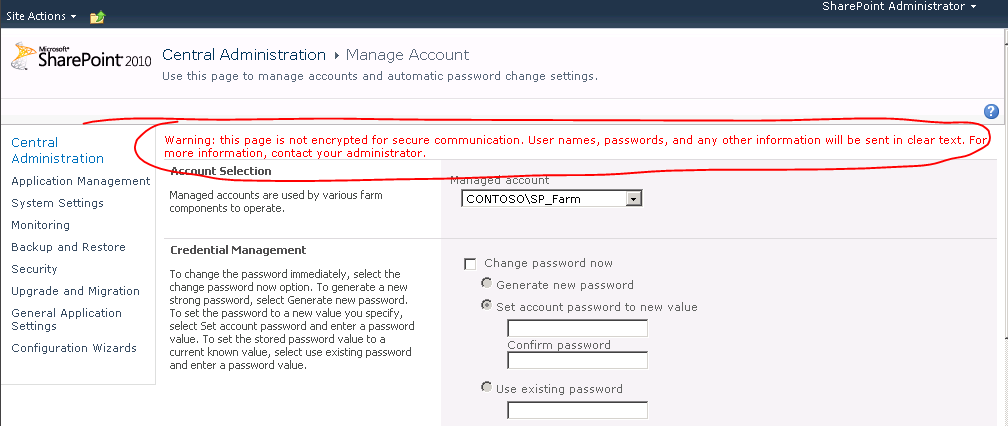
1. Open Central Administration, on left Quick Launch click Security, in General Security section, click Configure managed accounts.
2. In the your Domain Name\SP_Farm row, click Edit icon, at the top of the edit page, there is a warning notify you that the page is not encrypted.
.install Active directory Certificate service
1. Run Server Manager as administrator, on the Server Manager console, click Roles, in Roles Summary click Add Roles, click Next, in the select Server Roles page, select Active Directory Certificate Services checkbox and click Next.
2. Click Next, in the Select Role Services page, make sure the Certificate Authority is selected and click Next. In the Specify Setup Type page, make sure the Enterprise is selected and click Next. In Specify CA Type make sure the Root CA is selected and Click Next. In the Configure Cryptography for CA page click Next. In the Configure CA Name page click Next. In Set Validity Period page click Next. Click Next. In the confirm Installation Selections page click Install.
3. After installation finished, click Close.
. create and install SSL Certificate
1. Open IIS manager, on the Connections pane, click the root node(it is your machine name), then in IIS section, click Server Certificates, in the Actions pane click Create Domain Certificate…

2. In the first page enter the information , important is name, it will be used latter. In the Online Certification Authority page, click Select…, on the Select Certification Authority dialog select the listed certificate authority and click OK, enter the friendly name and then click Finish.
.in Central Administration configure SSL security
1. In IIS manager, click Sites, in the middle Sites pane, right click SharePoint Central Administration V4 and select Bindings…
2. In the Site Bindings dialog, click Add
3. In the Add Site Binding dialog, in Type select https, in Port enter a number like 1001, in SSL certificate select the certificate you just created in previous steps, click OK, click Close.
4. Then you can now use address https://localhost:1001/ to access your central administration.