开发环境:(1)Eclipse Java EE Version: Neon Release (4.6.0) Build id: 20160613-1800
(2)apache-maven-3.2.5
(3)jdk 1.8
配置:(1)Java_HOME 和jdk path路径
(2)在eclipse里面配置maven:打开windows- preferences-maven。installations里面点击add,添加本地解压包maven的安装路径。在User Settings里面设置User Settings路径为:maven安装路径下的文件:我的是D:apache-maven-3.2.5confsettings.xml。打开D:apache-maven-3.2.5confsettings.xml文件,修改里面的 为<localRepository>C:UsersHao.m2 epositorys</localRepository>,这里主要存放所需的依赖和jar包。
开发:新建maven项目。
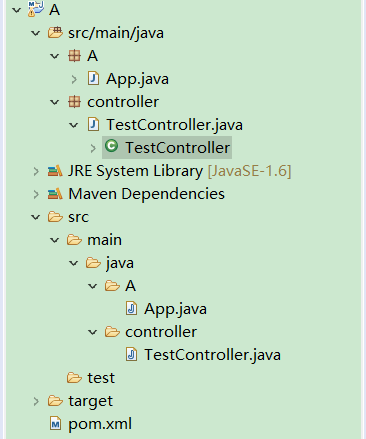
修改pom.xml:
<project xmlns="http://maven.apache.org/POM/4.0.0" xmlns:xsi="http://www.w3.org/2001/XMLSchema-instance"
  xsi:schemaLocation="http://maven.apache.org/POM/4.0.0 http://maven.apache.org/xsd/maven-4.0.0.xsd">
  <modelVersion>4.0.0</modelVersion>

  <groupId>A</groupId>
  <artifactId>A</artifactId>
  <version>0.0.1-SNAPSHOT</version>
  <packaging>jar</packaging>

  <name>A</name>
  <url>http://maven.apache.org</url>

  <properties>
    <project.build.sourceEncoding>UTF-8</project.build.sourceEncoding>
  </properties>

     <!-- Inherit defaults from Spring Boot -->
    <parent>
        <groupId>org.springframework.boot</groupId>
        <artifactId>spring-boot-starter-parent</artifactId>
        <version>1.3.6.RELEASE</version>
    </parent>

<!-- Add typical dependencies for a web application -->
    <dependencies>
        <dependency>
            <groupId>org.springframework.boot</groupId>
            <artifactId>spring-boot-starter-web</artifactId>
        </dependency>
    </dependencies>


</project>
App类:
package A;

import org.springframework.boot.SpringApplication;
import org.springframework.boot.autoconfigure.SpringBootApplication;
import org.springframework.context.annotation.ComponentScan;

@SpringBootApplication

@ComponentScan("controller")
public class App
{
    public static void main( String[] args )
    {
         SpringApplication.run(App.class, args);
    }
}
其中:
@ComponentScan("controller") 标识controller所在文件夹

controller
package controller;

import org.springframework.web.bind.annotation.PathVariable;
import org.springframework.web.bind.annotation.RequestMapping;
import org.springframework.web.bind.annotation.RestController;

@RestController
@RequestMapping("echo")
public class TestController {

    @RequestMapping("/{text}")
    public String echo(@PathVariable("text") String text){
        return "hello world," + text;
    }
}
运行app启动类,打开浏览器输入:http://localhost:8080/echo/test
显示: hello world,test 结果即为成功。