1、nginx部署-Yum安装
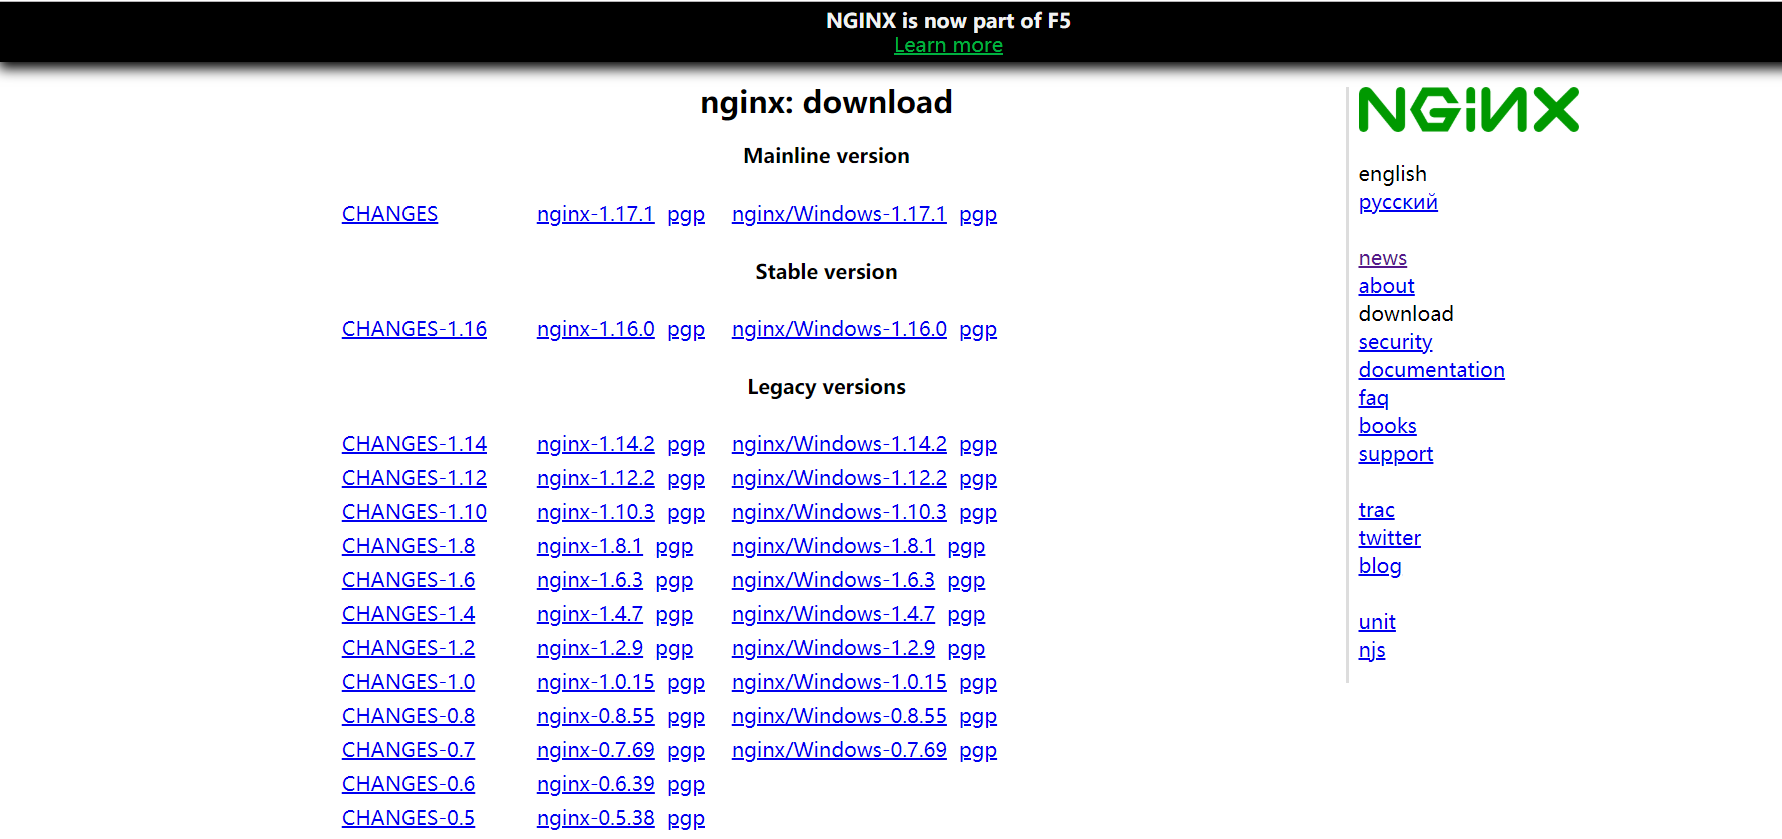
访问nginx的官方网站:http://www.nginx.org/
Nginx版本类型
Mainline version: 主线版,即开发版
Stable version: 最新稳定版,生产环境上建议使用的版本
Legacy versions: 遗留的老版本的稳定版
Yum安装nginx
配置Yum源的官网:http://nginx.org/en/linux_packages.html
1、配置nginx的Yum源
安装说明
在新计算机上首次安装nginx之前,需要设置nginx软件包存储库。 之后,您可以从存储库安装和更新nginx。
RHEL/CENTOS
安装先决条件:
sudo yum install yum-utils -y
要设置yum存储库,请创建/etc/yum.repos.d/nginx.repo包含以下内容的文件:
[nginx-stable]
name=nginx stable repo
baseurl=http://nginx.org/packages/centos/$releasever/$basearch/
gpgcheck=1
enabled=1
gpgkey=https://nginx.org/keys/nginx_signing.key

[nginx-mainline]
name=nginx mainline repo
baseurl=http://nginx.org/packages/mainline/centos/$releasever/$basearch/
gpgcheck=1
enabled=0
gpgkey=https://nginx.org/keys/nginx_signing.key
默认情况下,使用稳定的nginx软件包的存储库。如果要使用主线nginx软件包,请运行以下命令:
sudo yum-config-manager --enable nginx-mainline
要安装nginx,请运行以下命令:
sudo yum install nginx -y
当提示您接受GPG密钥时,请验证指纹是否匹配573B FD6B 3D8F BC64 1079 A6AB ABF5 BD82 7BD9 BF62,如果匹配 ,请接受它。
这里我们用稳定版本
[root@nginx-server yum.repos.d]# yum install -y nginx

[root@nginx-server yum.repos.d]# nginx -V    //格式化打印
nginx version: nginx/1.16.0
built by gcc 4.8.5 20150623 (Red Hat 4.8.5-36) (GCC)
built with OpenSSL 1.0.2k-fips  26 Jan 2017
TLS SNI support enabled
configure arguments: --prefix=/etc/nginx --sbin-path=/usr/sbin/nginx --modules-path=/usr/lib64/nginx/modules --conf-path=/etc/nginx/nginx.conf --error-log-path=/var/log/nginx/error.log --http-log-path=/var/log/nginx/access.log --pid-path=/var/run/nginx.pid --lock-path=/var/run/nginx.lock --http-client-body-temp-path=/var/cache/nginx/client_temp --http-proxy-temp-path=/var/cache/nginx/proxy_temp --http-fastcgi-temp-path=/var/cache/nginx/fastcgi_temp --http-uwsgi-temp-path=/var/cache/nginx/uwsgi_temp --http-scgi-temp-path=/var/cache/nginx/scgi_temp --user=nginx --group=nginx --with-compat --with-file-aio --with-threads --with-http_addition_module --with-http_auth_request_module --with-http_dav_module --with-http_flv_module --with-http_gunzip_module --with-http_gzip_static_module --with-http_mp4_module --with-http_random_index_module --with-http_realip_module --with-http_secure_link_module --with-http_slice_module --with-http_ssl_module --with-http_stub_status_module --with-http_sub_module --with-http_v2_module --with-mail --with-mail_ssl_module --with-stream --with-stream_realip_module --with-stream_ssl_module --with-stream_ssl_preread_module --with-cc-opt='-O2 -g -pipe -Wall -Wp,-D_FORTIFY_SOURCE=2 -fexceptions -fstack-protector-strong --param=ssp-buffer-size=4 -grecord-gcc-switches -m64 -mtune=generic -fPIC' --with-ld-opt='-Wl,-z,relro -Wl,-z,now -pie'

[root@nginx-server yum.repos.d]# nginx -v
nginx version: nginx/1.16.0
关闭防火墙和selinux:
[root@nginx-server ~]# getenforce
Enforcing

[root@nginx-server ~]# sed -i '/SELINUX/s/enforcing/disabled/' /etc/selinux/config

[root@nginx-server ~]# systemctl stop firewalld
[root@nginx-server ~]# systemctl disable firewalld
启动并设置开机启动
[root@nginx-server ~]# systemctl start nginx
[root@nginx-server ~]# systemctl enable nginx
浏览器输入ip地址访问