1. 碰到的问题:
-出现bind:address already in use是因为当前项目正在运行,停掉当前项目即可。cmd中命令 netstat -nao 查看所有占用的端口及PID号,在任务管理器中将相应PID进程停掉。
-@SpringBootApplication注解
官方的代码中controller和main函数写在一个类中,因此可以不需要SpringBootApplication这个注解,写在不同的类中就需要这个注解,否则扫描不到controller。通过源码可以知道@SpringBootApplication = @SpringBootConfiguration + @EnableAutoConfiguration + @ComponentScan,它具有ComponentScan的作用,因此不需要像spring程序那样显式指定包扫描. 参考
2.工程结构:

3. pom.xml文件
<project xmlns="http://maven.apache.org/POM/4.0.0" xmlns:xsi="http://www.w3.org/2001/XMLSchema-instance"
  xsi:schemaLocation="http://maven.apache.org/POM/4.0.0 http://maven.apache.org/xsd/maven-4.0.0.xsd">

  <modelVersion>4.0.0</modelVersion>
  <groupId>com.pkyou.Sample</groupId>
  <artifactId>HelloBoco</artifactId>
  <version>1.0.0</version>
  <parent>
    <groupId>org.springframework.boot</groupId>
    <artifactId>spring-boot-starter-parent</artifactId>
    <version>1.5.8.RELEASE</version>
  </parent>

  <dependencies>
    <dependency>
      <groupId>org.springframework.boot</groupId>
      <artifactId>spring-boot-starter-web</artifactId>
    </dependency>

  </dependencies>

  <build>
    <plugins>
      <plugin>
        <groupId>org.springframework.boot</groupId>
        <artifactId>spring-boot-maven-plugin</artifactId>
      </plugin>
    </plugins>
  </build>
</project>
4. main:
package com.pkyou.Sample.Controller;

import org.springframework.boot.SpringApplication;
import org.springframework.boot.SpringBootConfiguration;
import org.springframework.boot.autoconfigure.EnableAutoConfiguration;
import org.springframework.boot.autoconfigure.SpringBootApplication;

@SpringBootApplication
public class Main {

    public static void main(String[] args) throws Exception {
        SpringApplication.run(Main.class, args);
    }
}
5. controller
package com.pkyou.Sample.Controller;

import org.springframework.web.bind.annotation.RequestMapping;
import org.springframework.web.bind.annotation.RestController;

@RestController
public class HelloWorldController {

    @RequestMapping("/hello")
    public  String hello() {
        return "Hello the whole world";
    }
}
6. 作为JAVA应用程序运行,启动tomcat,默认使用localhost的8080端口

7. 热部署
添加依赖:
<dependency>
    <groupId>org.springframework.boot</groupId>
      <artifactId>spring-boot-devtools</artifactId>
      <optional>true</optional>
    </dependency>
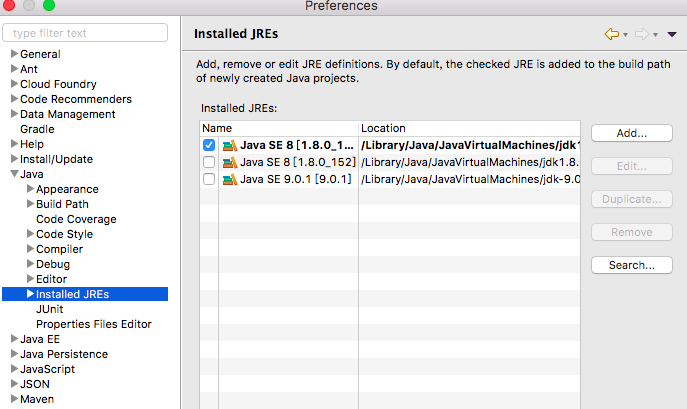
代码pull到mac端,配置JAVA环境可运行:
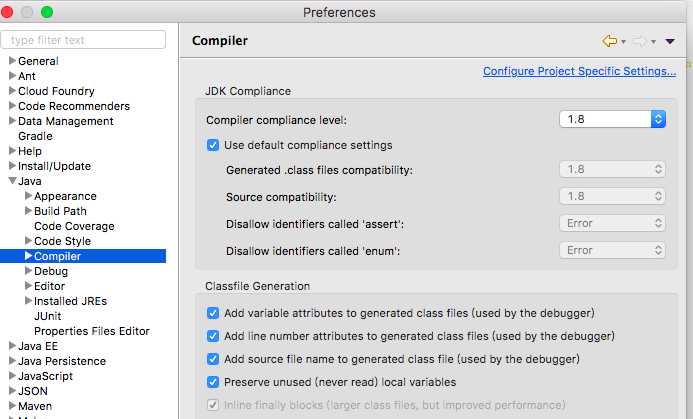
JRE版本: