一、 brew常用命令
安装brew /usr/bin/ruby -e "$(curl -fsSL https://raw.githubusercontent.com/Homebrew/install/master/install)"
更新brew brew update
搜索mysql可用版本 brew search mysql
删除php56 brew unlink php56
brew services start|stop|restart nginx|mysql@5.7|php72
二、安装PHP7.2 Nginx MySQL5.7
安装PHP7.2
执行命令brew install php72,出现下图即为安装成功;
若安装失败,可能是因为之前使用brew安装过,没有删除干净,按照提示操作即可
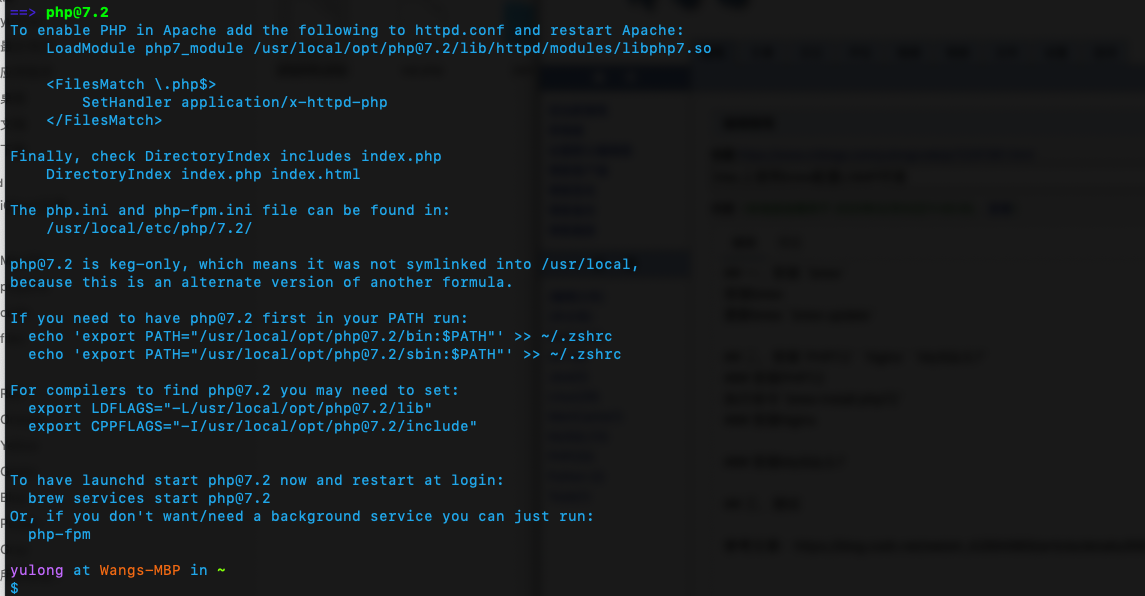
解释:
配置文件的安装位置最后都有提示,一般来说都是 /usr/local/etc/php/7.2/;
需要按照提示添加环境变量;
1、查看是否安装成功
lsof -Pni4 | grep LISTEN | grep php
出现下图即为安装成功

2、将PHP7添加到开机自启中
mkdir -p ~/Library/LaunchAgents ln -sfv /usr/local/opt/php72/homebrew.mxcl.php72.plist ~/Library/LaunchAgents/ launchctl load -w ~/Library/LaunchAgents/homebrew.mxcl.php72.plist
3、将php加入$PATH
vim ~/.bash_profile
添加如下配置文件
export PATH="/usr/local/sbin:$PATH"
export PATH="$(brew --prefix php72)/bin:$PATH"
export PATH="$(brew --prefix php72)/sbin:$PATH"
export PATH="/usr/local/bin:/usr/local/sbin:$PATH"
保存退出,运行配置
source ~/.bash_profile
4、安装php7扩展
示例:安装zip扩展
brew install php72 zip
5、重启PHP
brew services restart php72
安装Nginx
执行命令brew install nginx,安装完成后,nginx文件默认被安装在/usr/local/etc/nginx/nginx.conf,然后再浏览器中键入http://localhost:8080,即可访问到nginx的欢迎界面。
1、配置文件
使用 vim /usr/local/etc/nginx/nginx.conf,查看是否有 include services/*;,如下图所示
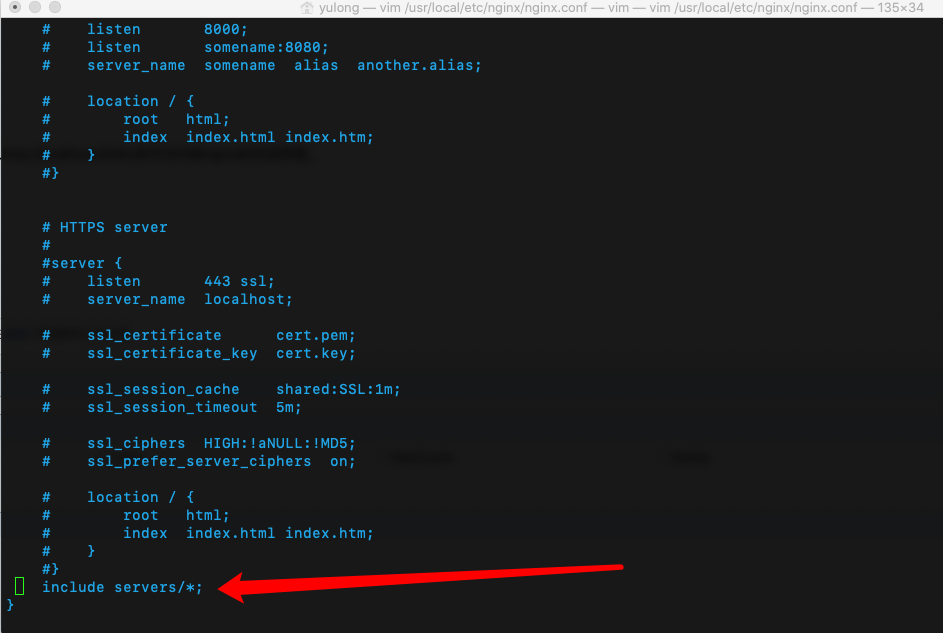
若没有,请在 vim /usr/local/etc/nginx/ 目录新建一个 services 文件夹,并在nginx.confd对应位置(一般是倒数第二行)中添加 include services/*;
开始配置多站点
vim /usr/local/etc/nginx/services/default
在 default中添加如下内容
server {
        listen 80;
        root /Users/yulong/Web/www/;  #项目文件地址
        index index.php index.html index.htm;
        server_name www.test.loc; #本地域名,可以在host里定义
        location / {
                try_files $uri $uri/ /index.php?$query_string;
        }
        location ~ .php$ {
                try_files $uri /index.php =404;
                fastcgi_split_path_info ^(.+.php)(/.+)$;
                fastcgi_pass 127.0.0.1:9000;
                fastcgi_index index.php;
                fastcgi_param SCRIPT_FILENAME $document_root$fastcgi_script_name;
                include fastcgi_params;
        }
        location ~ /.ht {
                deny all;
        }
}
保存退出,重启Nginx使配置生效
nginx -s reload
2、常用命令
测试配置是否有语法错误
nginx -t
重新加载配置|重启|停止|退出 nginx
nginx -s reload|reopen|stop|quit
安装MySQL5.7
执行命令安装MySQL5.7 brew install mysql@5.7
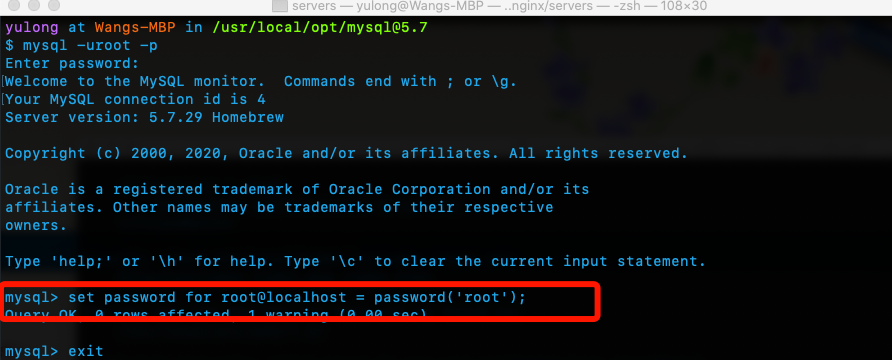
1、设置MySQL的登录密码,由于刚刚安装的MySQL是没有配置密码的,直接回车即可进入,安全起见,需要设置下root的登录密码
set password for root@localhost = password('root');
三、测试
参考文章:https://blog.csdn.net/weixin_42894969/article/details/89070153