1. 在storyboard中,拖出1个UICollectionViewController
2. 新建file--Cocoa Touch Class,继承自UICollectionViewController,假设名字是CollectionDemo
3. 在storyboard, 把刚才拖出来的UICollectionViewController的class改成CollectionDemo
4. 在 CollectionDemo.m 中实现,数据源方法
- (NSInteger)collectionView:(UICollectionView *)collectionView numberOfItemsInSection:(NSInteger)section
{
return self.photos.count;
}
- (UICollectionViewCell *)collectionView:(UICollectionView *)collectionView cellForItemAtIndexPath:(NSIndexPath *)indexPath
{
static NSString *ID = @"cell";
CustomCell *cell = [collectionView dequeueReusableCellWithReuseIdentifier:ID forIndexPath:indexPath];
cell.imageView.image = [UIImage imageNamed:self.photos[indexPath.item]];
return cell;
}
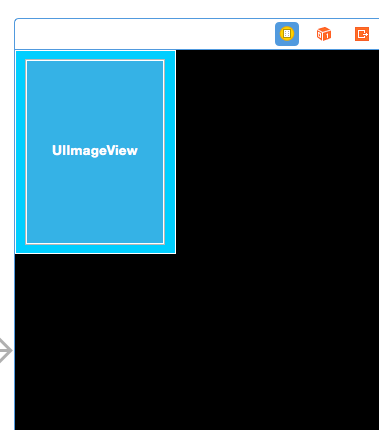
5. 修改storyboard的CollectionViewCell,比如修改背景色,放一张图片,设置图片的约束,最重要的是修改重用标记为cell,也就是要和代码里写的相一致
6. 新建自定义collectionViewCell类,添加输出口,也就是和storyboard的控件做连线
@interface CustomCell : UICollectionViewCell
@property (weak, nonatomic) IBOutlet UIImageView *imageView;
@end
7. 运行效果

8. 和纯代码创建CollectionView相比,省了如下步骤
[collectionView registerClass:[CustomCell class] forCellWithReuseIdentifier:ID]; // 注册cell
UICollectionView *collectionView = [[UICollectionView alloc] initWithFrame:self.view.bounds collectionViewLayout:[[UICollectionViewFlowLayout alloc] init]]; // 初始化的时候,指定布局
// 还有自定义cell的构造方法
- (id)initWithFrame:(CGRect)frame
{
self = [super initWithFrame:frame];
if (self) {
UIImageView *imageView = [[UIImageView alloc]init];
imageView.frame = CGRectMake(5, 5, 40, 40);
[self addSubview:imageView];
_imageV = imageView;
}
return self;
}
注:storyboard拖出来的collectionViewController默认就是流水布局

四种注册方法的异同
- (void)registerClass:(Class)cellClass forCellWithReuseIdentifier:(NSString *)identifier;
- (void)registerNib:(UINib *)nib forCellWithReuseIdentifier:(NSString *)identifier;
- (void)registerClass:(Class)viewClass forSupplementaryViewOfKind:(NSString *)elementKind withReuseIdentifier:(NSString *)identifier;
- (void)registerNib:(UINib *)nib forSupplementaryViewOfKind:(NSString *)kind withReuseIdentifier:(NSString *)identifier;
cell是代码创建的用第1种;
如果cell是xib创建的,用第2种;
下面2个是用于注册补充视图,补充视图类似于tableView的 SectionHeader,SectionFooter,它通过elementKind参数区别补充视图头还是补充视图尾,尾UICollectionElementKindSectionFooter 头UICollectionElementKindSectionHeader