一、实现流程介绍
下面是优化后代码,只是展示手机号功能,后端逻辑可以根据自己需求实现
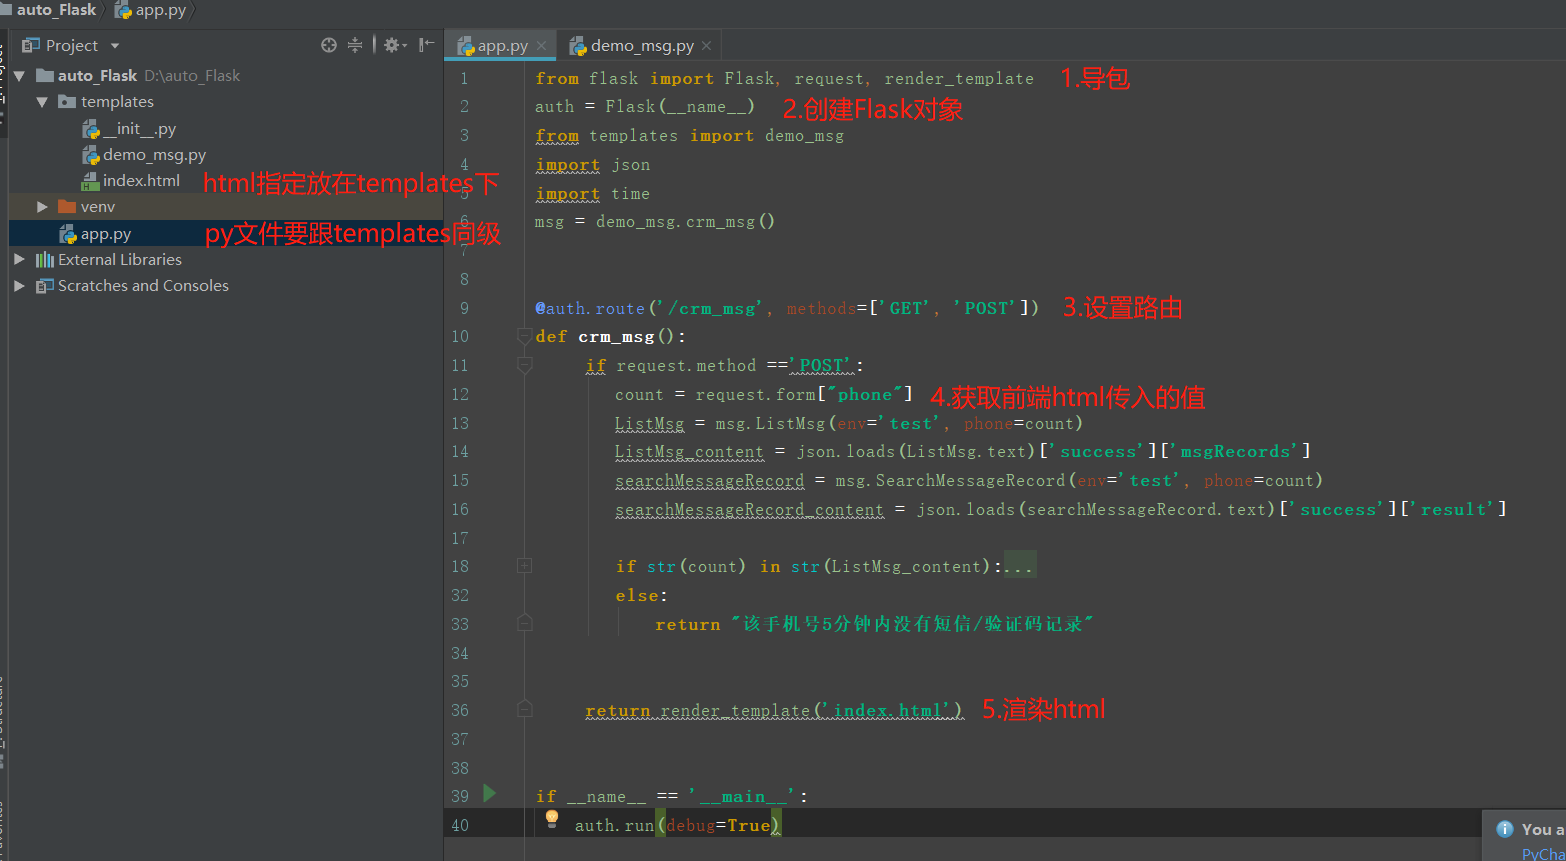
from flask import Flask, request, render_template
auth = Flask(__name__)


@auth.route('/crm_msg', methods=['GET', 'POST'])
def crm_msg():
     if request.method =='POST':
        count = request.form["phone"]
        return count

     return render_template('index.html')


if __name__ == '__main__':
    auth.run(debug=True)
二、运行脚本会生成一个网址

三、浏览器访问连接,记得后面加上路由

四、附上html脚本
<html>
    <head>
    <title>Purple_loginform Website Template | Home :: w3layouts</title>
    <link href="/static/css/style.css" rel="stylesheet" type="text/css" media="all" />
    <meta http-equiv="Content-Type" content="text/html; charset=utf-8" />
    <meta name="viewport" content="width=device-width, initial-scale=1, maximum-scale=1">
    <meta http-equiv="Content-Type" content="text/html; charset=utf-8" />
		<style type="text/css">
			.big{
			font-size:20px;
			}
			a{
			text-decoration:none;
			}

			.font_bk{border:1px solid #ccc;

			bai#content {
            border: solid #f00;   /*设置边框样式跟颜色du*/
            margin: 0 auto;   /*设置div居中*/
             200px;  /*设置div宽度*/
            height: 200px; /*设置div高度*/
            border- 5px; /*设置边框宽度*/
            background: #ff0;  /*设置背景色*/
			}


		</style>
    </head>

    <!-- contact-form -->
    <div class="message warning">
    <div class="inset">
		<img src="https://pic50.t8tcdn.com/adcms/ad/201811/28/ce1a1b88849e763383c5ade218f73d8c93218.jpg" style=" 1910.4px;height:75.8px"/>
    	<div class="login-head">
			<h2>请输入手机号查询验证码</h2>
    		 <div class="alert-close"> </div>
    	</div>
    		<form action="{{ url_for('crm_msg') }}" method="post">
    			<li>
    				<input type="text" name="phone" class="text" value="phoneNo" onfocus="this.value = '';" onblur="if (this.value == '') {this.value = 'phoneNo';}"><a href="#" class=" icon user"></a>
    			</li>
    				<div class="clear"> </div>
    			<li>
    				<!--<input type="password" name="password" value="Password" onfocus="this.value = '';" onblur="if (this.value == '') {this.value = 'Password';}"> <a href="#" class="icon lock"></a>
    			</li> -->
    			<div class="clear"> </div>
    			<div class="submit">
    				<input type="submit" value="查询" >
					<h2 align="center" 环节导航>

					<div class="big">
						<h3>常用工具</h3><hr>
						<a href="https://tool.lu/timestamp/" target="_blank">时间戳转换工具</a>•
						<a href="https://www.json.cn//" target="_blank">Json解析工具</a>•
						<a href="https://cli.im/" target="_blank">草料二位码</a>


					</div>


					<div class="clear">  </div>
    			</div>

    		</form>
    		</div>
    	</div>
    	</div>
    	<div class="clear"> </div>
    <!--- footer --->
    <div class="footer">
    	<p>@Author : owen.liu jack</p>

    </div>

</body>
</html>