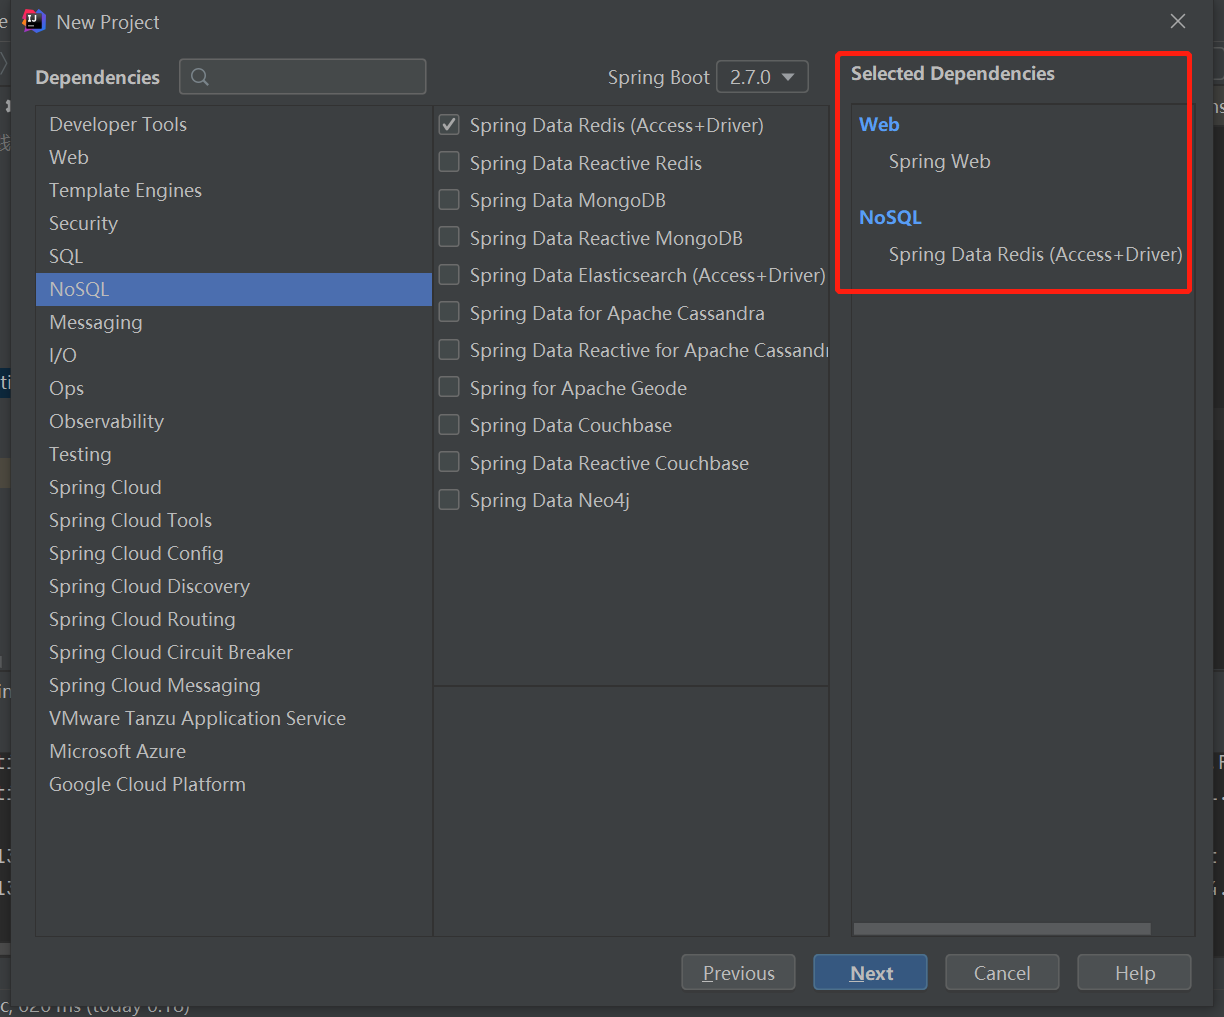
1.创建项目

如果出现init失败(需要等待网络可以正常连接)
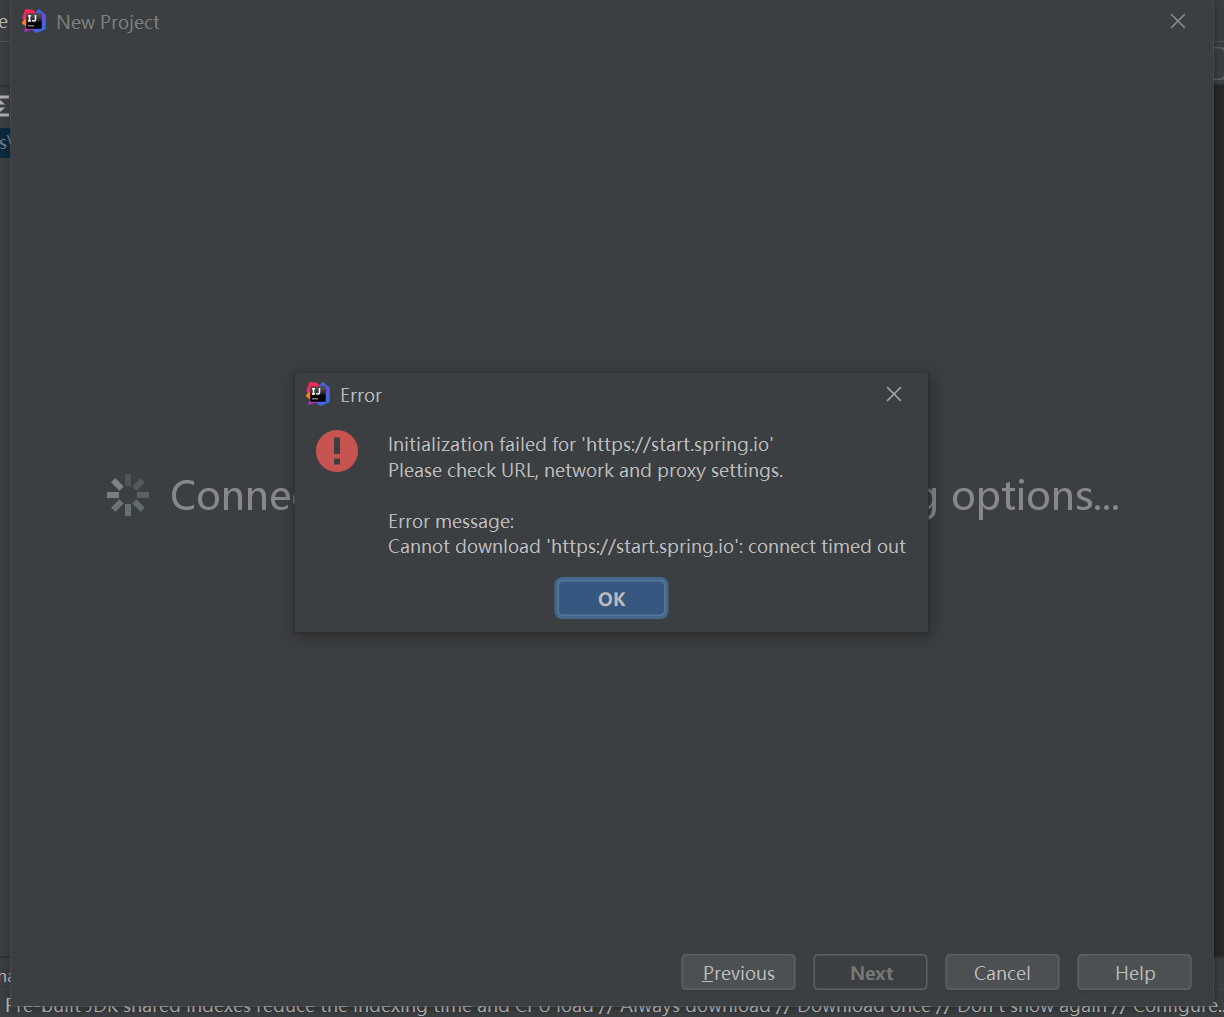
或者运行主类的时候报错(错误: 找不到或无法加载主类),需要重新导入maven项目再重新编译试试。

2.引入pom jar
<?xml version="1.0" encoding="UTF-8"?>
<project xmlns="http://maven.apache.org/POM/4.0.0" xmlns:xsi="http://www.w3.org/2001/XMLSchema-instance"
xsi:schemaLocation="http://maven.apache.org/POM/4.0.0 https://maven.apache.org/xsd/maven-4.0.0.xsd">
<modelVersion>4.0.0</modelVersion>
<!-- <parent>-->
<!-- <groupId>org.springframework.boot</groupId>-->
<!-- <artifactId>spring-boot-starter-parent</artifactId>-->
<!-- <version>2.5.4</version>-->
<!-- <relativePath/> <!– lookup parent from repository –>-->
<!-- </parent>-->
<groupId>com.redis</groupId>
<artifactId>demo</artifactId>
<version>0.0.1-SNAPSHOT</version>
<name>demo</name>
<description>Demo project for Spring Boot</description>
<properties>
<java.version>17</java.version>
</properties>
<dependencies>
<dependency>
<groupId>org.springframework.boot</groupId>
<artifactId>spring-boot-starter-data-redis</artifactId>
<version>2.5.4</version>
</dependency>
<dependency>
<groupId>org.springframework.boot</groupId>
<artifactId>spring-boot-starter-web</artifactId>
<version>2.5.4</version>
</dependency>
<dependency>
<groupId>org.projectlombok</groupId>
<artifactId>lombok</artifactId>
<version>1.18.20</version>
<optional>true</optional>
</dependency>
<dependency>
<groupId>org.springframework.boot</groupId>
<artifactId>spring-boot-starter-test</artifactId>
<version>2.5.4</version>
<scope>test</scope>
</dependency>
<dependency>
<groupId>org.springframework.boot</groupId>
<artifactId>spring-boot-autoconfigure</artifactId>
<version>2.5.4</version>
</dependency>
<dependency>
    <groupId>com.alibaba</groupId>
    <artifactId>fastjson</artifactId>
    <version>1.2.62</version>
</dependency>
<dependency>
    <groupId>junit</groupId>
    <artifactId>junit</artifactId>
    <version>4.12</version>
    <scope>test</scope>
</dependency>
    </dependencies>

    <build>
        <plugins>
            <plugin>
                <groupId>org.springframework.boot</groupId>
                <artifactId>spring-boot-maven-plugin</artifactId>
            </plugin>
        </plugins>
    </build>

</project>
3.添加redis配置
server.port=8088
spring.redis.host=127.0.0.1
#Redis服务器连接端口
spring.redis.port=6379
#Redis服务器连接密码(默认为空)
spring.redis.password=
#连接池最大连接数(使用负值表示没有限制)
spring.redis.pool.max-active=8
#连接池最大阻塞等待时间(使用负值表示没有限制)
spring.redis.pool.max-wait=-1
#连接池中的最大空闲连接
spring.redis.pool.max-idle=8
#连接池中的最小空闲连接
spring.redis.pool.min-idle=0
#连接超时时间(毫秒)
spring.redis.timeout=30000
4.controller模拟订单号每次请求增加1
package com.redis.demo;

import org.springframework.beans.factory.annotation.Autowired;
import org.springframework.boot.SpringApplication;
import org.springframework.boot.autoconfigure.SpringBootApplication;
import org.springframework.data.redis.core.StringRedisTemplate;
import org.springframework.web.bind.annotation.RequestMapping;
import org.springframework.web.bind.annotation.RestController;

@RestController
@SpringBootApplication
public class DemoApplication {

    @Autowired
    private StringRedisTemplate redisTemplate;

    @RequestMapping("/")
    public String demo(){
        Long idx = redisTemplate.opsForValue().increment("orderId");
        return "Hello World! orderId = " + idx;
    }

    public static void main(String[] args) {
        SpringApplication.run(DemoApplication.class, args);
    }

}
5.访问
