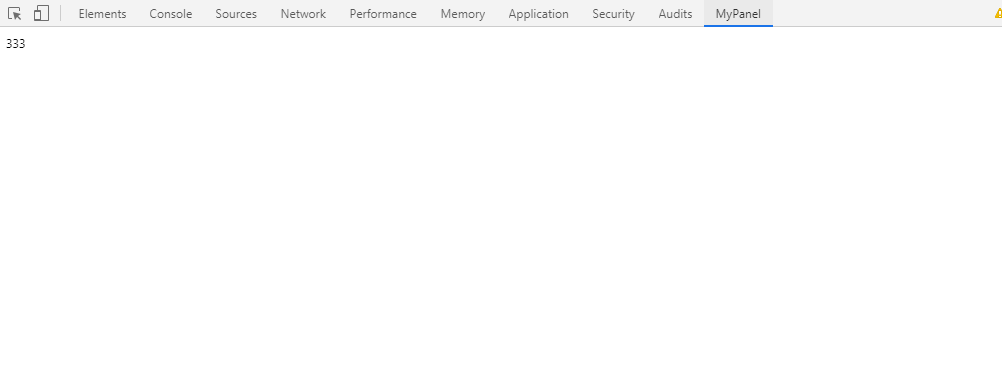
1 自定义开发者面板

改配置文件
{
    "name": "todo-plugin",
    "version": "0.9.0",
    "manifest_version": 2,
    "description": "chrome plugin demo",
    "browser_action": {
        "default_icon": "icon.png",
        "default_title": "Todo List",
        "default_popup": "popup.html"
    },
    "content_scripts": [{  //对页面内容进行操作的脚本
         "matches": ["http://*/*","https://*/*"],  //满足什么条件执行该插件
         "js": ["jquery.min.js","contentscript.js"]
    }],
    "background":{
    "scripts":["jquery.min.js","background.js"]
    },
    "permissions": ["contextMenus"],
    "web_accessible_resources": ["inject.js"],
    //指定自定义面板
 "devtools_page": "devtools.html"
    }
然后
devtools.html
再引用下js
<!doctype html>

<html>

<head>

<meta http-equiv="content-type" content="txt/html; charset=utf-8" />

<title>Document</title>


</head>

<body>


<script src="devtools.js"></script>


</body>

</html>
再devtools.js里面写 这个mypanl.html才是你要写入页面内容的html
// 创建自定义面板,同一个插件可以创建多个自定义面板
// 几个参数依次为:panel标题、图标(其实设置了也没地方显示)、要加载的页面、加载成功后的回调
chrome.devtools.panels.create('MyPanel', 'icon.png', 'mypanel.html', function(panel)
{
    console.log('自定义面板创建成功!'); // 注意这个log一般看不到
});
然后通信方法 和点击图标弹出的一样