Gradle提供了不输于maven的依赖管理
提供了强大的test功能,输出优美的测试报告
并且提供war插件,使用内置的jetty调试WEB应用
因为博主偏偏钟情于tomcat,所以希望使用tomcat来调试WEB应用
下面我们来通过些许的代码,将tomcat插件配置到项目中
实现一键调试部署WEB应用
build.gradle文件:
buildscript {
  repositories {
    jcenter()
  }
  dependencies {
    classpath "com.bmuschko:gradle-tomcat-plugin:2.2.3"
  }
}

apply plugin: "java"
apply plugin: "war"
apply plugin: "eclipse"
apply plugin: "com.bmuschko.tomcat"

sourceCompatibility = 1.8
version = "0.0.1-SNAPSHOT"
war.baseName = "jblog"
project.webAppDirName = "src/main/webapp"


//扩展属性放在ext的内部类中
ext{
    hibernate_version="4.3.9.Final"
    spring_version="4.2.3.RELEASE"
}

configurations {
    provided
}

sourceSets {
    main{
        resources.srcDirs = ["src/main/java"]    //引入资源文件,打包时才会将配置文件植入war文件
    }
    main.compileClasspath += configurations.provided
    test.compileClasspath += configurations.provided
    test.runtimeClasspath += configurations.provided
}

repositories {
    mavenLocal()
    maven {url "http://maven.oschina.net/content/groups/public/"}
    mavenCentral()
    jcenter()
}

dependencies {
    compile(
        "org.hibernate:hibernate-core:${hibernate_version}",
        "org.hibernate:hibernate-ehcache:${hibernate_version}",
        "org.springframework:spring-core:${spring_version}",
        "org.springframework:spring-beans:${spring_version}",
        "org.springframework:spring-context:${spring_version}",
        "org.springframework:spring-tx:${spring_version}",
        "org.springframework:spring-web:${spring_version}",
        "net.sf.ehcache:ehcache:2.9.0",
        "mysql:mysql-connector-java:5.1.37",
        "log4j:log4j:1.2.17"
    )

    testCompile "junit:junit:4.7"
    provided "javax.servlet:javax.servlet-api:4.+"

    def tomcatVersion = '8.0.27'
    tomcat    "org.apache.tomcat.embed:tomcat-embed-core:${tomcatVersion}",
            "org.apache.tomcat.embed:tomcat-embed-logging-juli:${tomcatVersion}",
            "org.apache.tomcat.embed:tomcat-embed-jasper:${tomcatVersion}"
}

//注意下面这个配置,新版本gradle如果不使用数组添加的话会导致eclipse频繁报错
eclipse.classpath.plusConfigurations += [configurations.provided]
tasks.withType(JavaCompile) {
    options.encoding = "UTF-8"
}

tomcatRun.contextPath = '/jblog'
tomcatRunWar.contextPath = '/jblog'
上面所有蓝色字体就是所有需要配置的代码
默认端口8080,执行tomcatRun命令后会提示:
The Server is running at http://localhost:8080/jblog
这时候访问http://localhost:8080/jblog就可以访问你的应用进行调试了
因为tomcat的gradle插件是超轻量级的,不带有任何附加的功能,所以访问http://localhost:8080是看不到任何tomcat欢迎界面的
这样看来也就是仅仅调试WEB应用了,与使用内置jetty调试貌似也没多大区别,呵呵
相关截图发一下,我很讨厌那种只发文字不发图片的blog,往往搞得人一头雾水,忙中添乱
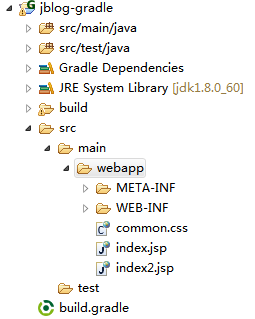
项目结构
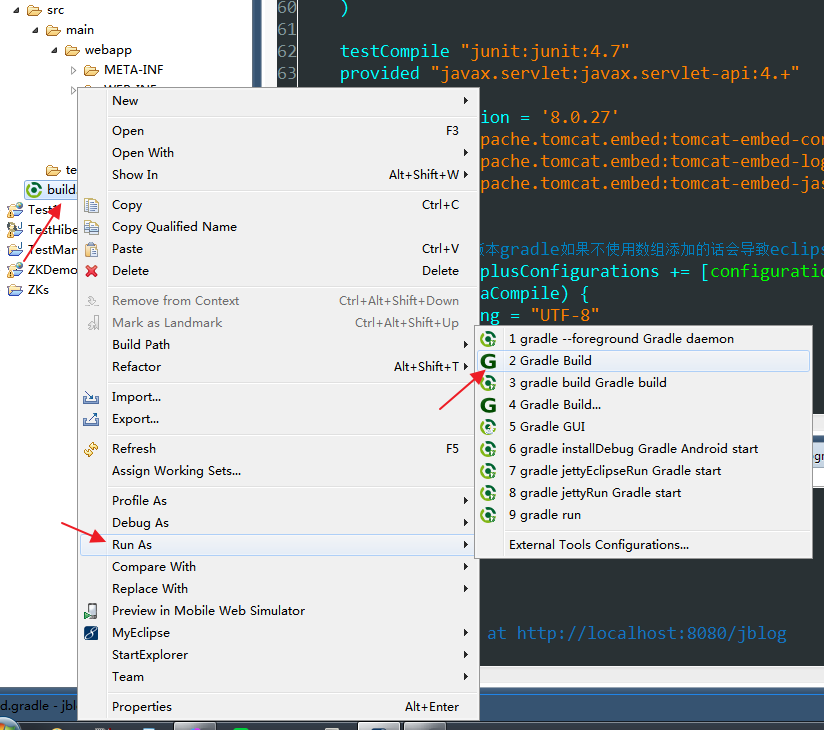
执行gradle命令
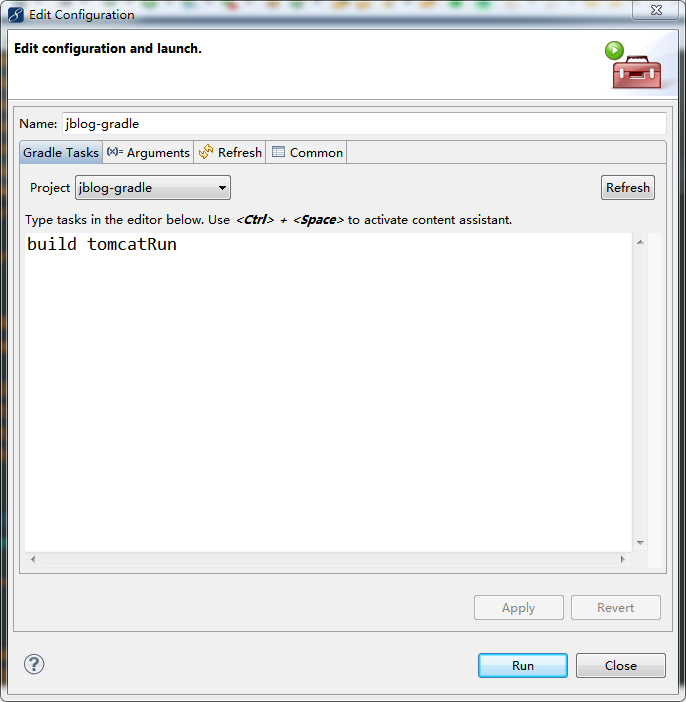
输入build tomcatRun命令(注意大小写),点击Run执行

终端输出如上图所示,这时候就可以访问URL测试我们的应用了。