一、上传私服
0.修改maven的settings.xml。加上:
    <server>
      <id>nexus-snapshots</id>
      <username>bofeng</username>
      <password>123456</password>
    </server>
    <server>
      <id>nexus-releases</id>
      <username>bofeng</username>
      <password>123456</password>
    </server>
● snapshots
1.下载要deploy的工程
2.修改该工程的pom.xml

3.修改pom.xml
1)添加maven仓库和snapshots deploy仓库
    <!-- 去此仓库找依赖 -->
    <repositories>
        <repository>
            <id>nexus-snapshots</id>
            <name>Nexus Snapshots</name>
            <url>file:///C:/Users/bofeng/.m2/mavenResp</url>
            <snapshots>
                <enabled>true</enabled>
            </snapshots>
            <releases>
                <enabled>true</enabled>
            </releases>
        </repository>
    </repositories>
    <!-- 部署到此仓库 -->
    <distributionManagement>
        <snapshotRepository>
            <id>nexus-snapshots</id>
            <name>Nexus Snapshot</name>
            <url>http://39.106.171.57:8081/repository/maven-snapshots/</url>
        </snapshotRepository>
        <site>
            <id>nexus-snapshots</id>
            <name>Nexus Sites</name>
            <url>dav:http://39.106.171.57:8081/repository/maven-snapshots/</url>
        </site>
    </distributionManagement>
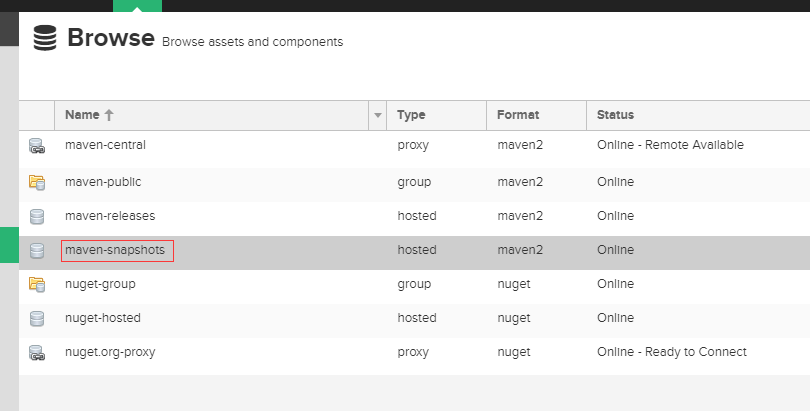
其中maven-snapshots对应nexus仓库
2)版本号加上-SNAPSHOTS
    <groupId>com.lbh360.platform</groupId>
    <artifactId>parent</artifactId>
    <packaging>pom</packaging>
    <version>0.0.1-SNAPSHOT</version>
5..进入到要deploy工程与pom.xml同级的目录,执行
mvn deploy
deploy成功

● releases
1.版本号不加-SNAPSHOTS
    <groupId>com.lbh360.platform</groupId>
    <artifactId>parent</artifactId>
    <packaging>pom</packaging>
    <version>0.0.1</version>
2.pom.xml指定releases deploy仓库
    <!-- 部署到此仓库 -->
    <distributionManagement>
        <snapshotRepository>
            <id>nexus-snapshots</id>
            <name>Nexus Snapshot</name>
            <url>http://39.106.171.57:8081/repository/maven-snapshots/</url>
        </snapshotRepository>
        <site>
            <id>nexus-snapshots</id>
            <name>Nexus Sites</name>
            <url>dav:http://39.106.171.57:8081/repository/maven-snapshots/</url>
        </site>
        <repository>
            <id>nexus-releases</id>
            <name>Nexus Releases</name>
            <url>http://39.106.171.57:8081/repository/maven-releases/</url>
        </repository>
    </distributionManagement>
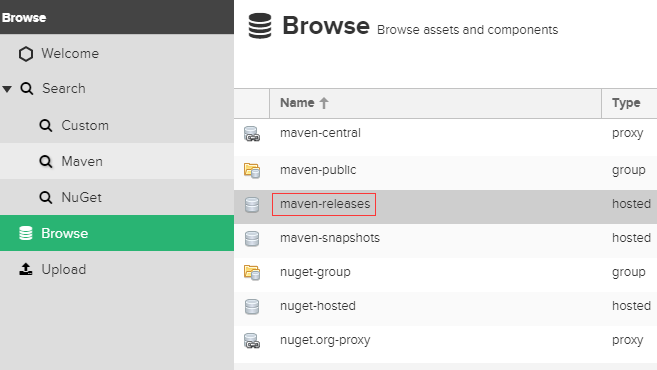
其中maven-releases对应nexus仓库
3. 进入到要deploy工程与pom.xml同级的目录,执行
mvn deploy -P release
其余同snapshots
二、配置使用此私服
在parent工程的pom.xml加配置
    <repositories>
        <repository>
            <id>nexus</id>
            <name>Nexus Snapshot</name>
            <url>http://39.106.171.57:8081/repository/maven-snapshots/</url>
            <snapshots>
                <enabled>true</enabled>
            </snapshots>
        </repository>
    </repositories>
三、强制使用私服上的maven仓库
clean install docker:build -DpushImage -U