1.处理的登录请求
views文章中添加登录函数login_action
def login_action(request):
    if request.method == 'POST':
        username = request.POST.get('username','')
        password = request.POST.get('password', '')
        if username == 'admin' and password == 'admin':
            return HttpResponse('登录成功')
        else:
            return  render(request,'index.html',{'error':'用户名或者密码错误'})
添加url路由
url(r'^login_action$',views.login_action),
2.登录成功页面
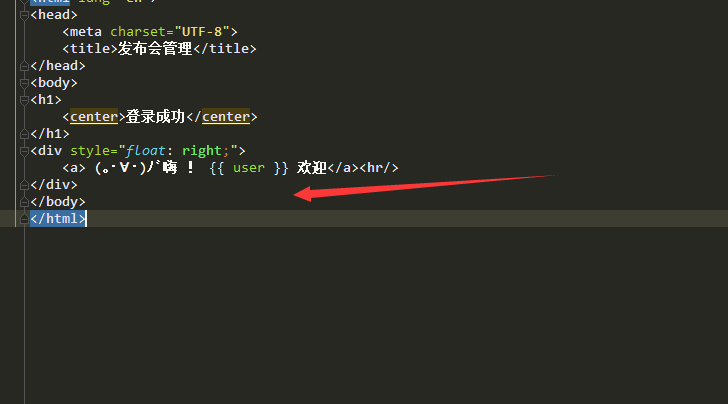
创建event_manage.html
<!DOCTYPE html>
<html lang="en">
<head>
    <meta charset="UTF-8">
    <title>发布会管理</title>
</head>
<body>
<h1>
    <center>登录成功</center>
</h1>
</body>
</html>
改写views.py的登录函数,返回一个页面
def login_action(request):
    if request.method == 'POST':
        username = request.POST.get('username','')
        password = request.POST.get('password', '')
        if username == 'admin' and password == 'admin':
            return  HttpResponseRedirect('/event_manage/')
            #return render(request,'event_manage.html')#BUILD2
            #return HttpResponse('登录成功')
        else:
            return  render(request,'index.html',{'error':'用户名或者密码错误'})


def event_manage(request):
    return render(request,'event_manage.html')
改下url路由
url(r'^event_manage/$',views.event_manage),
3.cookie and seeion
在这里我们使用seeion
- 更改试图函数

- 编辑html文件接受session

- 数据库迁移
python .manage.py migrate
4.认证系统
- 登录admin后台
- 创建用户
python .manage.py createsuperuser
- 创建用户
- 引用认证登录
- 修改login函数
-
def login_action(request):
    if request.method == 'POST':
        username = request.POST.get('username','')
        password = request.POST.get('password', '')
        user = auth.authenticate(username = username, password = password)
        if user is not None:
            auth.login(request,user)
        #if username == 'admin' and password == 'admin':

            response =  HttpResponseRedirect('/event_manage/')
            request.session['user'] = username
            return  response
            #return render(request,'event_manage.html')#BUILD2
            #return HttpResponse('登录成功')
        else:
            return  render(request,'index.html',{'error':'用户名或者密码错误'})
-
- 修改login函数
- 使用装饰器 关窗
- 使用自带login_required装饰登录后才能展示的函数
- 修改url路由