1. Background-image: url ('image/4.gif') 图片的路径。默认div如果比较大的话,图片会重复放。
Background-repeat: repeat-x; 水平方向堆叠。
Background-repeat: repeat-y; 竖直方向堆叠。
Background-repeat: repeat; 水平方向和竖直方向都堆叠。
Background-repeat: no-repeat; 任何一个方向都不堆叠了。
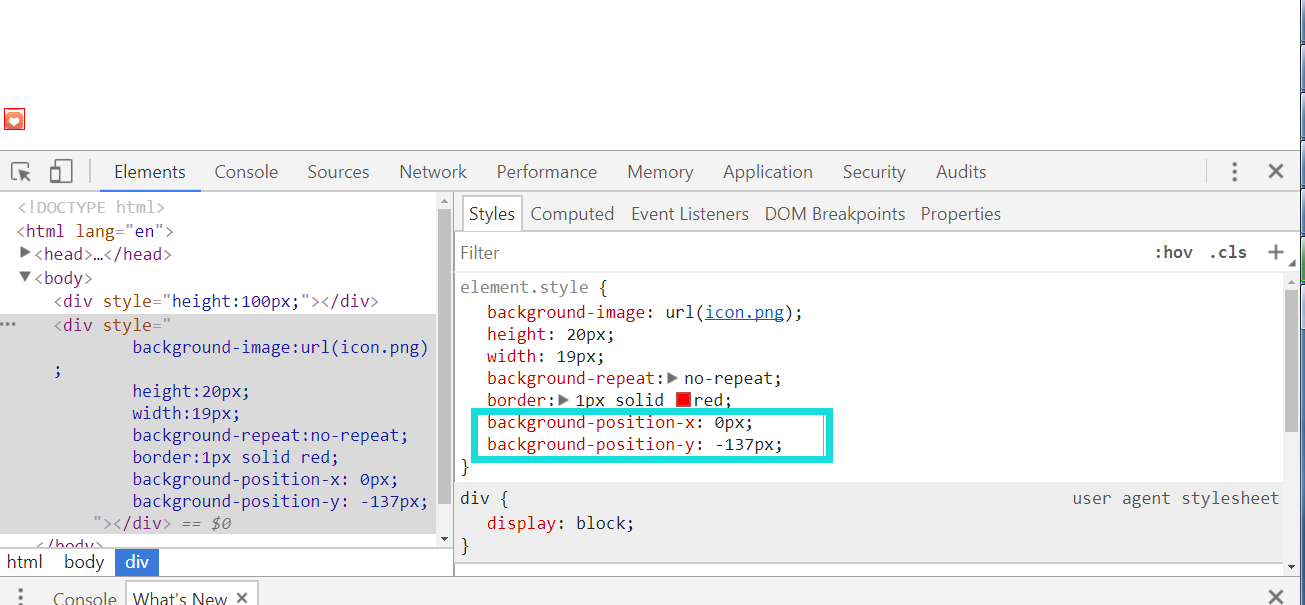
background-position-x,background-position-y. 为了调到合适的位置
background-position:10px 10px 分别表示X轴,Y轴。
重点学习的3个函数: background-image;background-repeat;background-position。
测试-水平方向:
<!DOCTYPE html>
<html lang="en">
<head>
    <meta charset="UTF-8">
    <title>Title</title>
</head>
<body>
    <div style="background-image:url('1.png');
                background-repeat:repeat-x;height:500px;"></div>
</body>
</html>
效果:

2)测试Background-repeat: repeat
<!DOCTYPE html>
<html lang="en">
<head>
    <meta charset="UTF-8">
    <title>Title</title>
</head>
<body>
    <div style="background-image:url('1.png');
                background-repeat:repeat;height:500px;"></div>
</body>
</html>
效果:

2.堆叠与不堆叠的效果:
<!DOCTYPE html>
<html lang="en">
<head>
    <meta charset="UTF-8">
    <title>Title</title>
</head>
<body>
    <div style="height:100px;"></div>
    <div style="background-image:url(icon.png);height:80px;"></div>
    <div style="background-image:url(icon.png);height:80px;background-repeat:no-repeat;"></div>
</body>
</html>
运行结果:

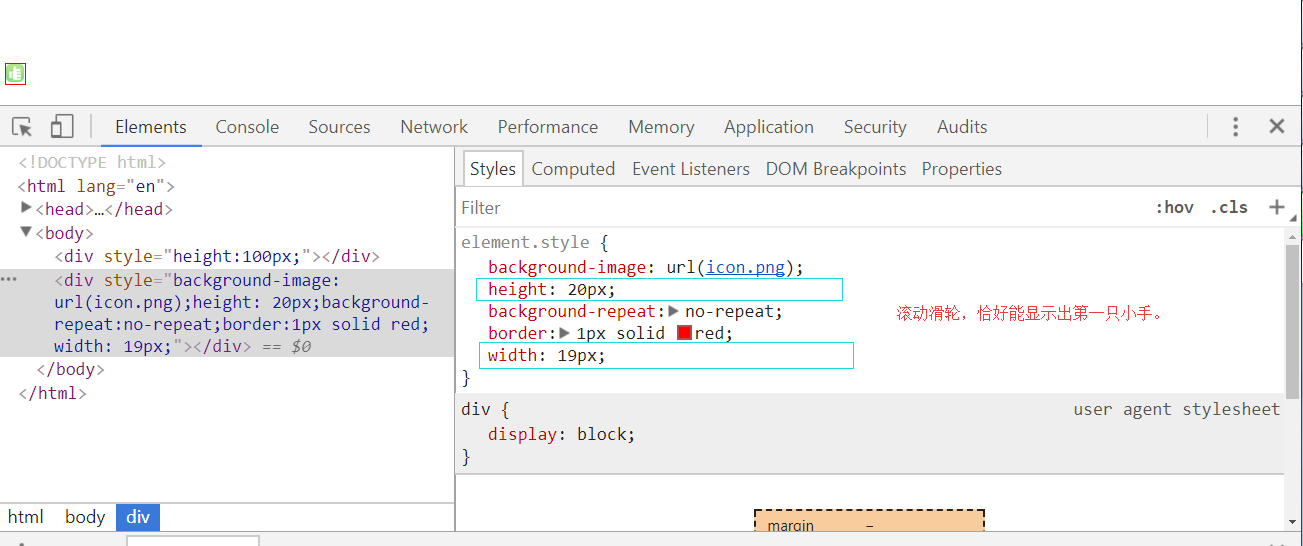
3. 设置div的高度宽度,使其大小恰好只能显示一个图标。
只显示第一个小手。
一个div在页面上写完以后,位置是固定的,不可能通过移动div的坐标来实现显示其它图标的目的。但是我们可以想办法调整图片的位置。
background-position-x,background-position-y
<!DOCTYPE html>
<html lang="en">
<head>
    <meta charset="UTF-8">
    <title>Title</title>
</head>
<body>
    <div style="height:100px;"></div>
    <div style="background-image:url(icon.png);height:20px;19px;background-repeat:no-repeat;border:1px solid red;"></div>
</body>
</html>
运行结果:

4. 如果想要显示下面的红心,可以尝试移动图片。background-position-x,background-position-y. 为了调到合适的位置,是在浏览器中边调边看的。
<!DOCTYPE html>
<html lang="en">
<head>
    <meta charset="UTF-8">
    <title>Title</title>
</head>
<body>
    <div style="height:100px;"></div>
    <div style="background-image:url(icon.png);height:20px;19px;background-repeat:no-repeat;border:1px solid red;
        background-position-x:0px;
        background-position-y:-137px;
    "></div>
</body>
</html>
运行结果:

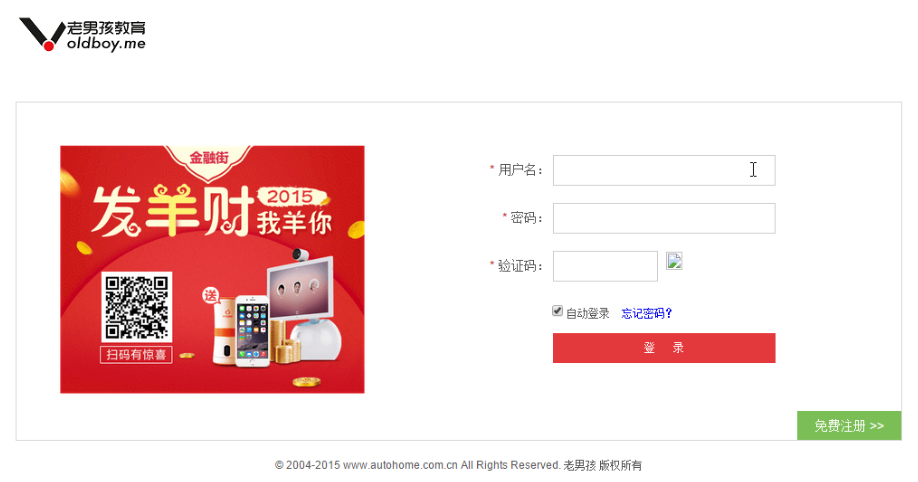
5. 课堂作业:

代码:现在是两层,当用户名输入多长的时候,会被图片挡住。写代码需要注意的地方:
写input的时候:
padding-right:30px; 设置元素的右内边距。意思是input标签的右侧30px之内的地方是空出来的。
在写最里面的span标签的时候:
1--background-image:url(user.png);height:31px;35px,写完background-image 后,一定要加上上下左右的信息,否则看不到图片在哪里。
2--position:absolute;right:0;top:7px,写完position位置后,一定要加上上下左右的信息,否则不知道定位到哪里了。
3--display:inline-block, span标签是行内标签,需要先转换成块级标签。
<!DOCTYPE html>
<html lang="en">
<head>
    <meta charset="UTF-8">
    <title>Title</title>
</head>
<body>

    <div type="text" style="height:35px;400px;position:relative;">
        <input type="text" style="height:35px;400px;"/>
        <span style="position:absolute;right:0;top:7px;
        background-image:url(user.png);height:31px;35px;display:inline-block;"></span>
    </div>
</body>
</html>
运行结果:

6. 为了不让挡住,设置input的边距。400px=370px + 30px
<!DOCTYPE html>
<html lang="en">
<head>
    <meta charset="UTF-8">
    <title>Title</title>
</head>
<body>

    <div type="text" style="height:35px;400px;position:relative;">
        <input type="text" style="height:35px;370px;padding-right:30px;"/>
        <span style="position:absolute;right:0;top:7px;
        background-image:url(user.png);height:31px;35px;display:inline-block;"></span>
    </div>
</body>
</html>
至此,一切正常了。