简介
本来不想写这篇博文,但在网上找到的文章博客都没有完整配置信息,所以这里记录下。
不了解IdentityServer4的可以看看我之前写的入门博文
Swagger 官方演示地址
配置IdentityServer4服务端
首先创建一个新的ASP.NET Core项目。
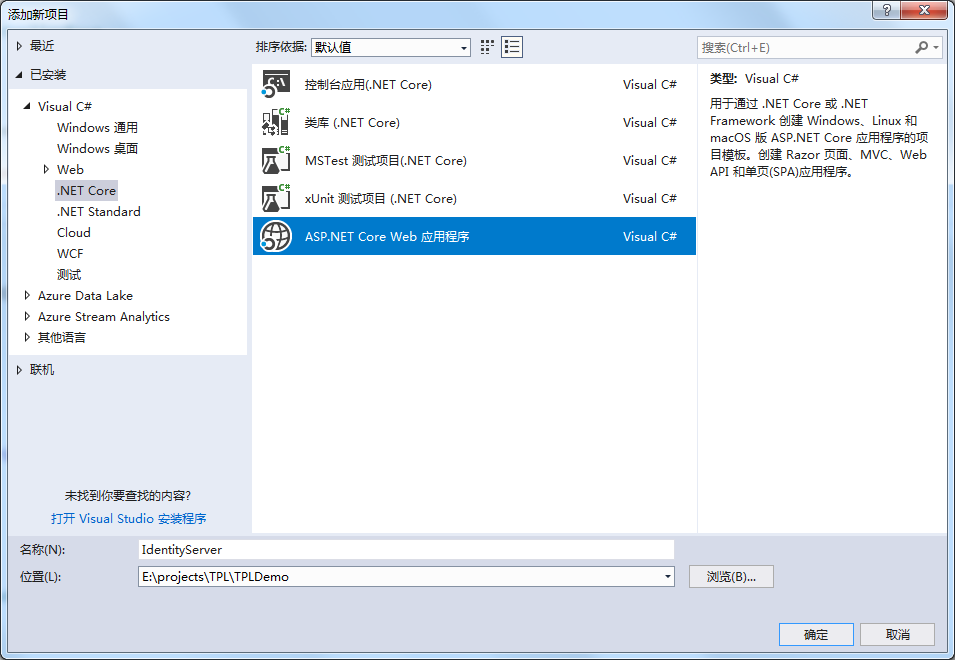
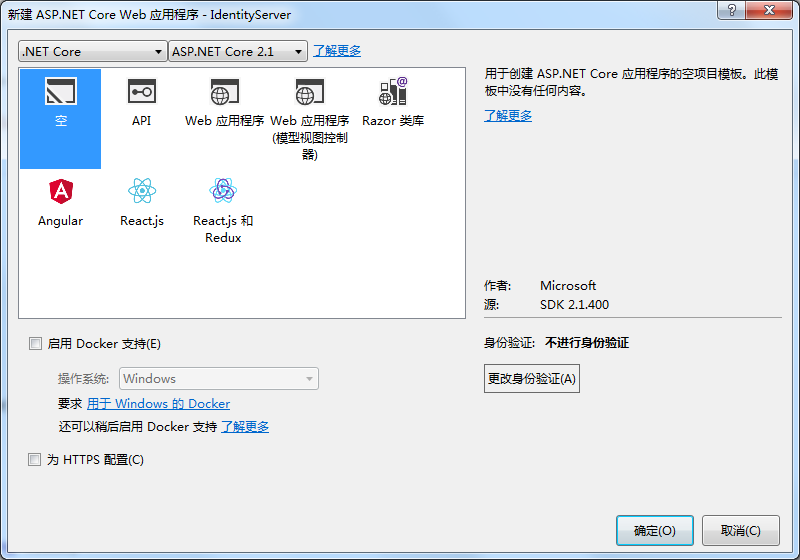
这里选择空白项,新建空白项目
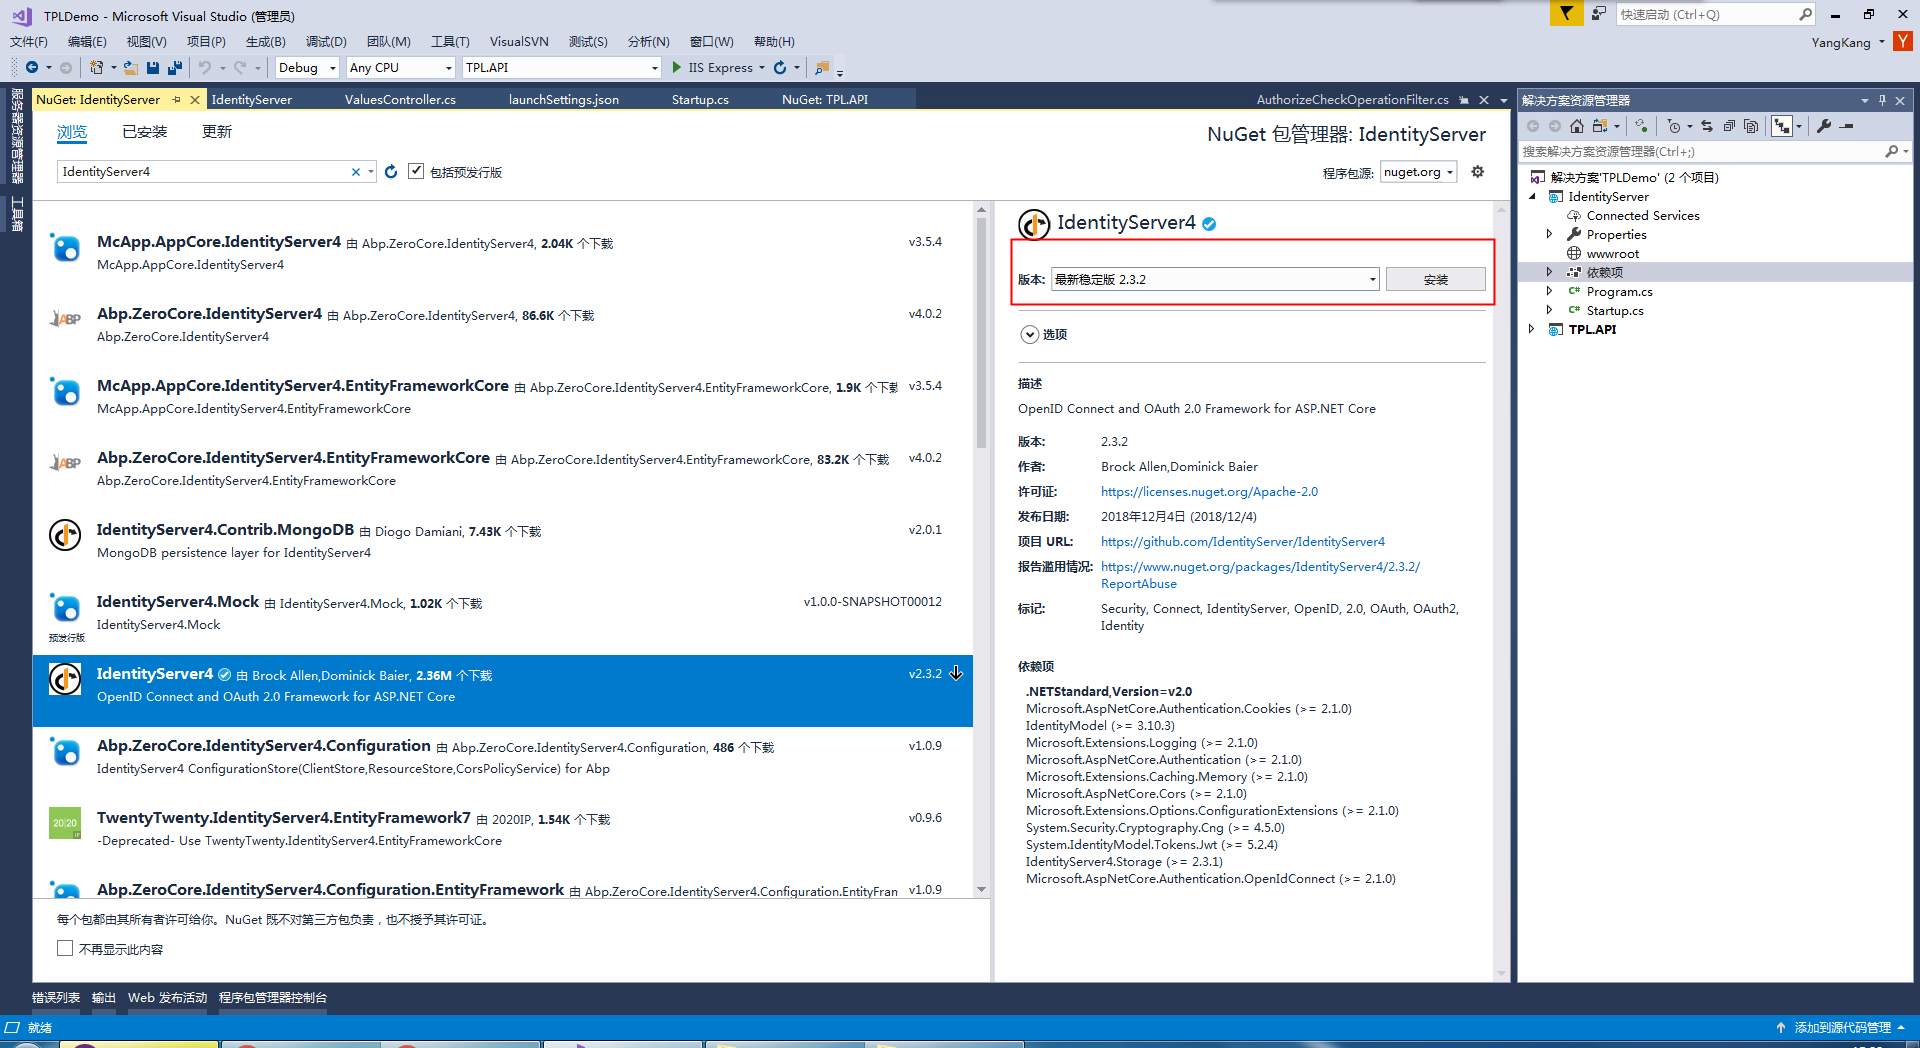
等待创建完成后,右键单击项目中的依赖项选择管理NuGet程序包,搜索IdentityServer4并安装:
等待安装完成后,下载官方提供的UI文件,并拖放到项目中。下载地址:https://github.com/IdentityServer/IdentityServer4.Quickstart.UI
配置IdentityServer4
在项目中新建文件Config.cs文件,源码如下:
using IdentityServer4;
using IdentityServer4.Models;
using IdentityServer4.Test;
using System;
using System.Collections.Generic;
using System.Linq;
using System.Threading.Tasks;

namespace IdentityServer
{
    public static class Config
    {
        public static IEnumerable<IdentityResource> GetIdentityResources()
        {
            return new IdentityResource[]
            {
                new IdentityResources.OpenId(),
                new IdentityResources.Profile(),
            };
        }
        /// <summary>
        /// API信息
        /// </summary>
        /// <returns></returns>
        public static IEnumerable<ApiResource> GetApis()
        {
            return new[]
            {
                new ApiResource("demo_api", "Demo API with Swagger")
            };
        }
        /// <summary>
        /// 客服端信息
        /// </summary>
        /// <returns></returns>
        public static IEnumerable<Client> GetClients()
        {
            return new[]
            {
                new Client
                {
                    ClientId = "demo_api_swagger",//客服端名称
                    ClientName = "Swagger UI for demo_api",//描述
                    AllowedGrantTypes = GrantTypes.Implicit,//指定允许的授权类型(AuthorizationCode,Implicit,Hybrid,ResourceOwner,ClientCredentials的合法组合)。
                    AllowAccessTokensViaBrowser = true,//是否通过浏览器为此客户端传输访问令牌
                    RedirectUris =
                    {
                        "http://localhost:5001/swagger/oauth2-redirect.html"
                    },
                    AllowedScopes = { "demo_api" }//指定客户端请求的api作用域。 如果为空,则客户端无法访问
                }
            };
        }
    }
}
打开Startup.cs文件配置,修改如下:
using System;
using System.Collections.Generic;
using System.Linq;
using System.Threading.Tasks;
using IdentityServer4.Quickstart.UI;
using Microsoft.AspNetCore.Builder;
using Microsoft.AspNetCore.Hosting;
using Microsoft.AspNetCore.Http;
using Microsoft.AspNetCore.Mvc;
using Microsoft.Extensions.DependencyInjection;

namespace IdentityServer
{
    public class Startup
    {
        // This method gets called by the runtime. Use this method to add services to the container.
        // For more information on how to configure your application, visit https://go.microsoft.com/fwlink/?LinkID=398940
        public void ConfigureServices(IServiceCollection services)
        {
            services.AddMvc().SetCompatibilityVersion(CompatibilityVersion.Version_2_1);
            //配置身份服务器与内存中的存储,密钥,客户端和资源
            services.AddIdentityServer()
                   .AddDeveloperSigningCredential()
                   .AddInMemoryApiResources(Config.GetApis())//添加api资源
                   .AddInMemoryClients(Config.GetClients())//添加客户端
                   .AddInMemoryIdentityResources(Config.GetIdentityResources())//添加对OpenID Connect的支持
                   .AddTestUsers(TestUsers.Users); //添加测试用户
        }

        // This method gets called by the runtime. Use this method to configure the HTTP request pipeline.
        public void Configure(IApplicationBuilder app, IHostingEnvironment env)
        {
            if (env.IsDevelopment())
            {
                app.UseDeveloperExceptionPage();
            }

            //IdentityServe
            app.UseIdentityServer();
            //添加静态资源访问
            app.UseStaticFiles();
            //
            app.UseMvcWithDefaultRoute();
        }
    }
}
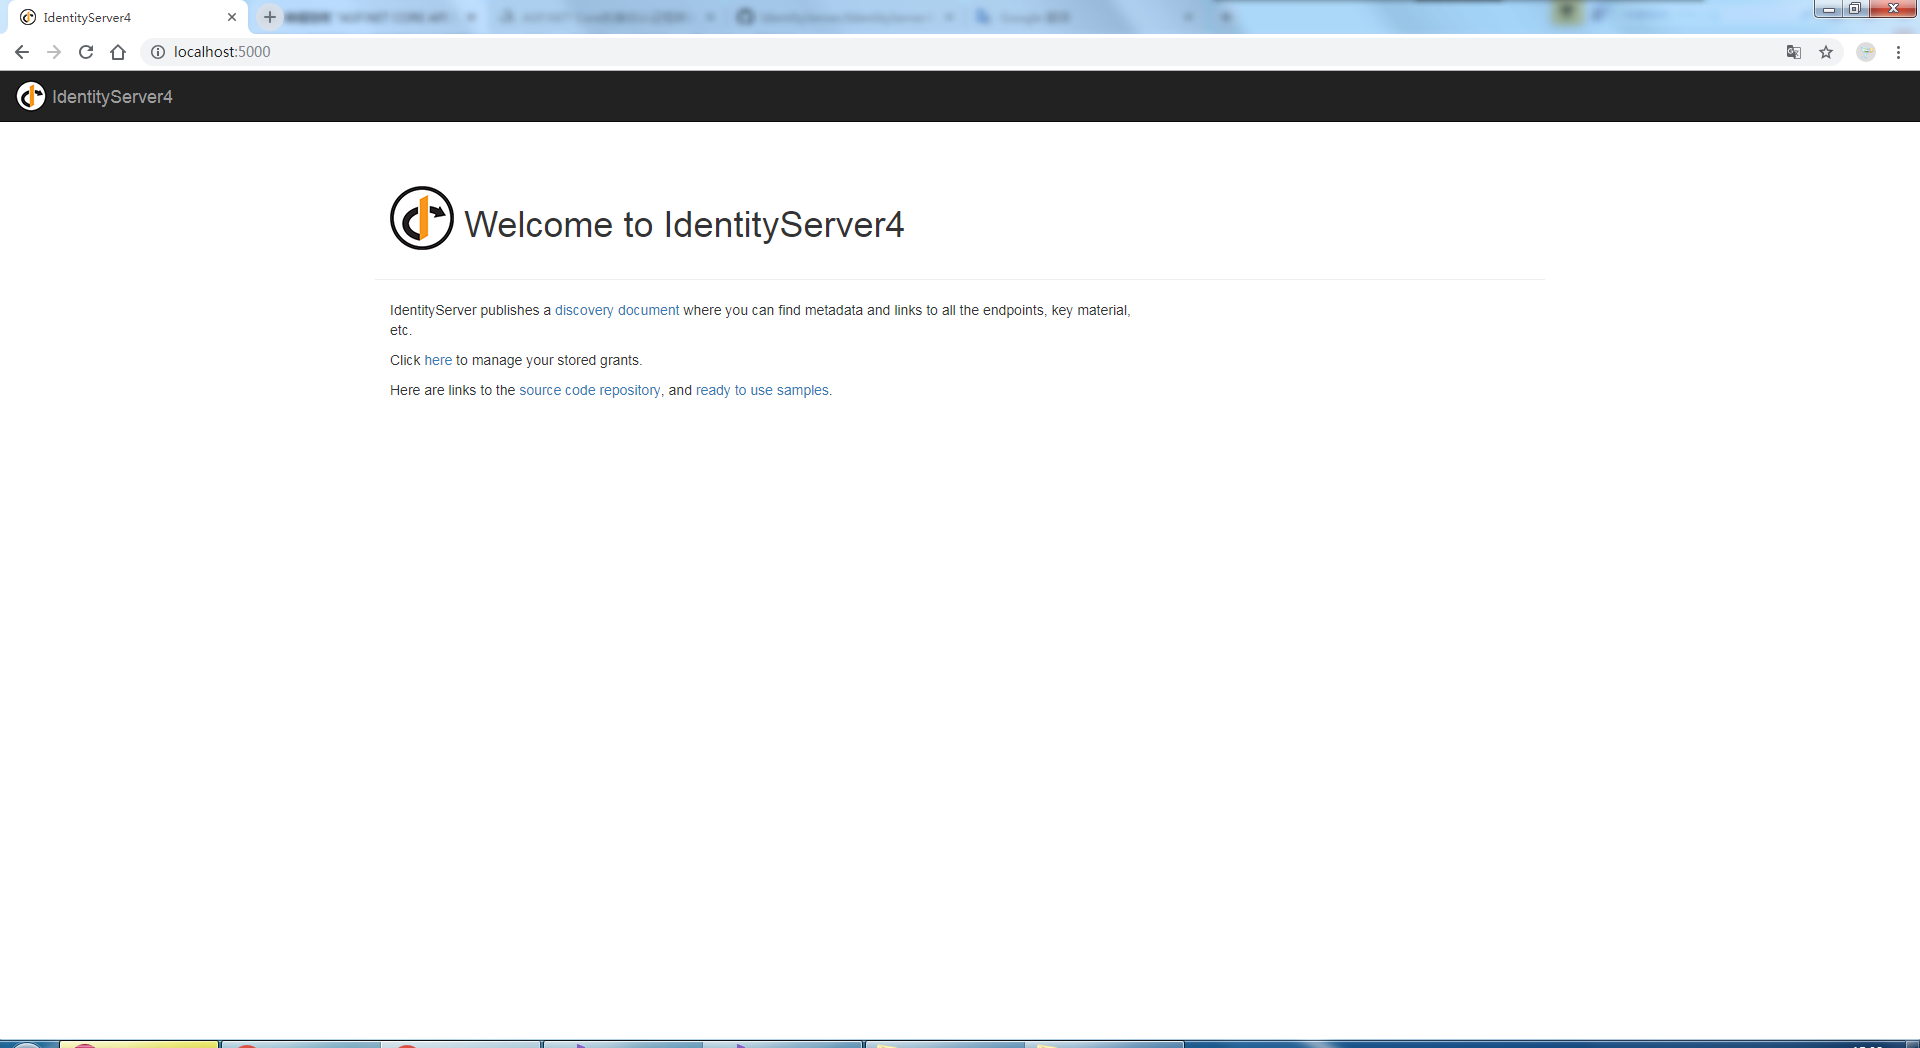
修改启动端口为5000,启动访问:http://localhost:5000/,效果如下:
API配置
新建ASP.NET CORE API项目,使用NuGet添加包:IdentityServer4.AccessTokenValidation、Swashbuckle.AspNetCore

在API中添加 AuthorizeCheckOperationFilter用于管理IdentityServer4认证处理,代码如下:
using Microsoft.AspNetCore.Authorization;
using Swashbuckle.AspNetCore.Swagger;
using Swashbuckle.AspNetCore.SwaggerGen;
using System;
using System.Collections.Generic;
using System.Linq;
using System.Threading.Tasks;

namespace TPL.API
{
    /// <summary>
    /// IdentityServer4认证过滤器
    /// </summary>
    public class AuthorizeCheckOperationFilter : IOperationFilter
    {
        public void Apply(Operation operation, OperationFilterContext context)
        {
            //获取是否添加登录特性
            var authAttributes = context.MethodInfo.DeclaringType.GetCustomAttributes(true)
             .Union(context.MethodInfo.GetCustomAttributes(true))
             .OfType<AuthorizeAttribute>().Any();

            if (authAttributes)
            {
                operation.Responses.Add("401", new Response { Description = "暂无访问权限" });
                operation.Responses.Add("403", new Response { Description = "禁止访问" });
                //给api添加锁的标注
                operation.Security = new List<IDictionary<string, IEnumerable<string>>>
                {
                    new Dictionary<string, IEnumerable<string>> {{"oauth2", new[] {"demo_api"}}}
                };
            }
        }
    }
}
修改API的Startup文件,修改如下:
using System;
using System.Collections.Generic;
using IdentityServer4.AccessTokenValidation;
using Microsoft.AspNetCore.Builder;
using Microsoft.AspNetCore.Hosting;
using Microsoft.AspNetCore.Mvc;
using Microsoft.Extensions.Configuration;
using Microsoft.Extensions.DependencyInjection;
using Swashbuckle.AspNetCore.Swagger;

namespace TPL.API
{
    public class Startup
    {
        public Startup(IConfiguration configuration)
        {
            Configuration = configuration;
        }

        public IConfiguration Configuration { get; }

        // This method gets called by the runtime. Use this method to add services to the container.
        public void ConfigureServices(IServiceCollection services)
        {
            services.AddMvc().SetCompatibilityVersion(CompatibilityVersion.Version_2_1);
            //用户校验
            services.AddAuthentication(IdentityServerAuthenticationDefaults.AuthenticationScheme)
              .AddIdentityServerAuthentication(options =>
              {
                  options.Authority = "http://localhost:5000"; // IdentityServer服务器地址
                  options.ApiName = "demo_api"; // 用于针对进行身份验证的API资源的名称
                  options.RequireHttpsMetadata = false; // 指定是否为HTTPS
              });
            //添加Swagger.
            services.AddSwaggerGen(options =>
            {
                options.SwaggerDoc("v1", new Info { Title = "Protected API", Version = "v1" });
                //向生成的Swagger添加一个或多个“securityDefinitions”,用于API的登录校验
                options.AddSecurityDefinition("oauth2", new OAuth2Scheme
                {
                    Flow = "implicit", // 只需通过浏览器获取令牌(适用于swagger)
                    AuthorizationUrl = "http://localhost:5000/connect/authorize",//获取登录授权接口
                    Scopes = new Dictionary<string, string> {
                        { "demo_api", "Demo API - full access" }//指定客户端请求的api作用域。 如果为空,则客户端无法访问
                    }
                });

                options.OperationFilter<AuthorizeCheckOperationFilter>(); // 添加IdentityServer4认证过滤
            });
        }

        // This method gets called by the runtime. Use this method to configure the HTTP request pipeline.
        public void Configure(IApplicationBuilder app, IHostingEnvironment env)
        {
            if (env.IsDevelopment())
            {
                app.UseDeveloperExceptionPage();
            }
            app.UseAuthentication();

            // Swagger JSON Doc
            app.UseSwagger();

            // Swagger UI
            app.UseSwaggerUI(options =>
            {
                options.SwaggerEndpoint("/swagger/v1/swagger.json", "My API V1");
                options.OAuthClientId("demo_api_swagger");//客服端名称
                options.OAuthAppName("Demo API - Swagger-演示"); // 描述
            });
            app.UseMvc();
        }
    }
}
修改Properties文件夹下的launchSettings启动端口为5001,这里端口必须跟IdentityServer4中的Config配置的客服端资源中保持一致。
{
  "$schema": "http://json.schemastore.org/launchsettings.json",
  "iisSettings": {
    "windowsAuthentication": false,
    "anonymousAuthentication": true,
    "iisExpress": {
      "applicationUrl": "http://localhost:5001",
      "sslPort": 0
    }
  },
  "profiles": {
    "IIS Express": {
      "commandName": "IISExpress",
      "launchBrowser": true,
      "launchUrl": "swagger",
      "environmentVariables": {
        "ASPNETCORE_ENVIRONMENT": "Development"
      }
    },
    "TPL.API": {
      "commandName": "Project",
      "launchBrowser": true,
      "launchUrl": "swagger",
      "applicationUrl": "http://localhost:5001",
      "environmentVariables": {
        "ASPNETCORE_ENVIRONMENT": "Development"
      }
    }
  }
}
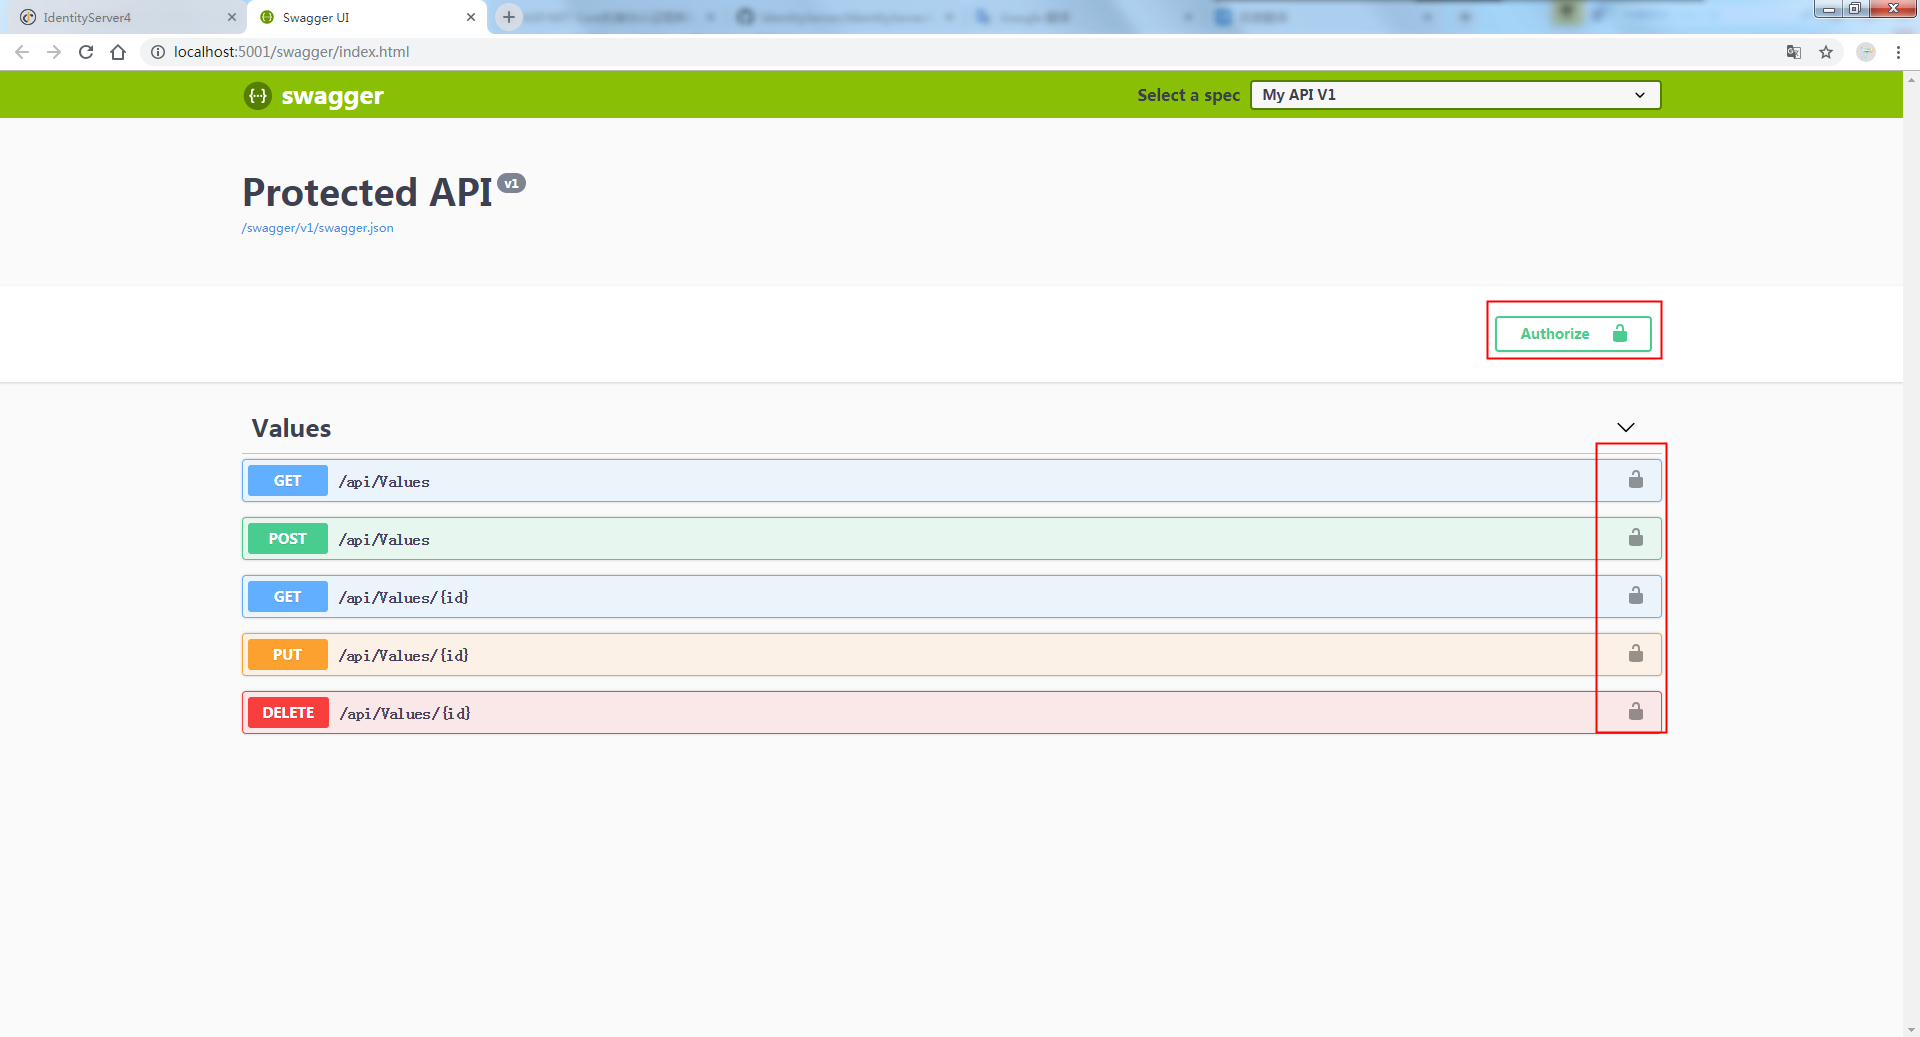
访问呈现效果如下,从中效果图中可以看出添加登录按钮,API控制器中如果添加Authorize特性,对应接口会有一把锁的标志:
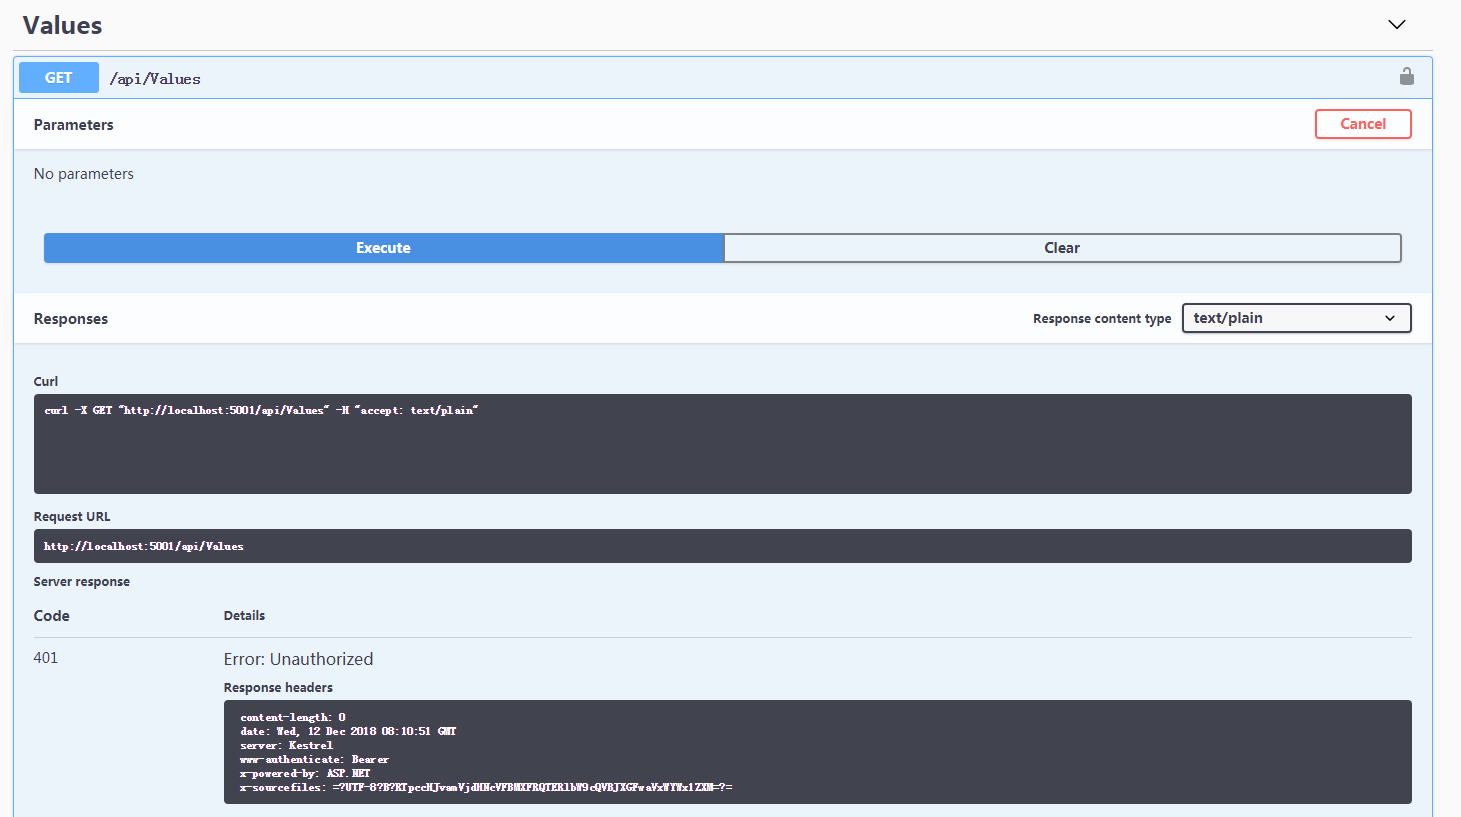
如果未授权访问接口返回401,未授权提示:
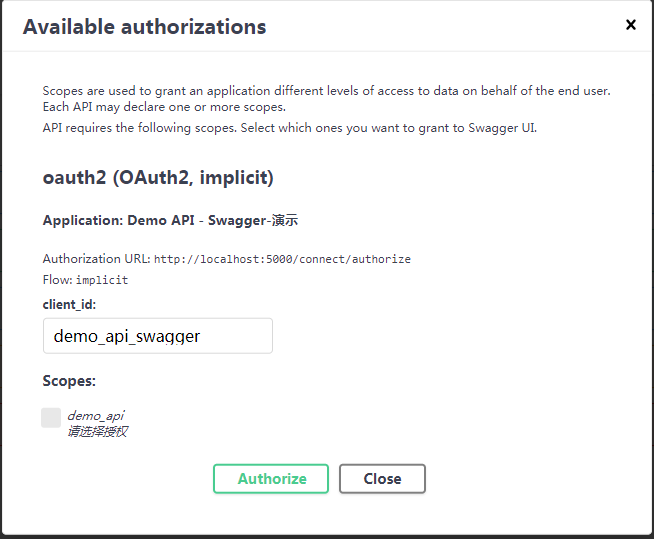
点击Authorize按钮会跳转到IdentityServer4登录页面,登录授权成功后会自动获取登录后服务器返回Token,再次访问接口即可正常访问,授权前后效果如下:

到此演示项目完毕。如果需求配合自己的数据库使用请看我前面写过的博文 自定义登录即可。