一、箭头函数(Lambda匿名函数)
<!DOCTYPE html>
<html lang="en">
<head>
    <meta charset="UTF-8">
    <title>Title</title>
</head>
<body>
<script type="text/javascript">

    /* 创建函数一 */
    const aaa = function () {
        // todo ....
    };

    const object = {
        /* 创建函数二 */
        bbb : function () {
            // todo ...
        },

        /* 创建函数三 */
        ccc () {
            // todo ...
        }
    };

    /* 创建函数四 */
    const ddd = () => {
        // todo ...
    };

    /**
     * 箭头函数可理解为Lambda表达式,亦可称为匿名表达式,或者匿名函数
     * 函数不再具有名称,只留下参数和函数逻辑,
     * 可以调用和声明一体式编写
     *
     * 语法Syntax
     * const fun = (参数列表) => {
     *     // todo ...
     * }
     *
     * 无参箭头函数
     * const fun2 = () => { // todo ... }
     *
     * 一个参数
     * const fun2 = (param) => { // todo ... with param }
     * 可以缩写,不需要括号
     * const fun2 = param => { // todo ... with param }
     *
     * 多参数
     * const fun2 = (param1, param2) => { // todo ... with params }
     *
     *
     * 如果函数逻辑只有一行语句,可以不需要大括号
     * 一行语句
     * const oneLine = (n1, n2) => {
     *     return n1 + n2 ;
     * }
     * 直接缩写成
     * const oneLine = (n1, n2) => n1 + n2 ; // 省略函数体与return关键字
     */

     // 箭头函数与this关键字的问题
     const object2 = {
        method1 () {
            setTimeout(function () {
                console.log(this); // 这个this是window对象
            }, 1000);
            setTimeout(() => console.log(this), 1000); // 这个this是这个object2对象
        }
     }
     object2.method1();
     // 结论:箭头函数会向外层作用域中一层层查找this,直到This定义并引用this对象【也就是查找最近的this对象】
</script>
</body>
</html>
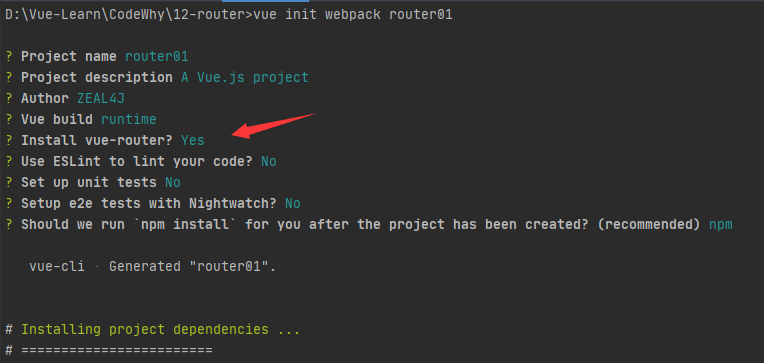
二、创建案例环境
先使用Vue2方式进行创建:
三、路由概述
路由更像是音译过来的词语 Routing
维基百科给出的解释是:
通过互联网把信息从源地址传输的目的地址的活动
生活概念:路由器
两种机制:路由和转送
路由决定数据包从来源到目的地的路径

转送将输入端的数据转移到合适的输出端
路由表的概念
本质是一个映射表,决定了数据包的指向
四、前端渲染 & 后端渲染
1、网页发展阶段历史:
第一阶段:后端渲染
jspphpasp
html + css + javascript
页面跳转由后端的控制器实现

第二阶段:前后端分离
ajax 技术实现
数据转API传输,维护方便
还是多个页面组成处理

第三阶段:SPA
单页面应用
详细说明:
https://www.bilibili.com/video/BV15741177Eh?p=100
2、URL的Hash & H5的History
首先运行之前创建的案例项目
npm run dev
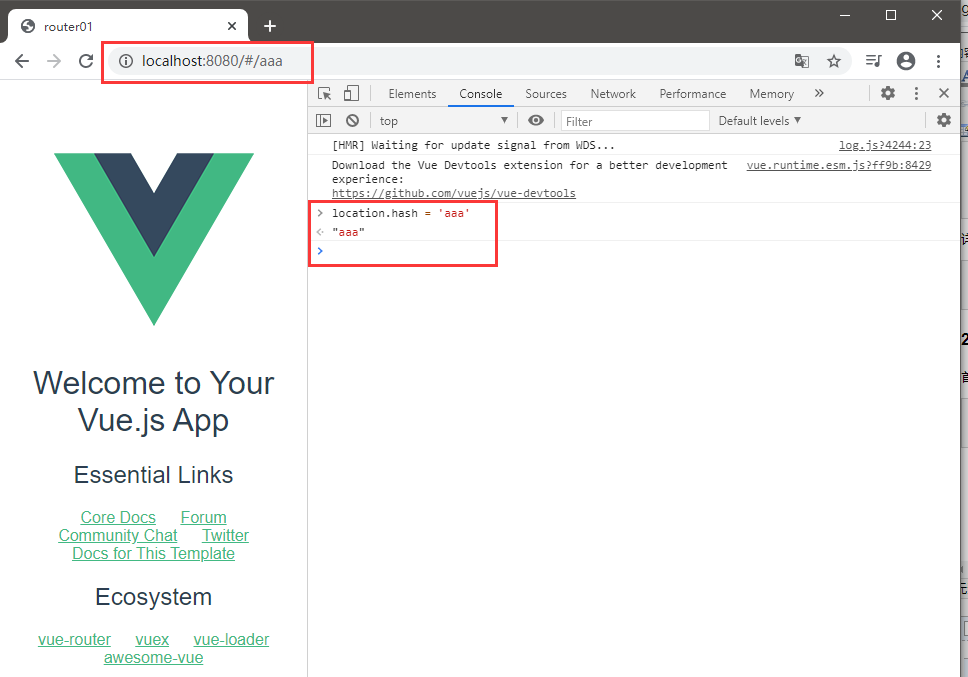
我们清空浏览器的请求资源再次更改会发现,网页只更新了favicon.icon
其他资源不发生请求,但是URL地址发生了变化
使用HTML5的History对象操作也是一样可以的
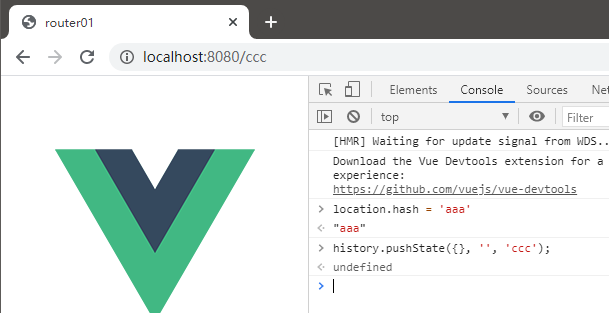
pushState是类似压栈的形式操作url
可以使用back回退上一个url,push和back相当于压栈和弹栈的关系
也可以使用fowward
但是使用replaceState跳转,是无法回退的
如果不希望一个一个的回退,可以使用go回退指定索引的url
五、Vue - Router
安装
之前已经在创建案例项目时勾选了router安装,
如果没有也没关系,使用命令进行手动安装
npm install vue-router --save
使用
1、导入路由,调用Vue.use注入

2、创建路由实例,传入映射配置

3、在实例中挂在路由实例
目录
这个router目录就是创建项目时自动生成的

里面的index.js文件:
import Vue from 'vue'
import Router from 'vue-router'
import HelloWorld from '@/components/HelloWorld'

Vue.use(Router)

export default new Router({
  routes: [
    {
      path: '/',
      name: 'HelloWorld',
      component: HelloWorld
    }
  ]
})
path表示url路径
name表示路由名称
component表示挂载的组件
不过我们一般的写法会进行拆分解耦,这样解析步骤:
/* 1、 首先引用Vue依赖 */
import Vue from "vue/types/vue";
/* 2、 然后是VueRouter */
import VueRouter from "vue-router";

/* 3、 调用Vue.use方法注册VueRouter */
Vue.use(VueRouter);

/* 4、配置需要的路由映射 */
const routerList = [
  /* 配置映射关系 url -> component */
]

/* 5、创建VueRouter实例 */
const router = new VueRouter({
  routes : routerList
});

/* 6、把此router实例挂载到Vue实例中,所以需要导出 */
export default router;
配置映射关系:
第一个案例项目就作为模板保留
创建第二个案例项目,把router目录的index.js文件换成上面的内容【router/index.js】
import Vue from 'vue';
import Router from 'vue-router';

Vue.use(Router);

const routerList = [

]
const router = new Router({
  routes : routerList
});
export default router;
移除components的Helloworld.vue组件文件
移除App.vue的标签:
<template>
  <div id="app">
    <img src="./assets/logo.png">
    <router-view/>
  </div>
</template>

<script>
export default {
  name: 'App'
}
</script>

<style>
#app {
  font-family: 'Avenir', Helvetica, Arial, sans-serif;
  -webkit-font-smoothing: antialiased;
  -moz-osx-font-smoothing: grayscale;
  text-align: center;
  color: #2c3e50;
  margin-top: 60px;
}
</style>
创建Home组件
<template>
  <div>
    <h3>这是首页Home组件</h3>
    <p>首页Home组件的内容</p>
  </div>
</template>

<script>
export default {
  name: "Home"
}
</script>

<style scoped>

</style>
创建About组件
<template>
  <div>
    <h3>这是关于About组件</h3>
    <p>关于About组件的内容</p>
  </div>
</template>

<script>
export default {
  name: "About"
}
</script>

<style scoped>

</style>
配置路由:
import Vue from 'vue';
import Router from 'vue-router';
import Home from "../components/Home";
import About from "../components/About";

Vue.use(Router);

const routerList = [
  {
    path : '/home', /* 为什么这里是path不是url? 因为完整的url还包括 项目根url(协议头 + 域名(或者IP地址) + 端口号 + 项目根名称路径(可选))  */
    name : 'home', /* 名字可以不加 */
    component : Home
  },
  {
    path : '/about',
    name : 'about',
    component : About
  },
]
const router = new Router({
  routes : routerList
});
export default router;
App.vue配置路由标签
<template>
  <div id="app">
    <router-link to="/home">去首页</router-link>
    <router-link to="/about">去关于</router-link>
  </div>
</template>

<script>
export default {
  name: 'App'
}
</script>

<style>
#app {
  font-family: 'Avenir', Helvetica, Arial, sans-serif;
  -webkit-font-smoothing: antialiased;
  -moz-osx-font-smoothing: grayscale;
  text-align: center;
  color: #2c3e50;
  margin-top: 60px;
}
</style>
运行预览后可以发现其实link标签就是a标签
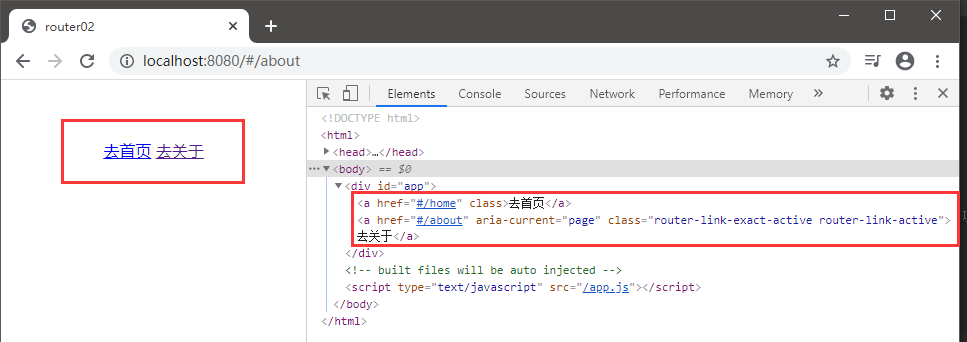
但是为什么没有显示出来,原因是因为我们还没写view标签
<template>
  <div id="app">
    <router-link to="/home">去首页</router-link>
    <router-link to="/about">去关于</router-link>
    <router-view></router-view>
  </div>
</template>
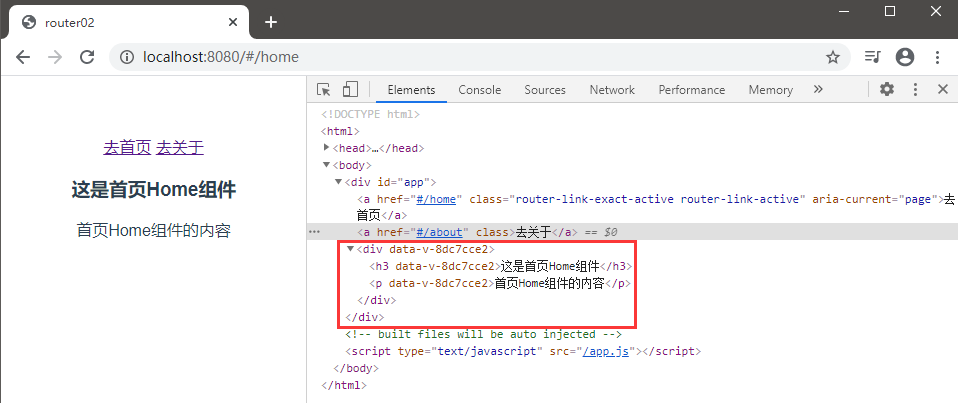
上面的URL地址可以看到是
#/home
这种#加路径就是hash的路由方式