实现TFFRCNN demo过程中遇到的问题记录(github地址:https://github.com/CharlesShang/TFFRCNN):
参考:1.https://blog.csdn.net/ssmixi/article/details/75147532
2.https://blog.csdn.net/zichen7055/article/details/82316553
3.https://blog.csdn.net/m_z_g_y/article/details/81203943
1.由于TFFRCNN这份代码是python2.7 版本,所以要么全用Python2解释器,要么用Python自带工具2to3.py全部转换为Python3版本
python 2to3.py -w 路径(最好全部英文)
2.将fastrcnn目录下demo copy到TFFRCNN目录下,并在根目录下建立model文件夹,将下载的VGGnet_fast_rcnn_iter_150000.ckpt复制到里面,
基本目录架构如下

3.关于yaml moduleimport error,pip安装pyyaml即可:
sudo pip3 install pyyaml -i http://pypi.mirrors.ustc.edu.cn/simple --trusted-host pypi.mirrors.ustc.edu.cn
4.cd lib路径根据自己tensorflow版本和gcc修改make.sh文件,make 一下,如果后续出错可以用
find lib -name "*.so" -delete
删除编译后的文件。(修改后文件如下:)
#!/usr/bin/env bash
TF_LIB=$(python -c 'import tensorflow as tf; print(tf.sysconfig.get_lib())')
TF_INC=$(python -c 'import tensorflow as tf; print(tf.sysconfig.get_include())')
echo $TF_INC

CUDA_PATH=/usr/local/cuda/

cd roi_pooling_layer

nvcc -std=c++11 -c -o roi_pooling_op.cu.o roi_pooling_op_gpu.cu.cc
    -I $TF_INC -D GOOGLE_CUDA=1 -x cu -Xcompiler -fPIC -arch=sm_52

## if you install tf using already-built binary, or gcc version 4.x, uncomment the two lines below
#g++ -std=c++11 -shared -D_GLIBCXX_USE_CXX11_ABI=0 -o roi_pooling.so roi_pooling_op.cc
#    roi_pooling_op.cu.o -I $TF_INC -fPIC -lcudart -L $CUDA_PATH/lib64

# for gcc5-built tf
g++ -std=c++11 -shared -o roi_pooling.so roi_pooling_op.cc -D_GLIBCXX_USE_CXX11_ABI=0
    roi_pooling_op.cu.o -I $TF_INC -L $TF_LIB -ltensorflow_framework -D GOOGLE_CUDA=1
    -fPIC $CXXFLAGS -lcudart -L $CUDA_PATH/lib64

cd ..

# add building psroi_pooling layer
cd psroi_pooling_layer
nvcc -std=c++11 -c -o psroi_pooling_op.cu.o psroi_pooling_op_gpu.cu.cc
    -I $TF_INC -D GOOGLE_CUDA=1 -x cu -Xcompiler -fPIC -arch=sm_52

g++ -std=c++11 -shared -o psroi_pooling.so psroi_pooling_op.cc -D_GLIBCXX_USE_CXX11_ABI=0
    psroi_pooling_op.cu.o -I $TF_INC -L $TF_LIB -ltensorflow_framework -D GOOGLE_CUDA=1
    -fPIC $CXXFLAGS -lcudart -L $CUDA_PATH/lib64

## if you install tf using already-built binary, or gcc version 4.x, uncomment the two lines below
#g++ -std=c++11 -shared -D_GLIBCXX_USE_CXX11_ABI=0 -o psroi_pooling.so psroi_pooling_op.cc
#    psroi_pooling_op.cu.o -I $TF_INC -fPIC -lcudart -L $CUDA_PATH/lib64

cd ..
4.在根目录下执行:
python demo.py --model model/VGGnet_fast_rcnn_iter_150000.ckpt
如果出现keyerror:b'Test',解决链接:https://github.com/CharlesShang/TFFRCNN/issues/14
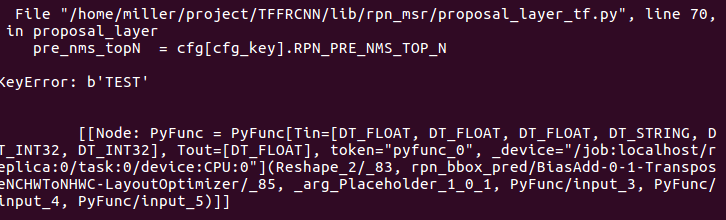
需要修改rpn_msr下proposal_layer_tf.py 第70行,加上
cfg_key = cfg_key.decode("utf-8")
修改后如下:

5.运行后发现无结果,需要保存结果,修改demo.py
# for im_name in im_names:
    #     print('~~~~~~~~~~~~~~~~~~~~~~~~~~~~~~~~~~~')
    #     print('Demo for {:s}'.format(im_name))
    #     demo(sess, net, im_name)
    for im_name in im_names:
        print('~~~~~~~~~~~~~~~~~~~~~~~~~~~~~~~~~~~')
        print('Demo for {:s}'.format(im_name))
        demo(sess, net, im_name)
        plt.savefig(im_name)

    plt.show()
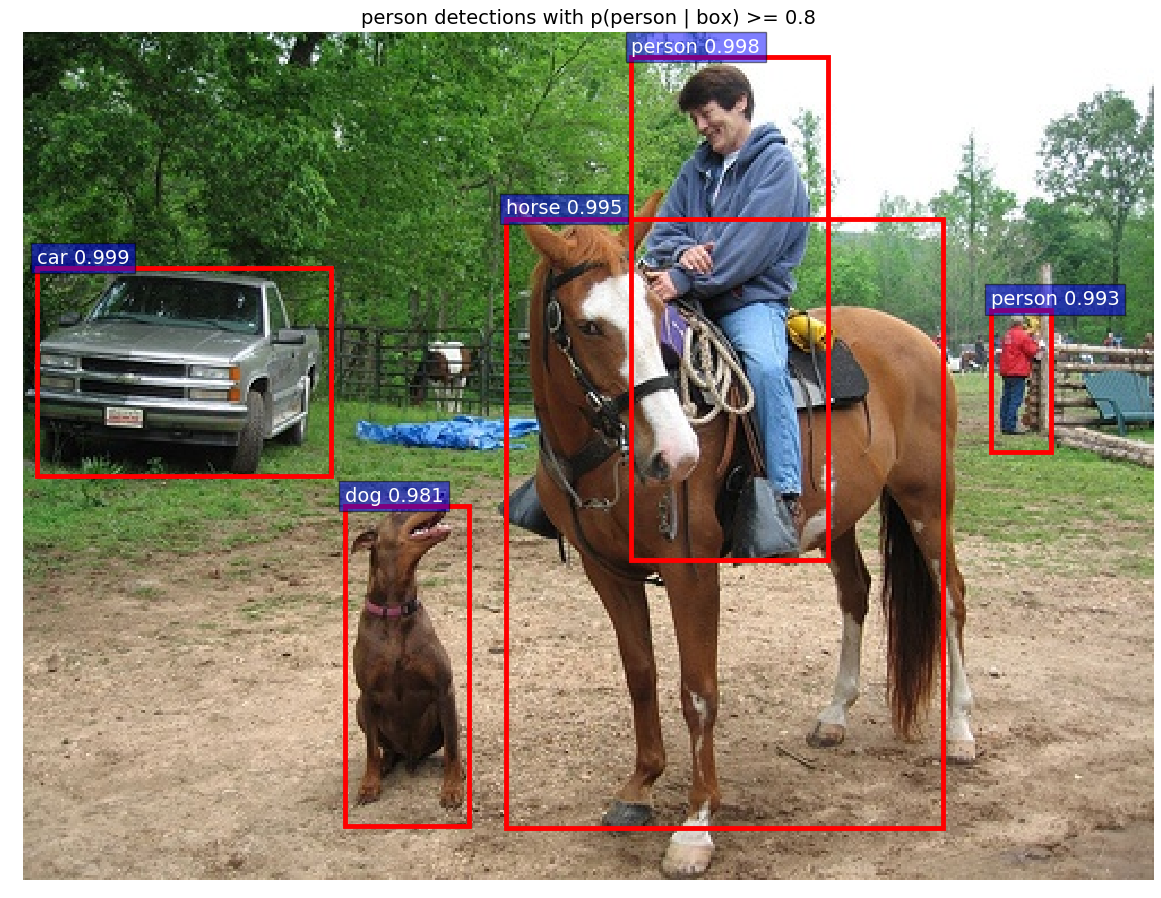
6.demo测试运行结果如下: