上文Windows docker k8s asp.net core 的k8swebap镜像只是一个asp.net core程序,在实际生产中我们希望容器中还有一些其他程序,比如ssh 和telegraf。
利用Dockerfile文件
只是网上比较推荐的一种方式,Dockerfile包含创建镜像所需要的全部指令,基于在Dockerfile中的指令,我们可以使用Docker build命令来创建镜像,通过减少镜像和容器的创建过程来简化部署。这里我们以 asp.net core 添加ssh服务为例:
1.编译并发布项目(这里用发布后的文件):
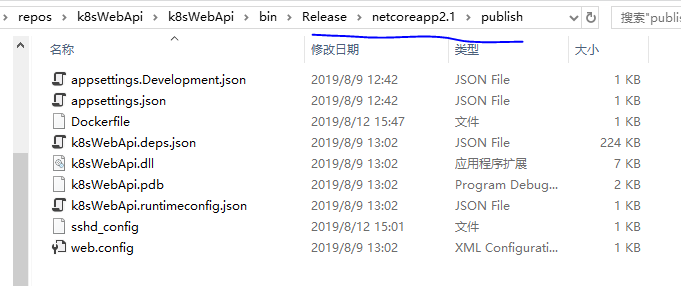
![]()
2.首先创建一个sshd_config 文件如下:
3.创建Dockerfile文件如下:
4.制作镜像biang验证
docker build -t k8swebapi . #自作镜像
docker  run  --rm -p8081:80 -p2222:22 k8swebapi  #启动docker 实例
docker exec 649c hostname -I  #查看容器ip
ssh root@172.17.0.2 #在宿主计算机上进入容器
在宿主进入容器如下:
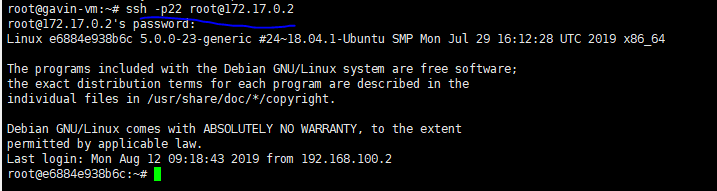
![]()
在普通的计算机上进入容器如:
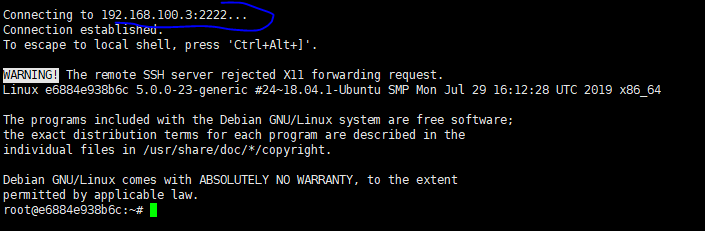
![]()
手动修改容器镜像
这里 我们以asp.net core 添加 telegraf 为例。首先我们需要一个含有asp.net core的容器。这里我们修改 上面的Dockerfile文件 如下:
FROM microsoft/dotnet:2.1-aspnetcore-runtime
WORKDIR /app
EXPOSE 22

RUN apt-get update -y && apt-get upgrade -y && apt-get install -y
  openssh-server
  && rm -rf /var/lib/apt/lists/*

RUN echo 'root:Harbor12345' | chpasswd
RUN mkdir /var/run/sshd

COPY sshd_config /etc/ssh/sshd_config

CMD ["/usr/sbin/sshd", "-D"]
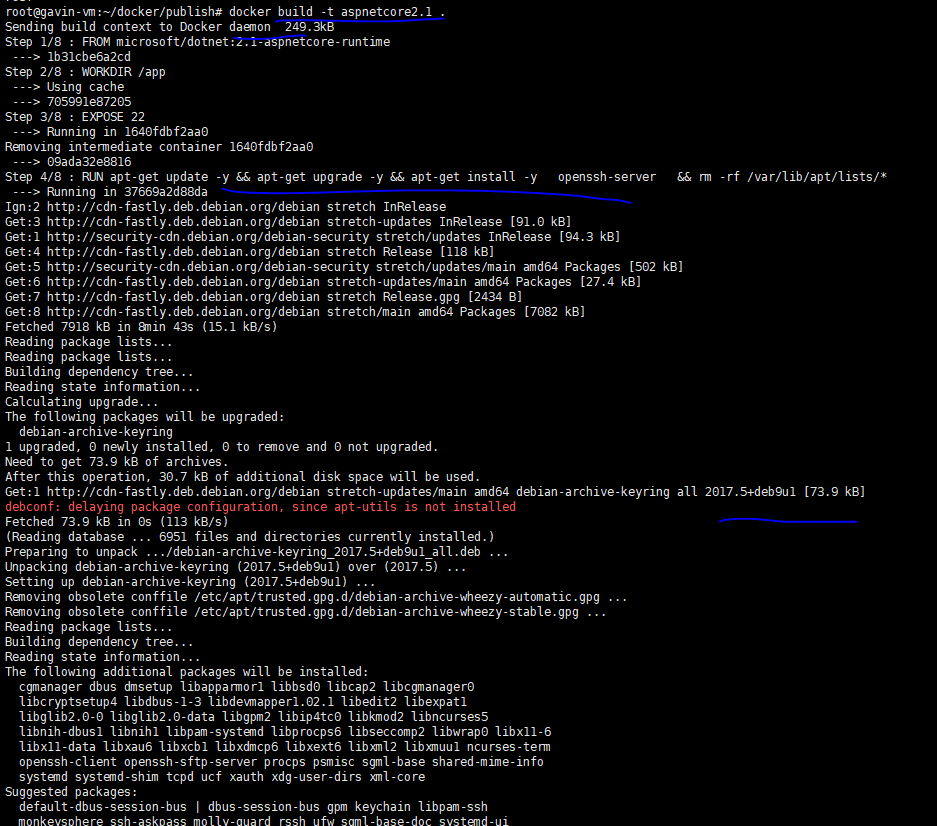
然后制作镜像 并启动实例
docker build -t aspnetcore2.1 .  #制作镜像
docker run -d -p2222:22 --name aspcor2.1  aspnetcore2.1 #启动容器
进入容器后安装telagraf
apt-get update
apt-get install apt-transport-https
apt-get install curl
apt-get install sudo
apt-get install gnupg2 &&  apt-get install gnupg1
cat <<EOF | sudo tee /etc/apt/sources.list.d/influxdata.list
deb https://repos.influxdata.com/ubuntu bionic stable
EOF
sudo curl -sL https://repos.influxdata.com/influxdb.key | sudo apt-key add -
sudo apt-get update
sudo apt-get -y install telegraf
修改配置如图:
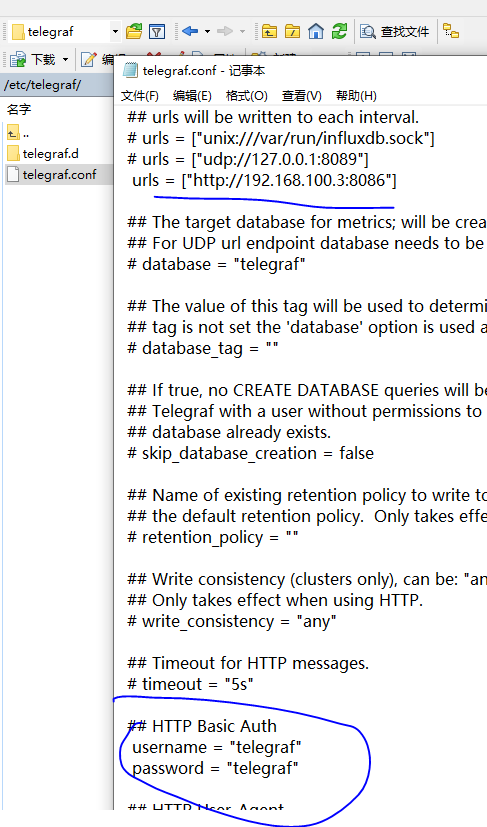
![]()
然后启动服务 制作新的镜像
sudo service telegraf start
sudo systemctl enable --now telegraf
docker commit aspcor2.1 192.168.100.3:80/repo-test/aspcore2.1

![]()
这里我们可以在influxdb里面验证telegraf的数据, 然后关闭relegraf 服务 ,安装service和lsof

![]()
再次 提交镜像 docker commit aspcor2.1 192.168.100.3:80/repo-test/aspcore2.1 (实际先前那一次不需要提交)
最后修改程序的Dockerfile如下:(备注一下 ,如果写成 ENTRYPOINT ["/bin/bash", "-c", "/usr/sbin/sshd && /usr/bin/telegraf && dotnet k8sWebApi.dll"] 或有问题的)
简单总结一下, 其实网上大家肌肤都推荐用Dockerfile来制作镜像,但是我个人比较推荐手动自作镜像,先看2个图吧
Dockerfile制作镜像(比较耗时,需要联网下载相关的软件,并且要求相对较高,验证的方式只能启动容器来验证):
手动安装(在引入docker开发,我相信一定会有私有仓库,所以这里的镜像制作非常快,只需要从本地下载镜像就可以,不需要下载其他软件,制作初始镜像比较麻烦, 但是相对简单, 验证也很方便):

参考
ubuntu docker inflxudb(安装 使用 备份 还原 以及python编码) telegraf Grafana